Be yourself; Everyone else is already taken.
— Oscar Wilde.
This is the first post on my new blog. I’m just getting this new blog going, so stay tuned for more. Subscribe below to get notified when I post new updates.
This is my blog about the projects I do in Creative Design and Engineering
Be yourself; Everyone else is already taken.
— Oscar Wilde.
This is the first post on my new blog. I’m just getting this new blog going, so stay tuned for more. Subscribe below to get notified when I post new updates.
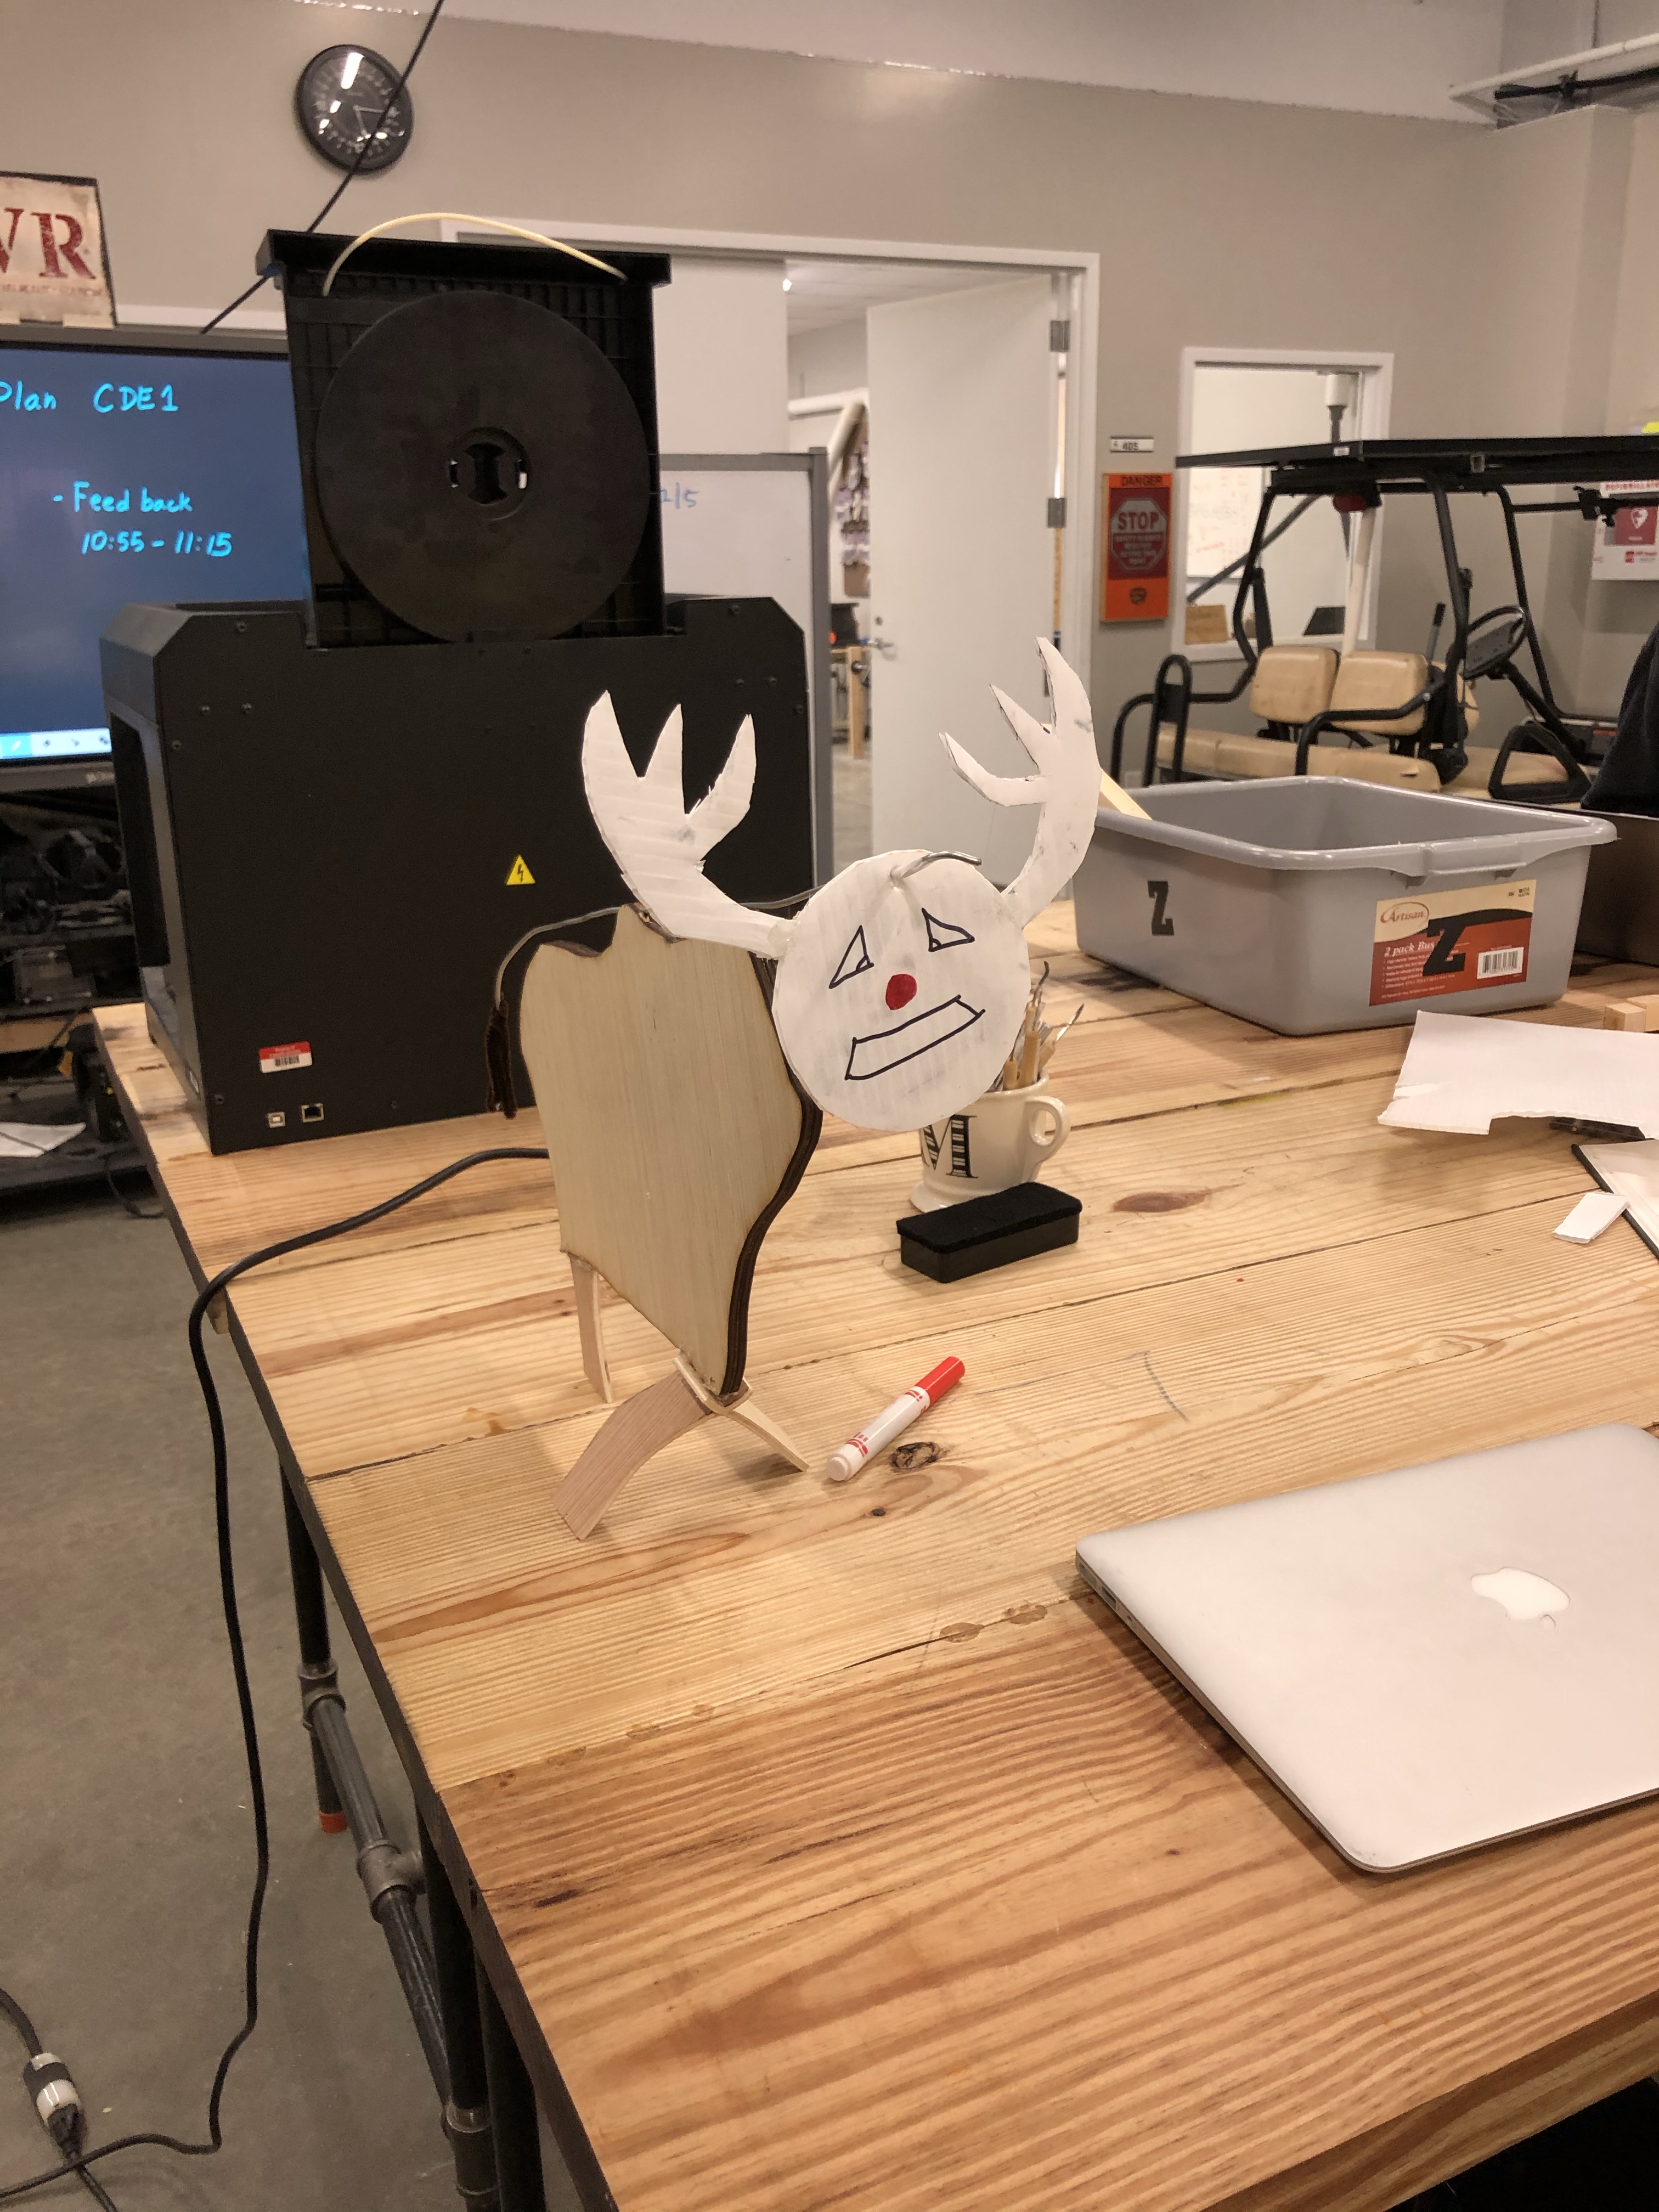
Today, Ethan and I made the front legs. We also added screwed to the body and found some wire that we will use
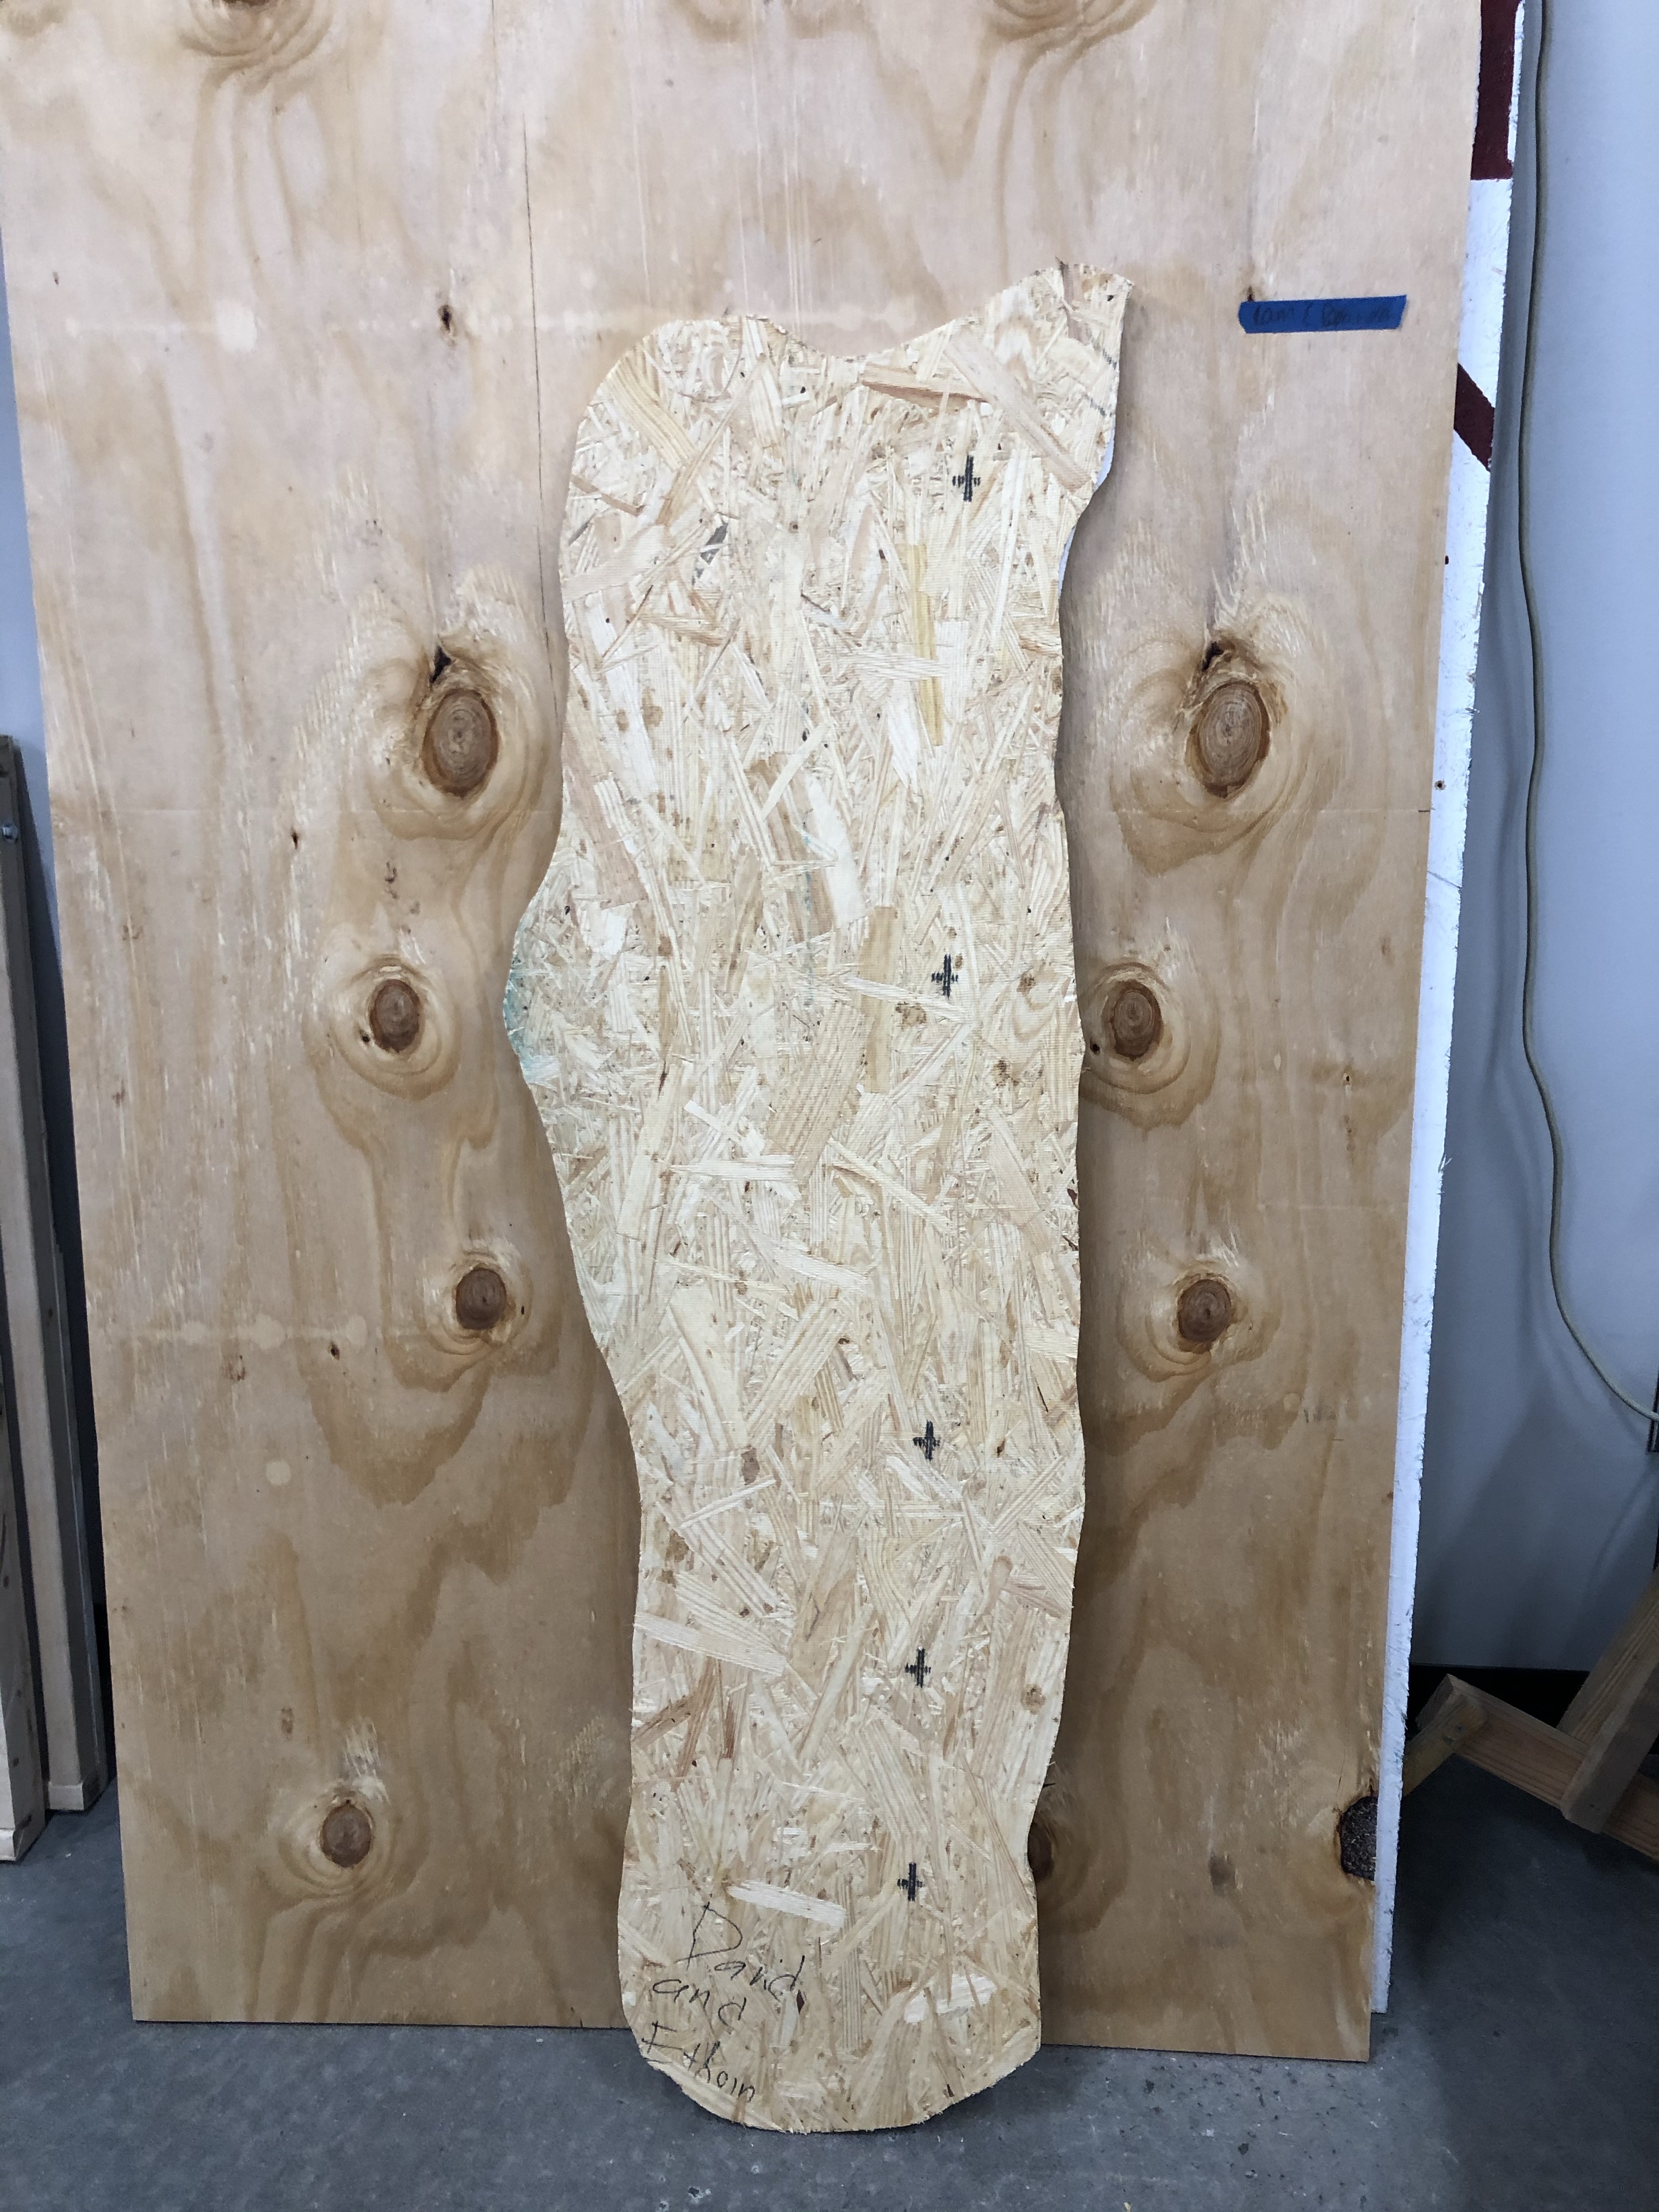
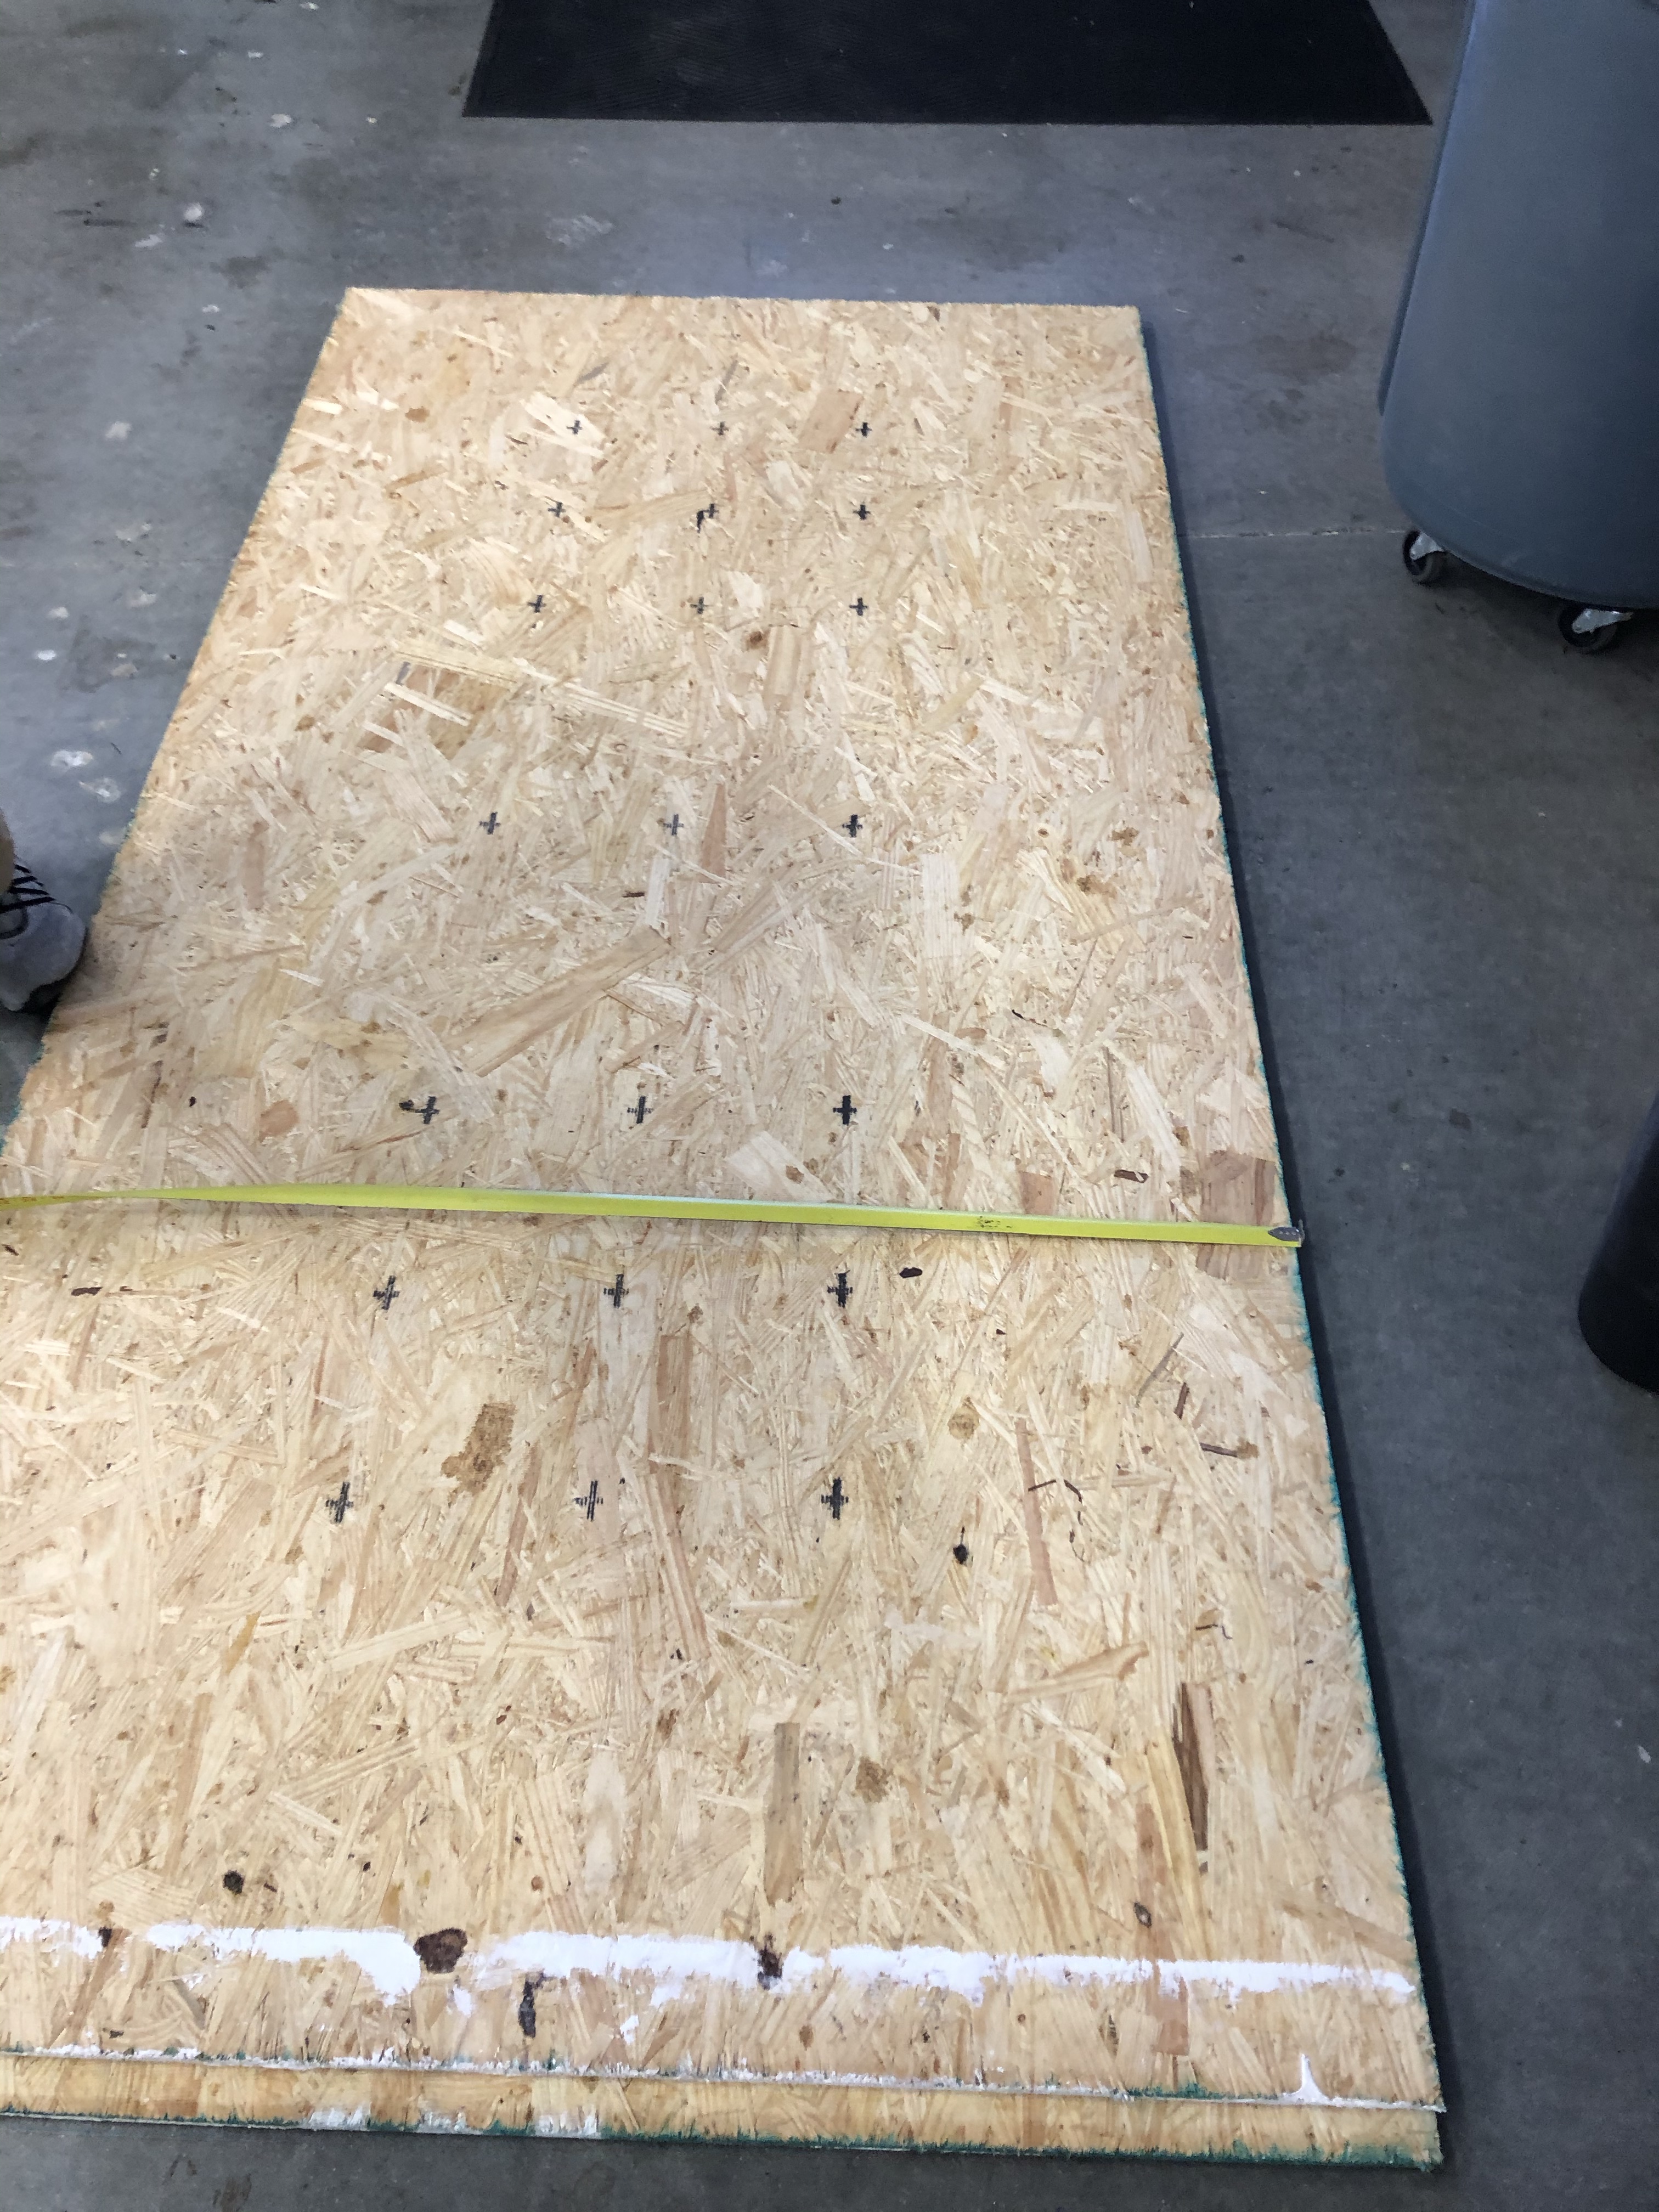
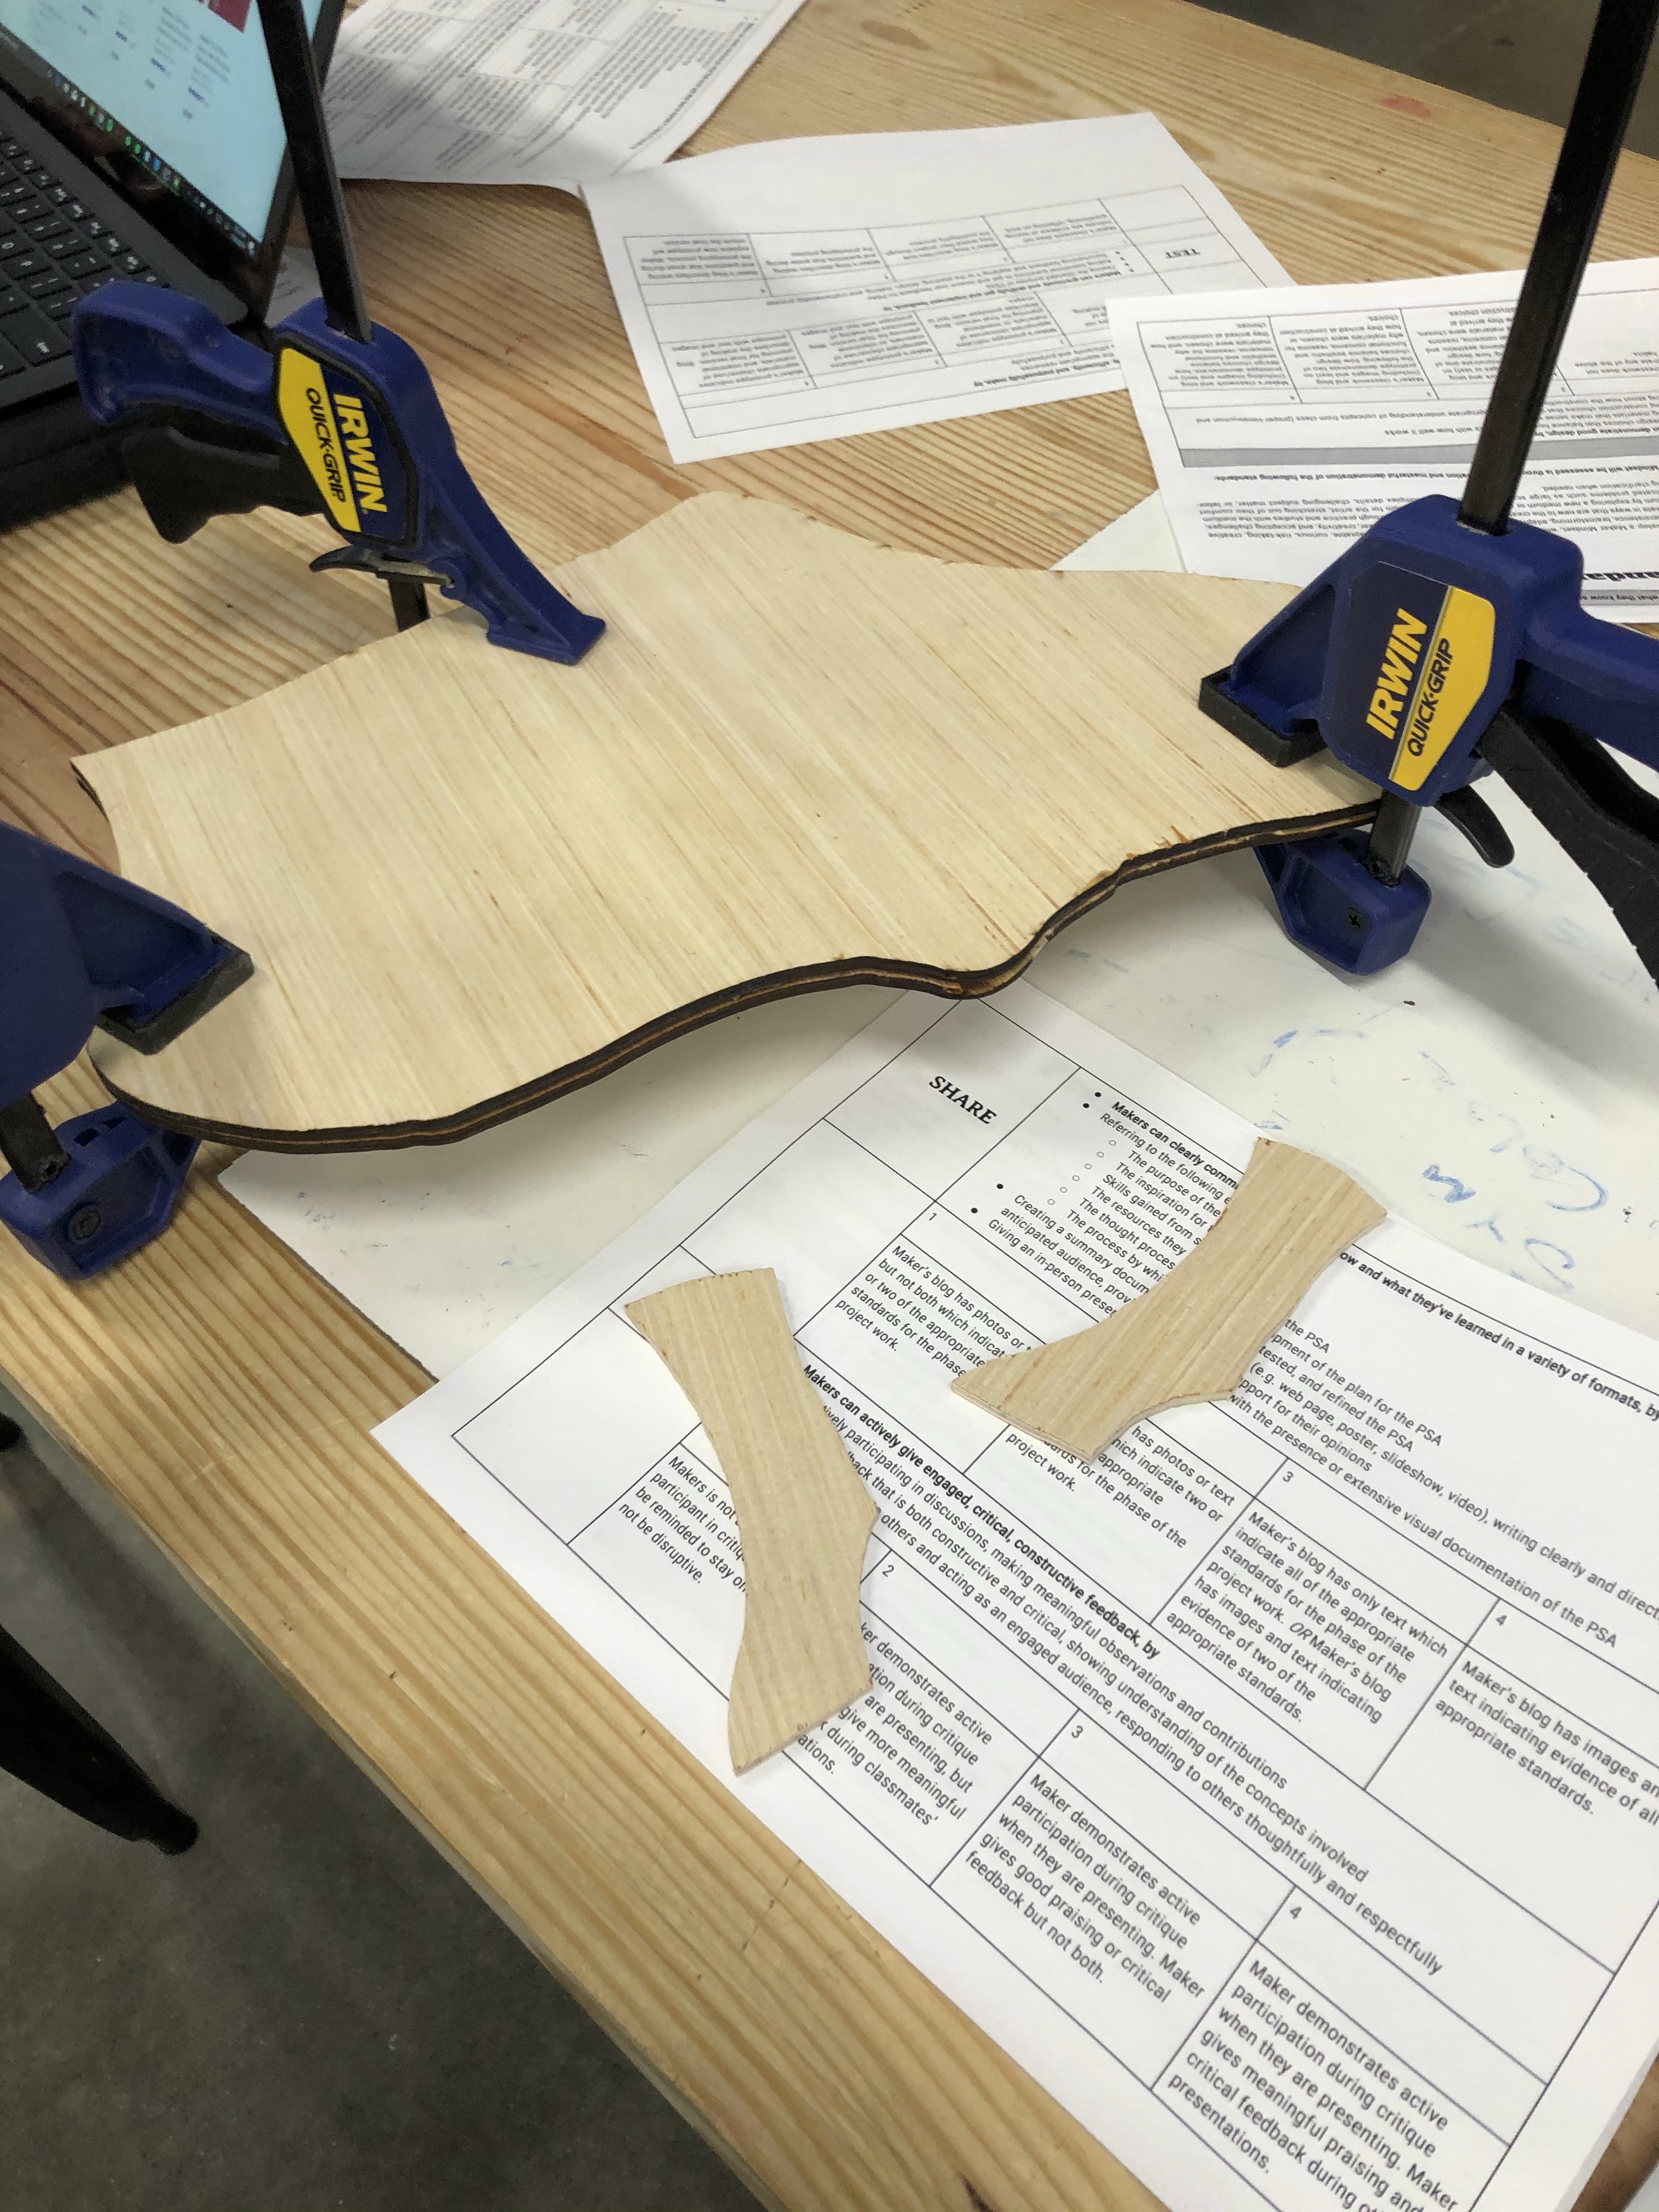
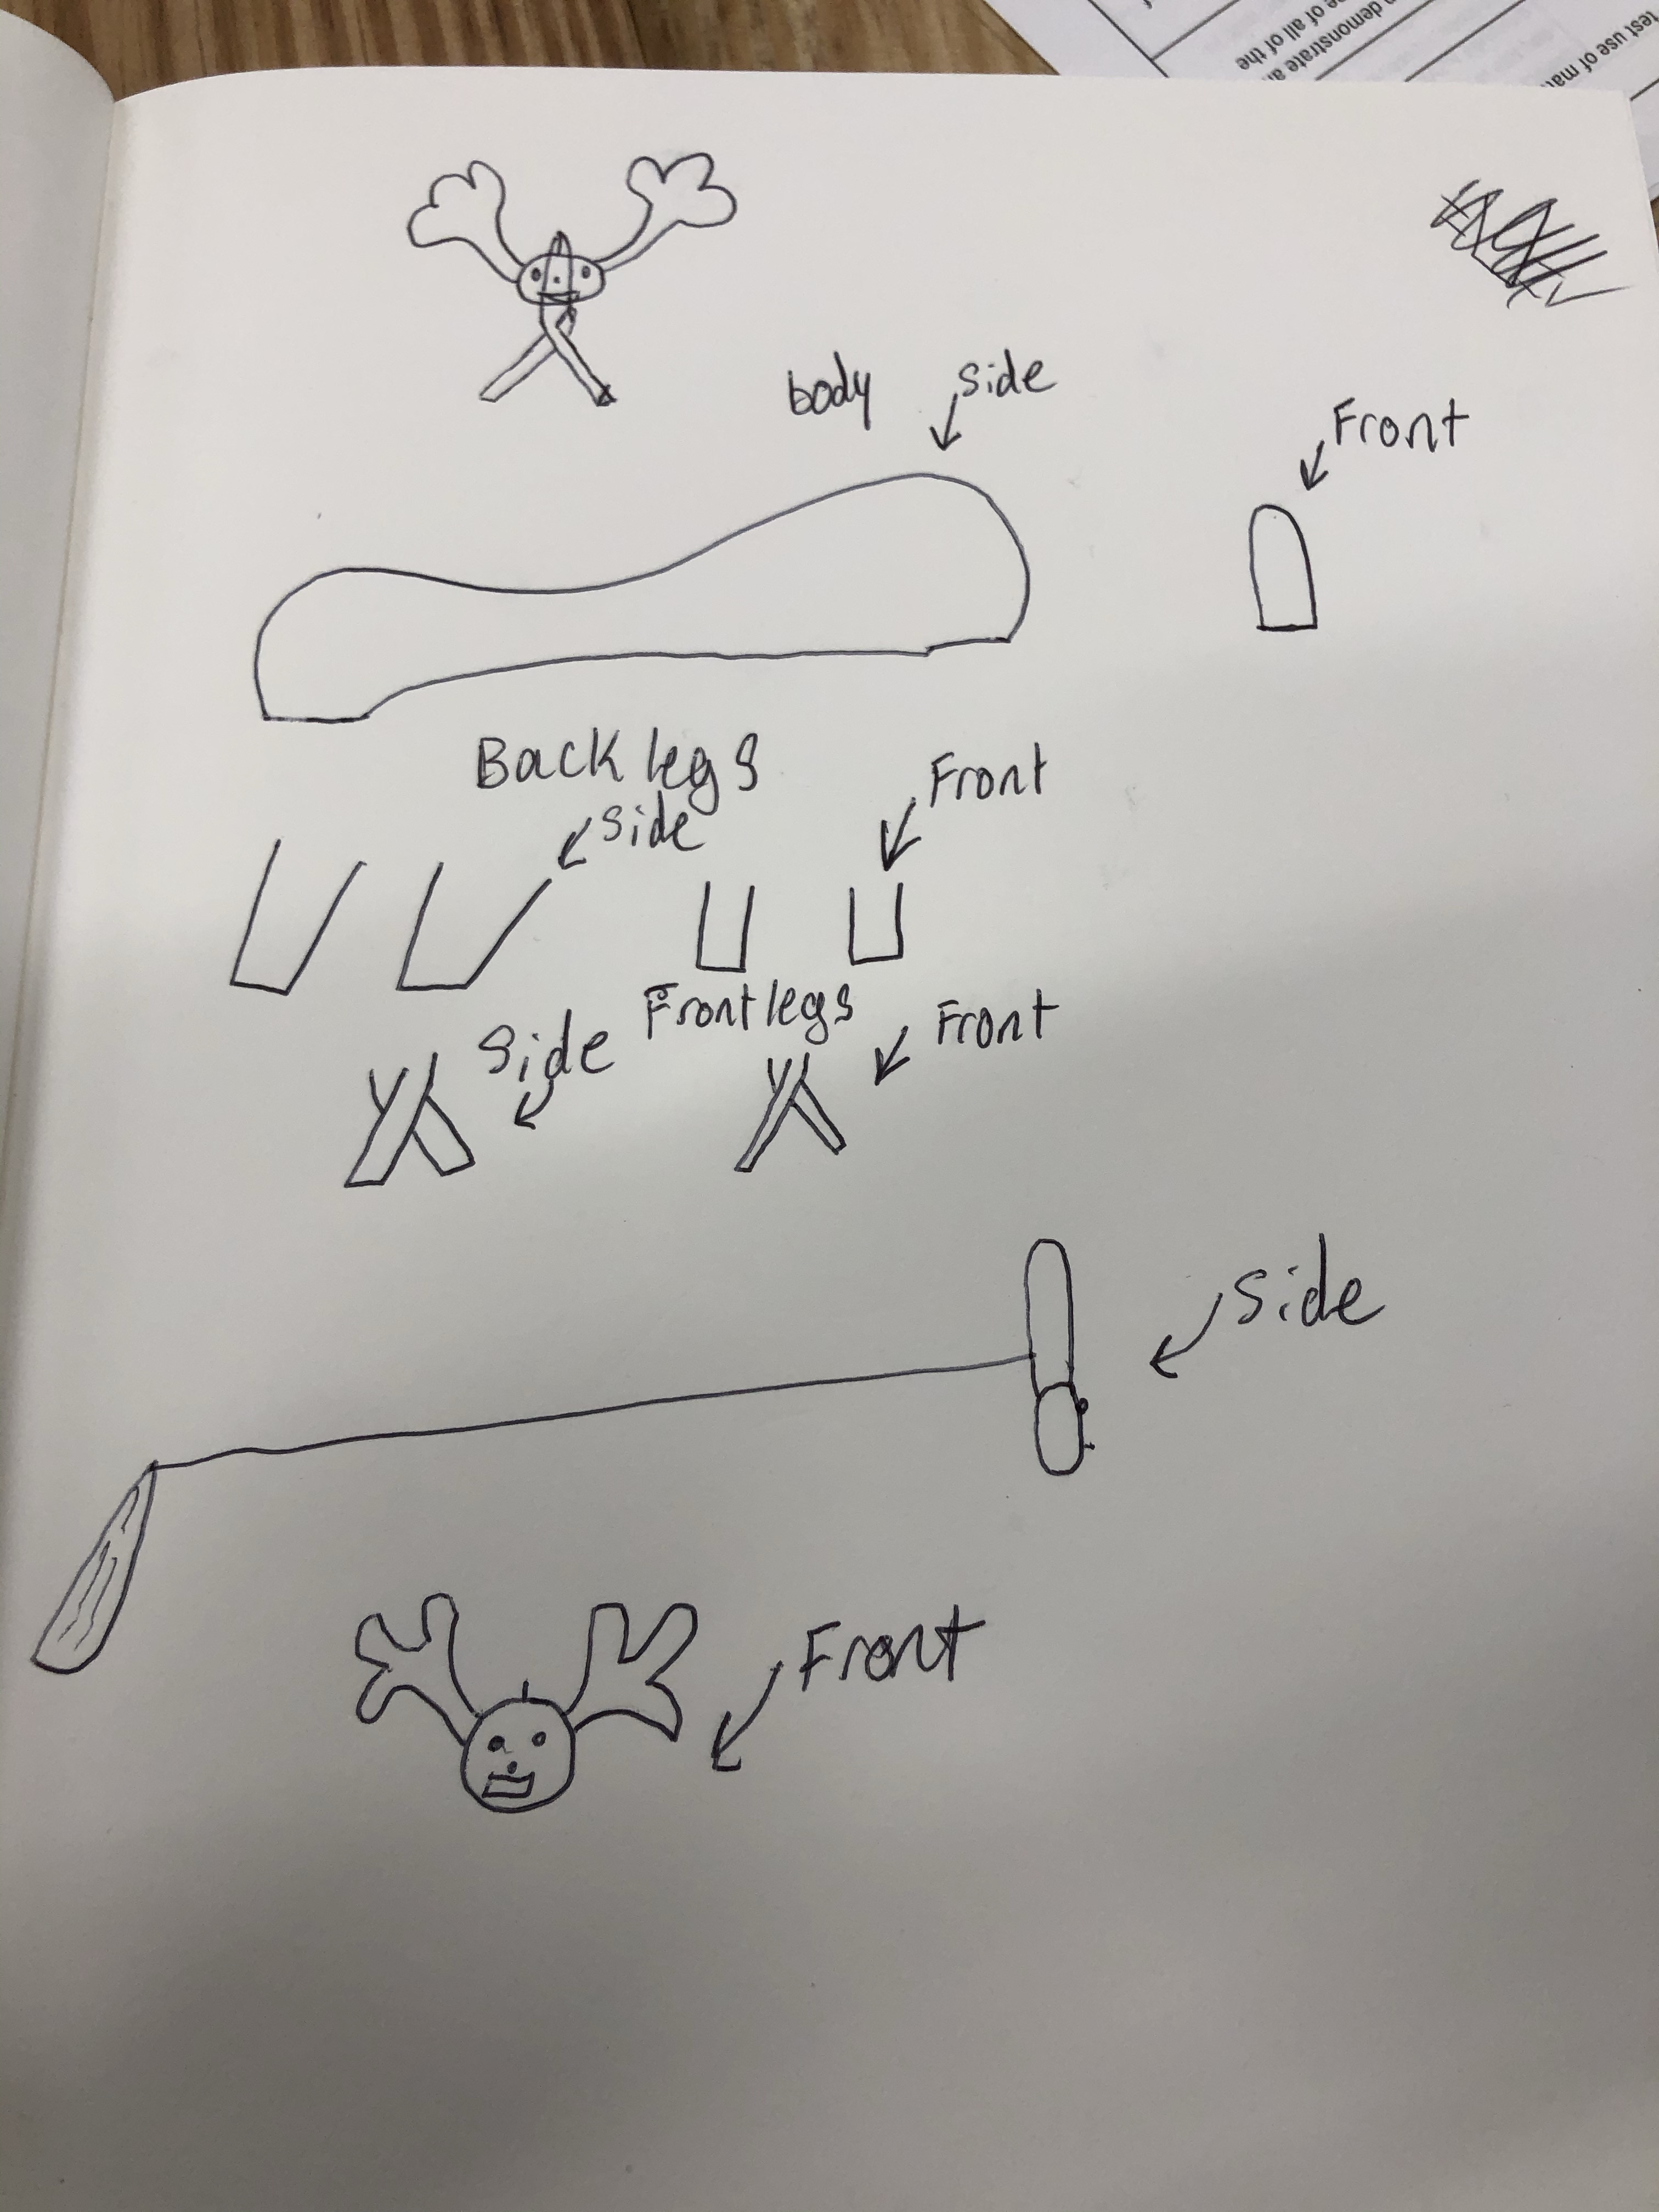
Today, Ethan and I started class by drawing 2 6×2 boxes on our pieces of wood, we then drew 2 bodies and cut them out.
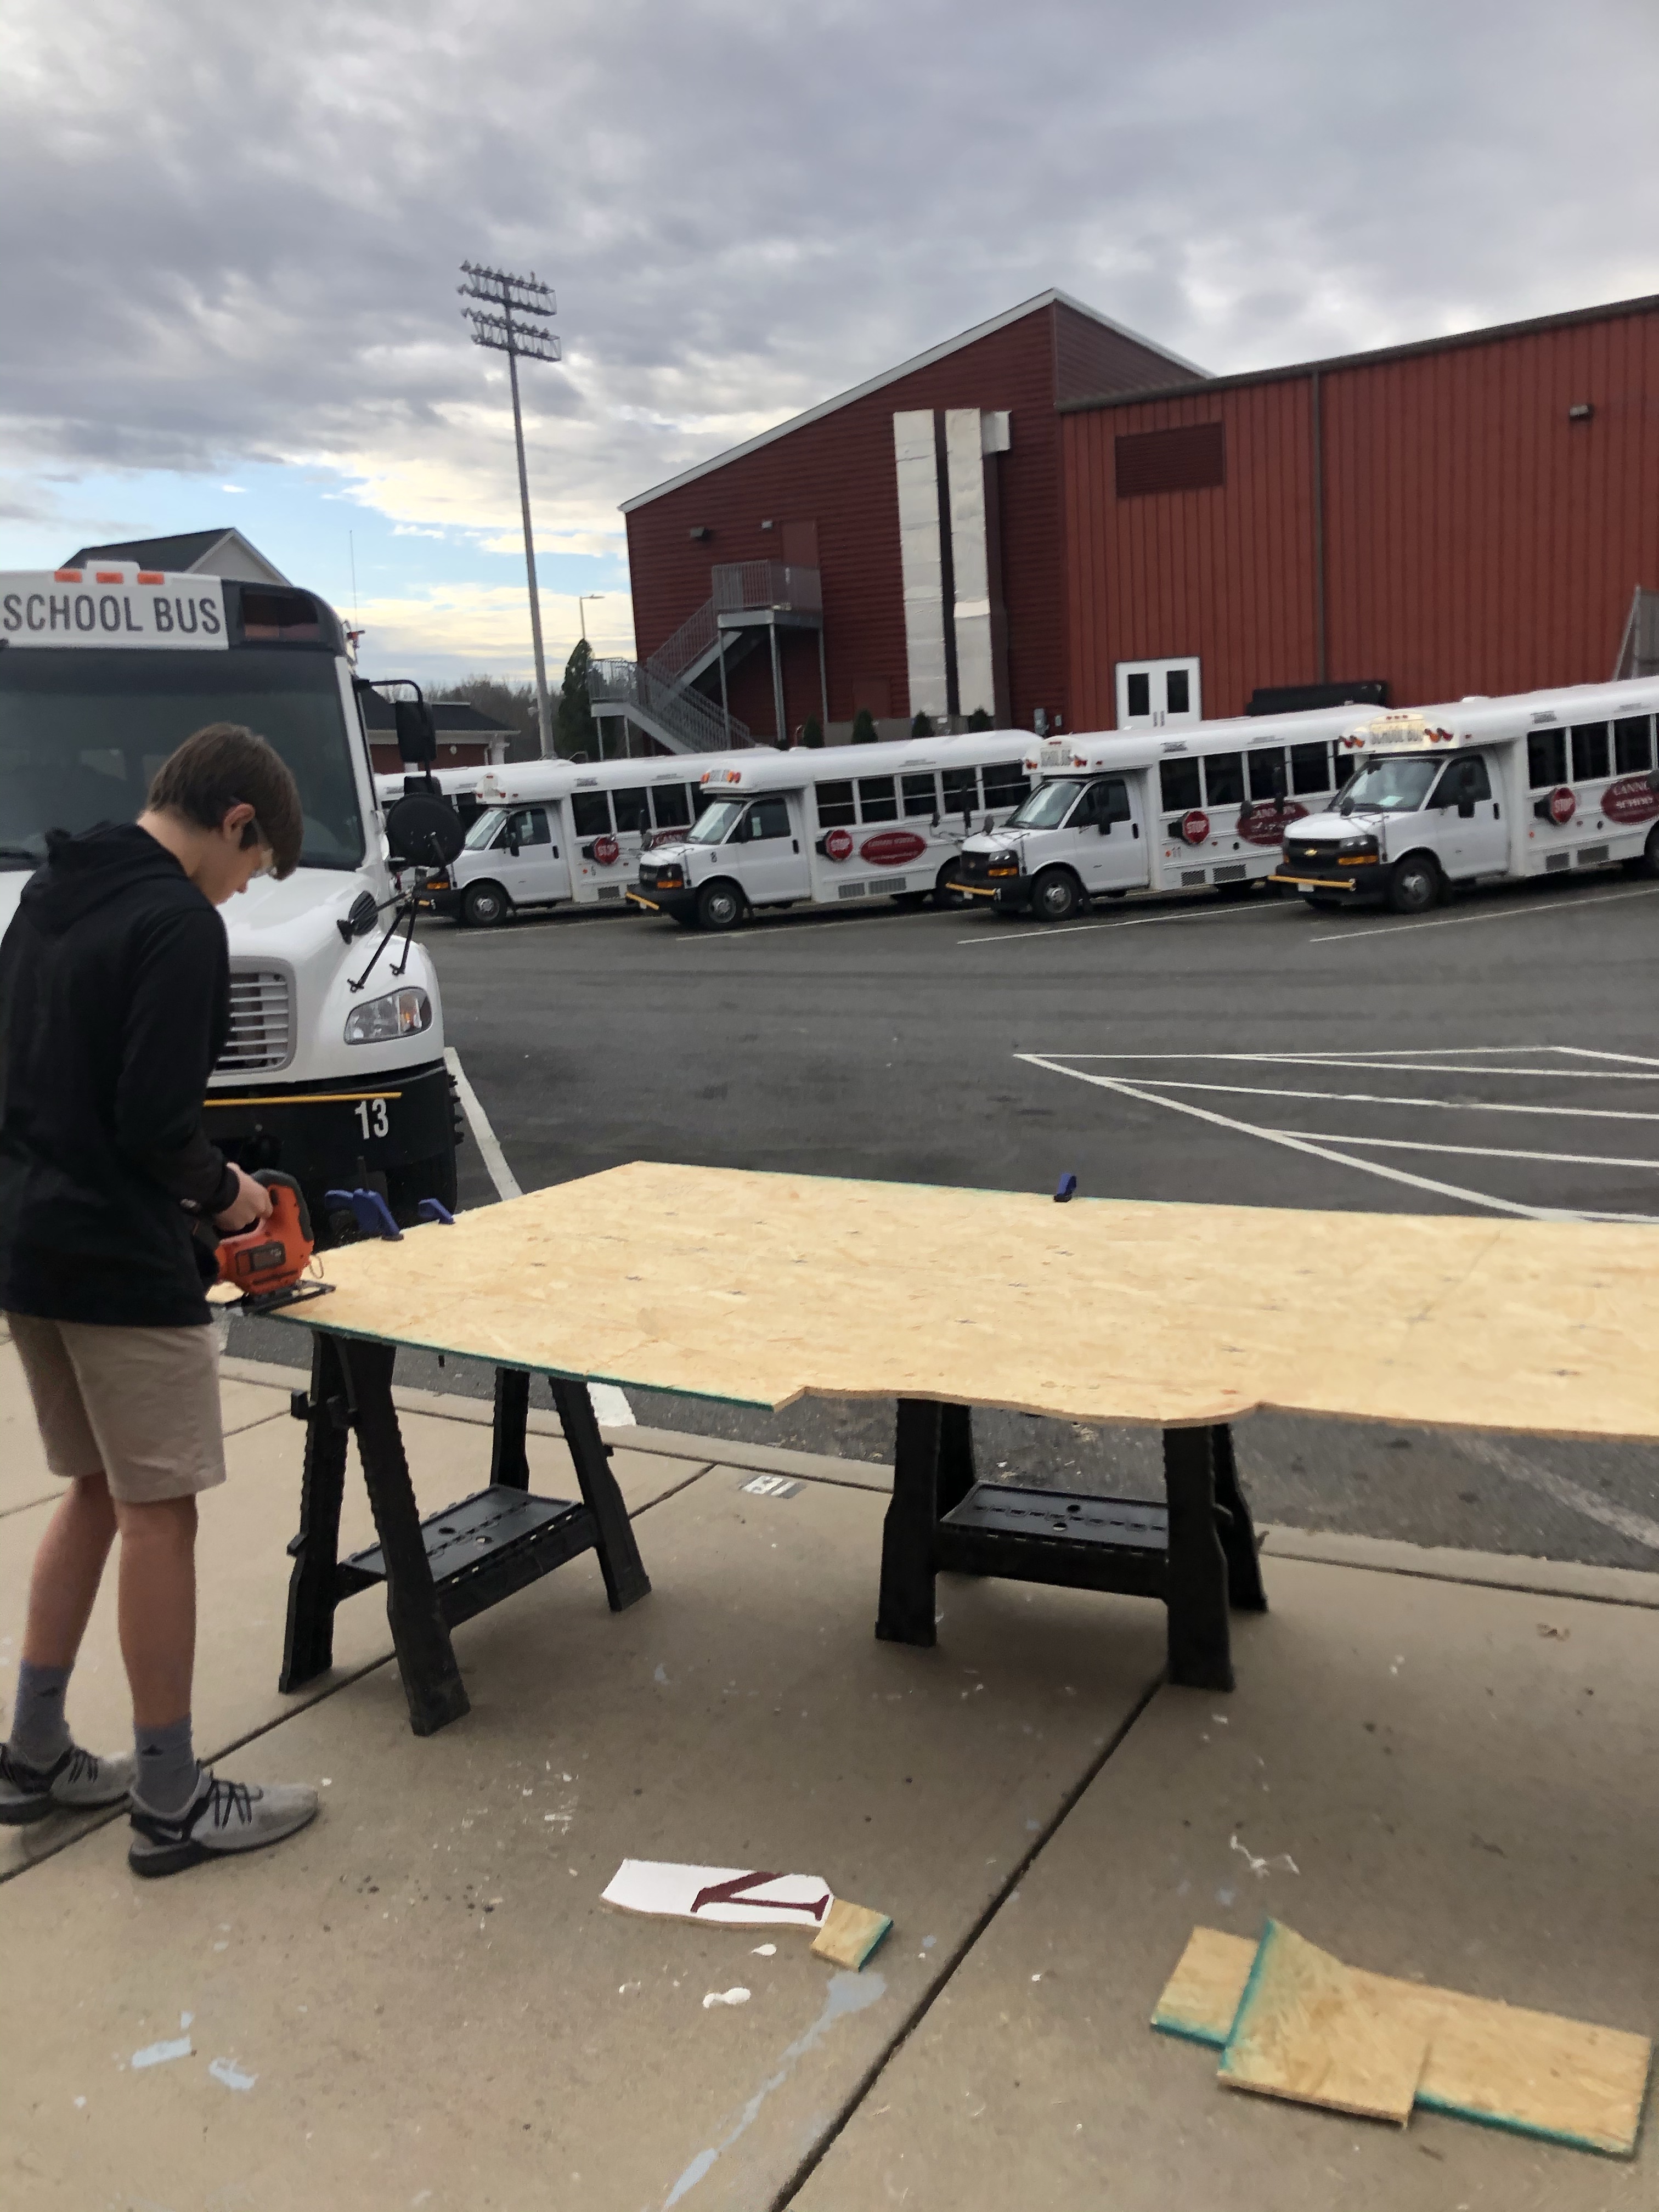
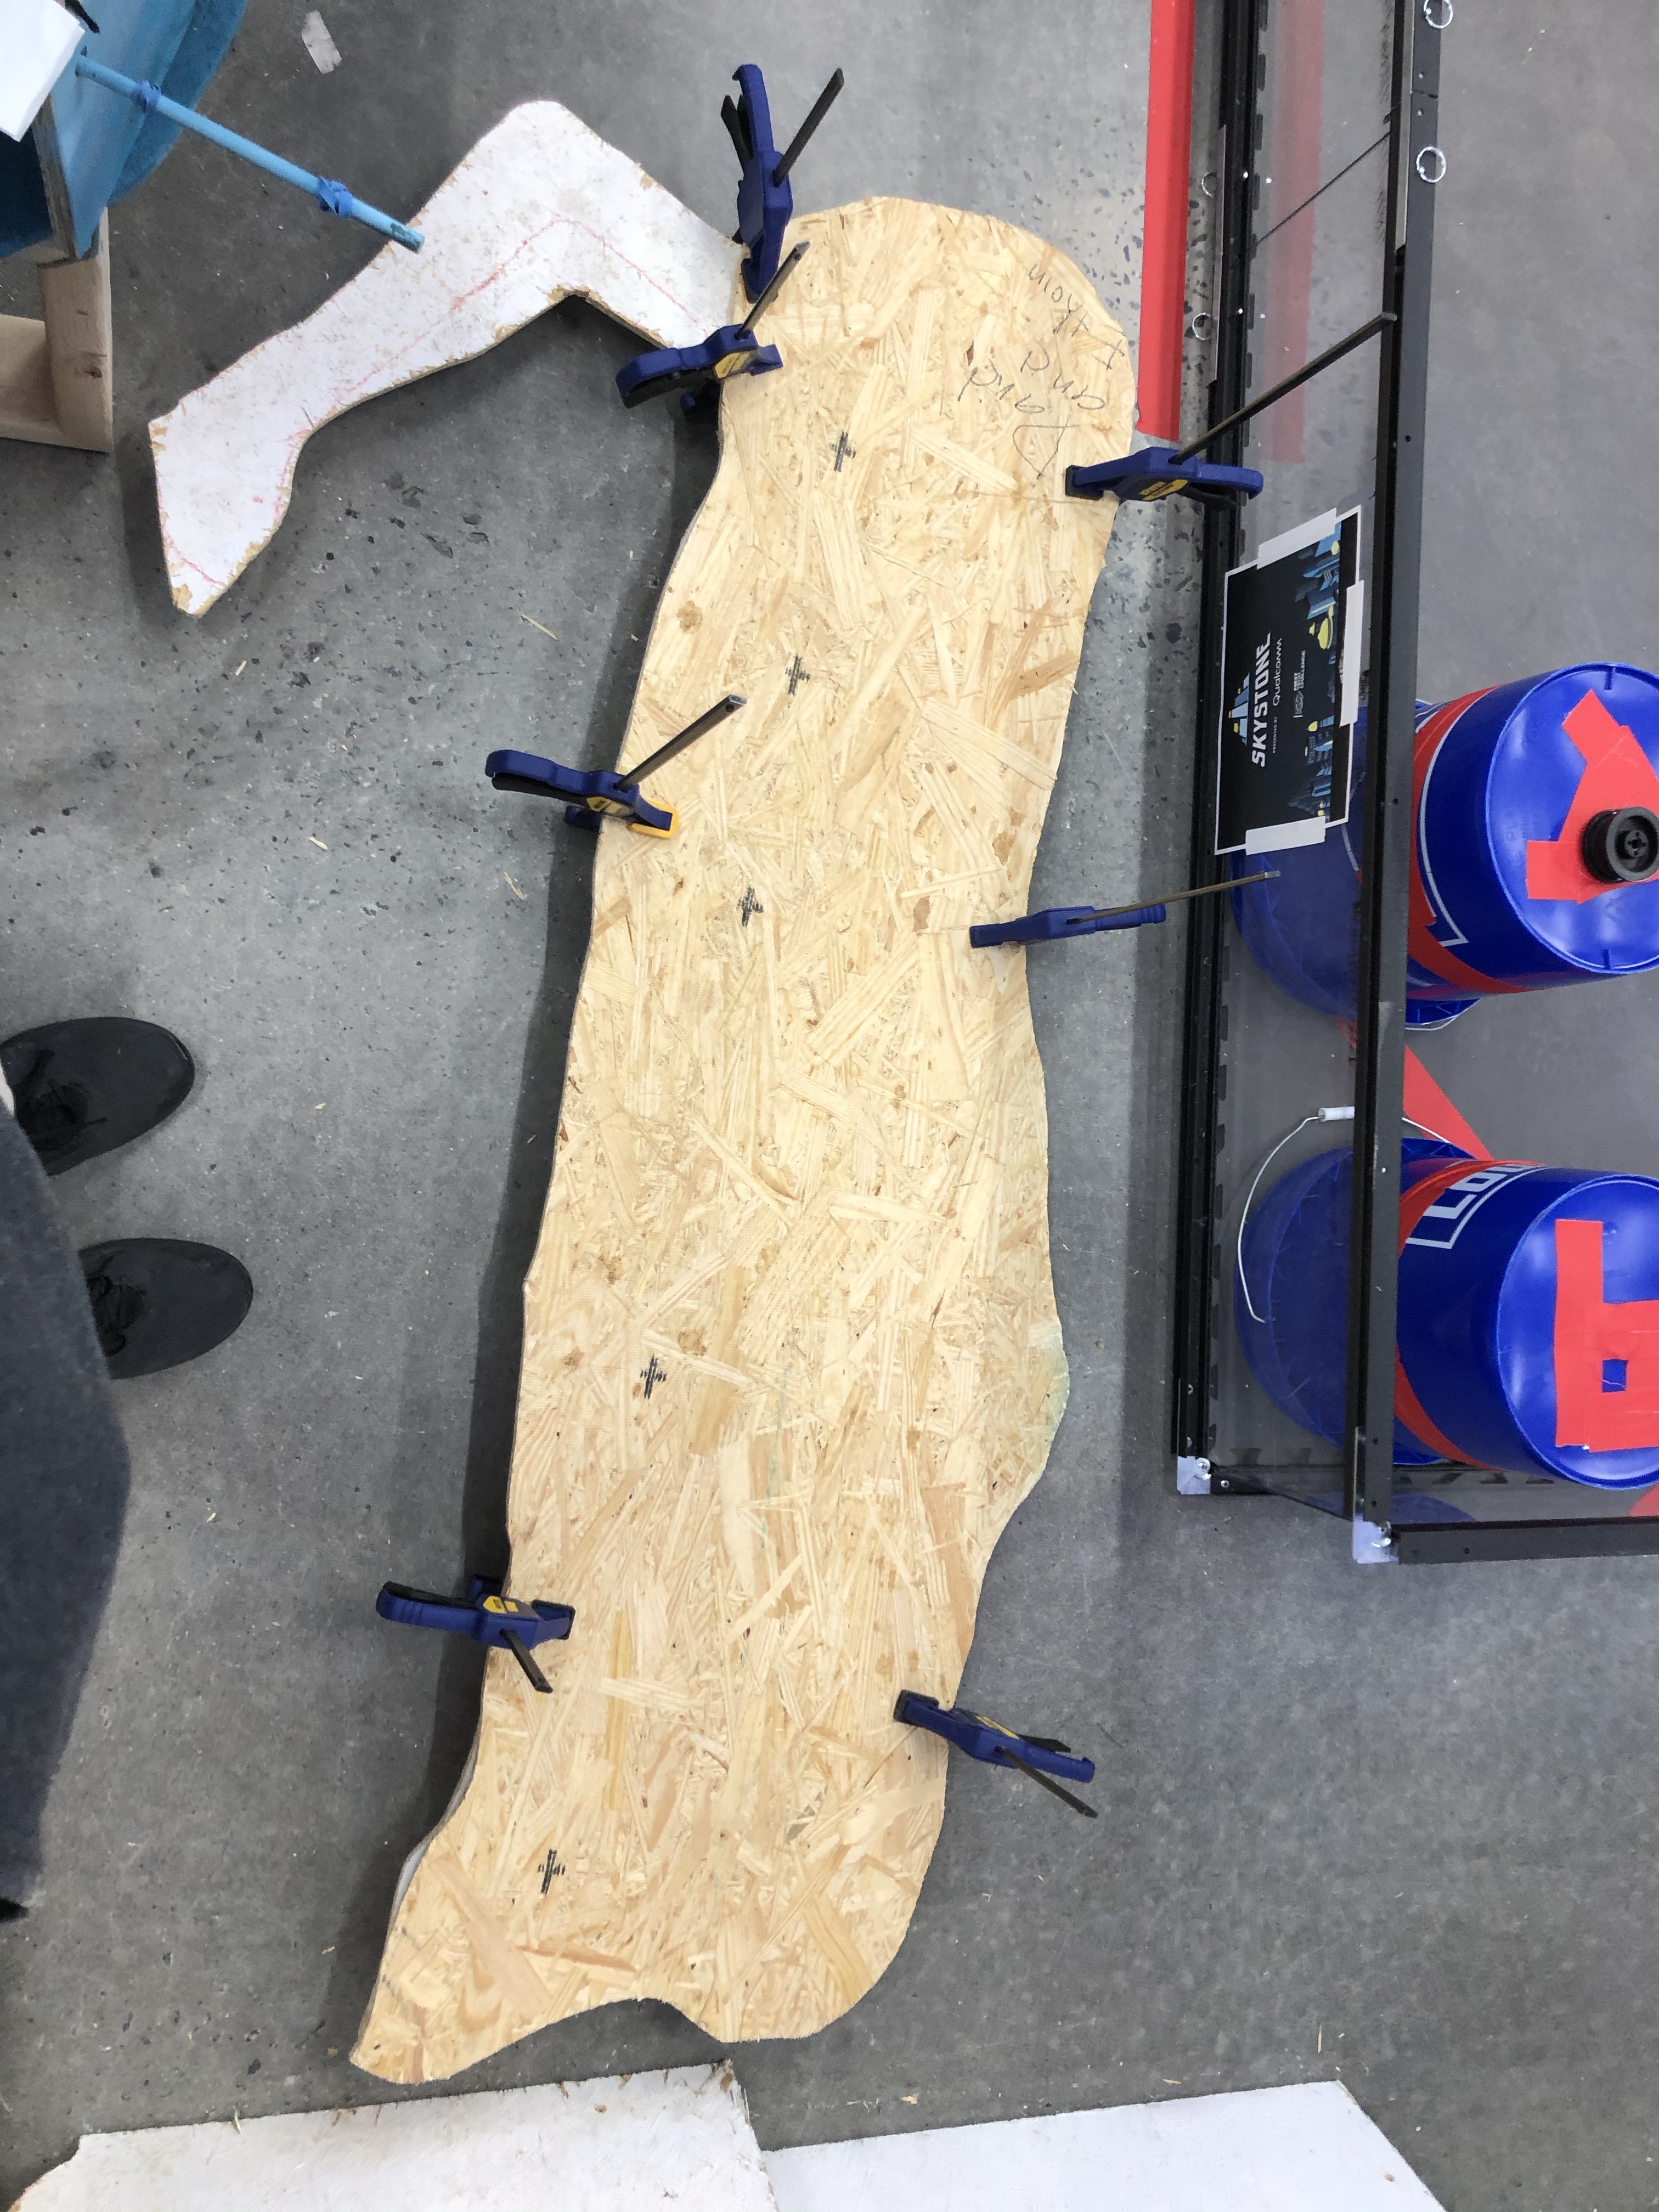
Today we started working on the real reindeer, we figured out which wood we were going to use and figured out the measurements.
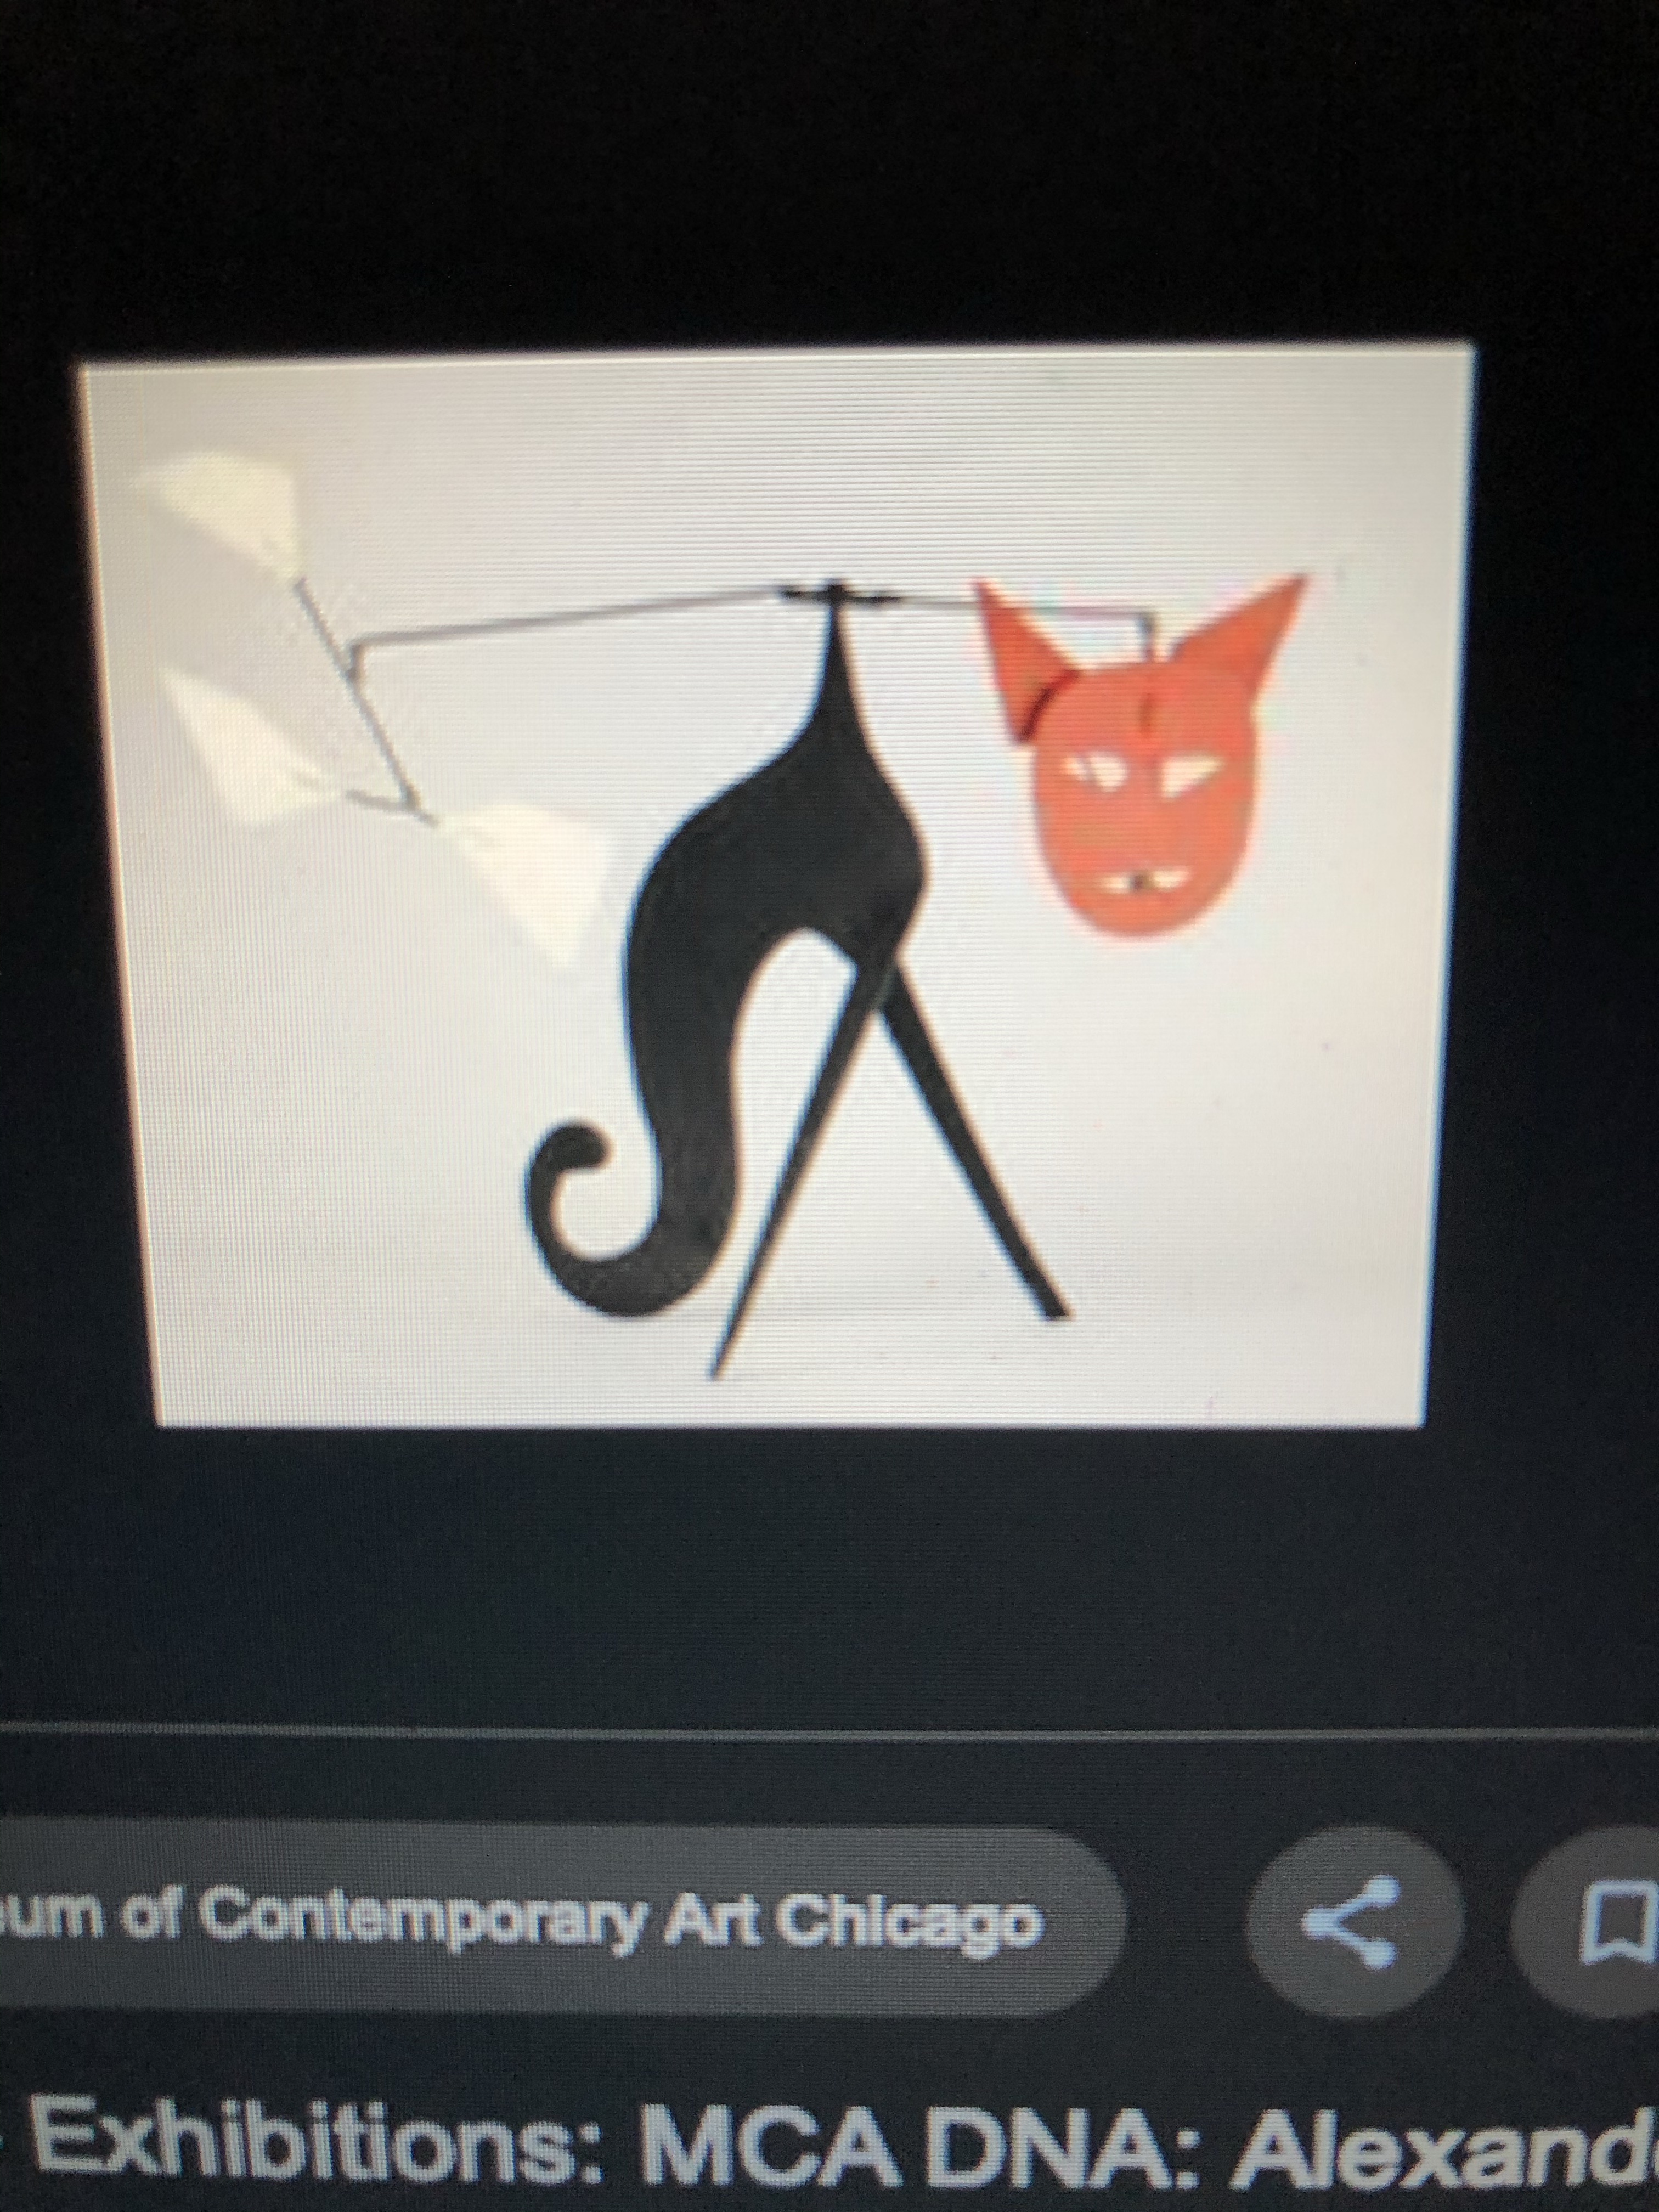
I am a little behind on the daily blogs so I am going to to summarize the past few days in this one. a than and I got inspiration from this cat made by Alexander Calder.
Ethan and I laser cut the body of our reindeer, then added the legs. We then added the head and tail.

Today Ethan and I made our project proposal, then started doing some very simple prototyping with popsicle sticks.
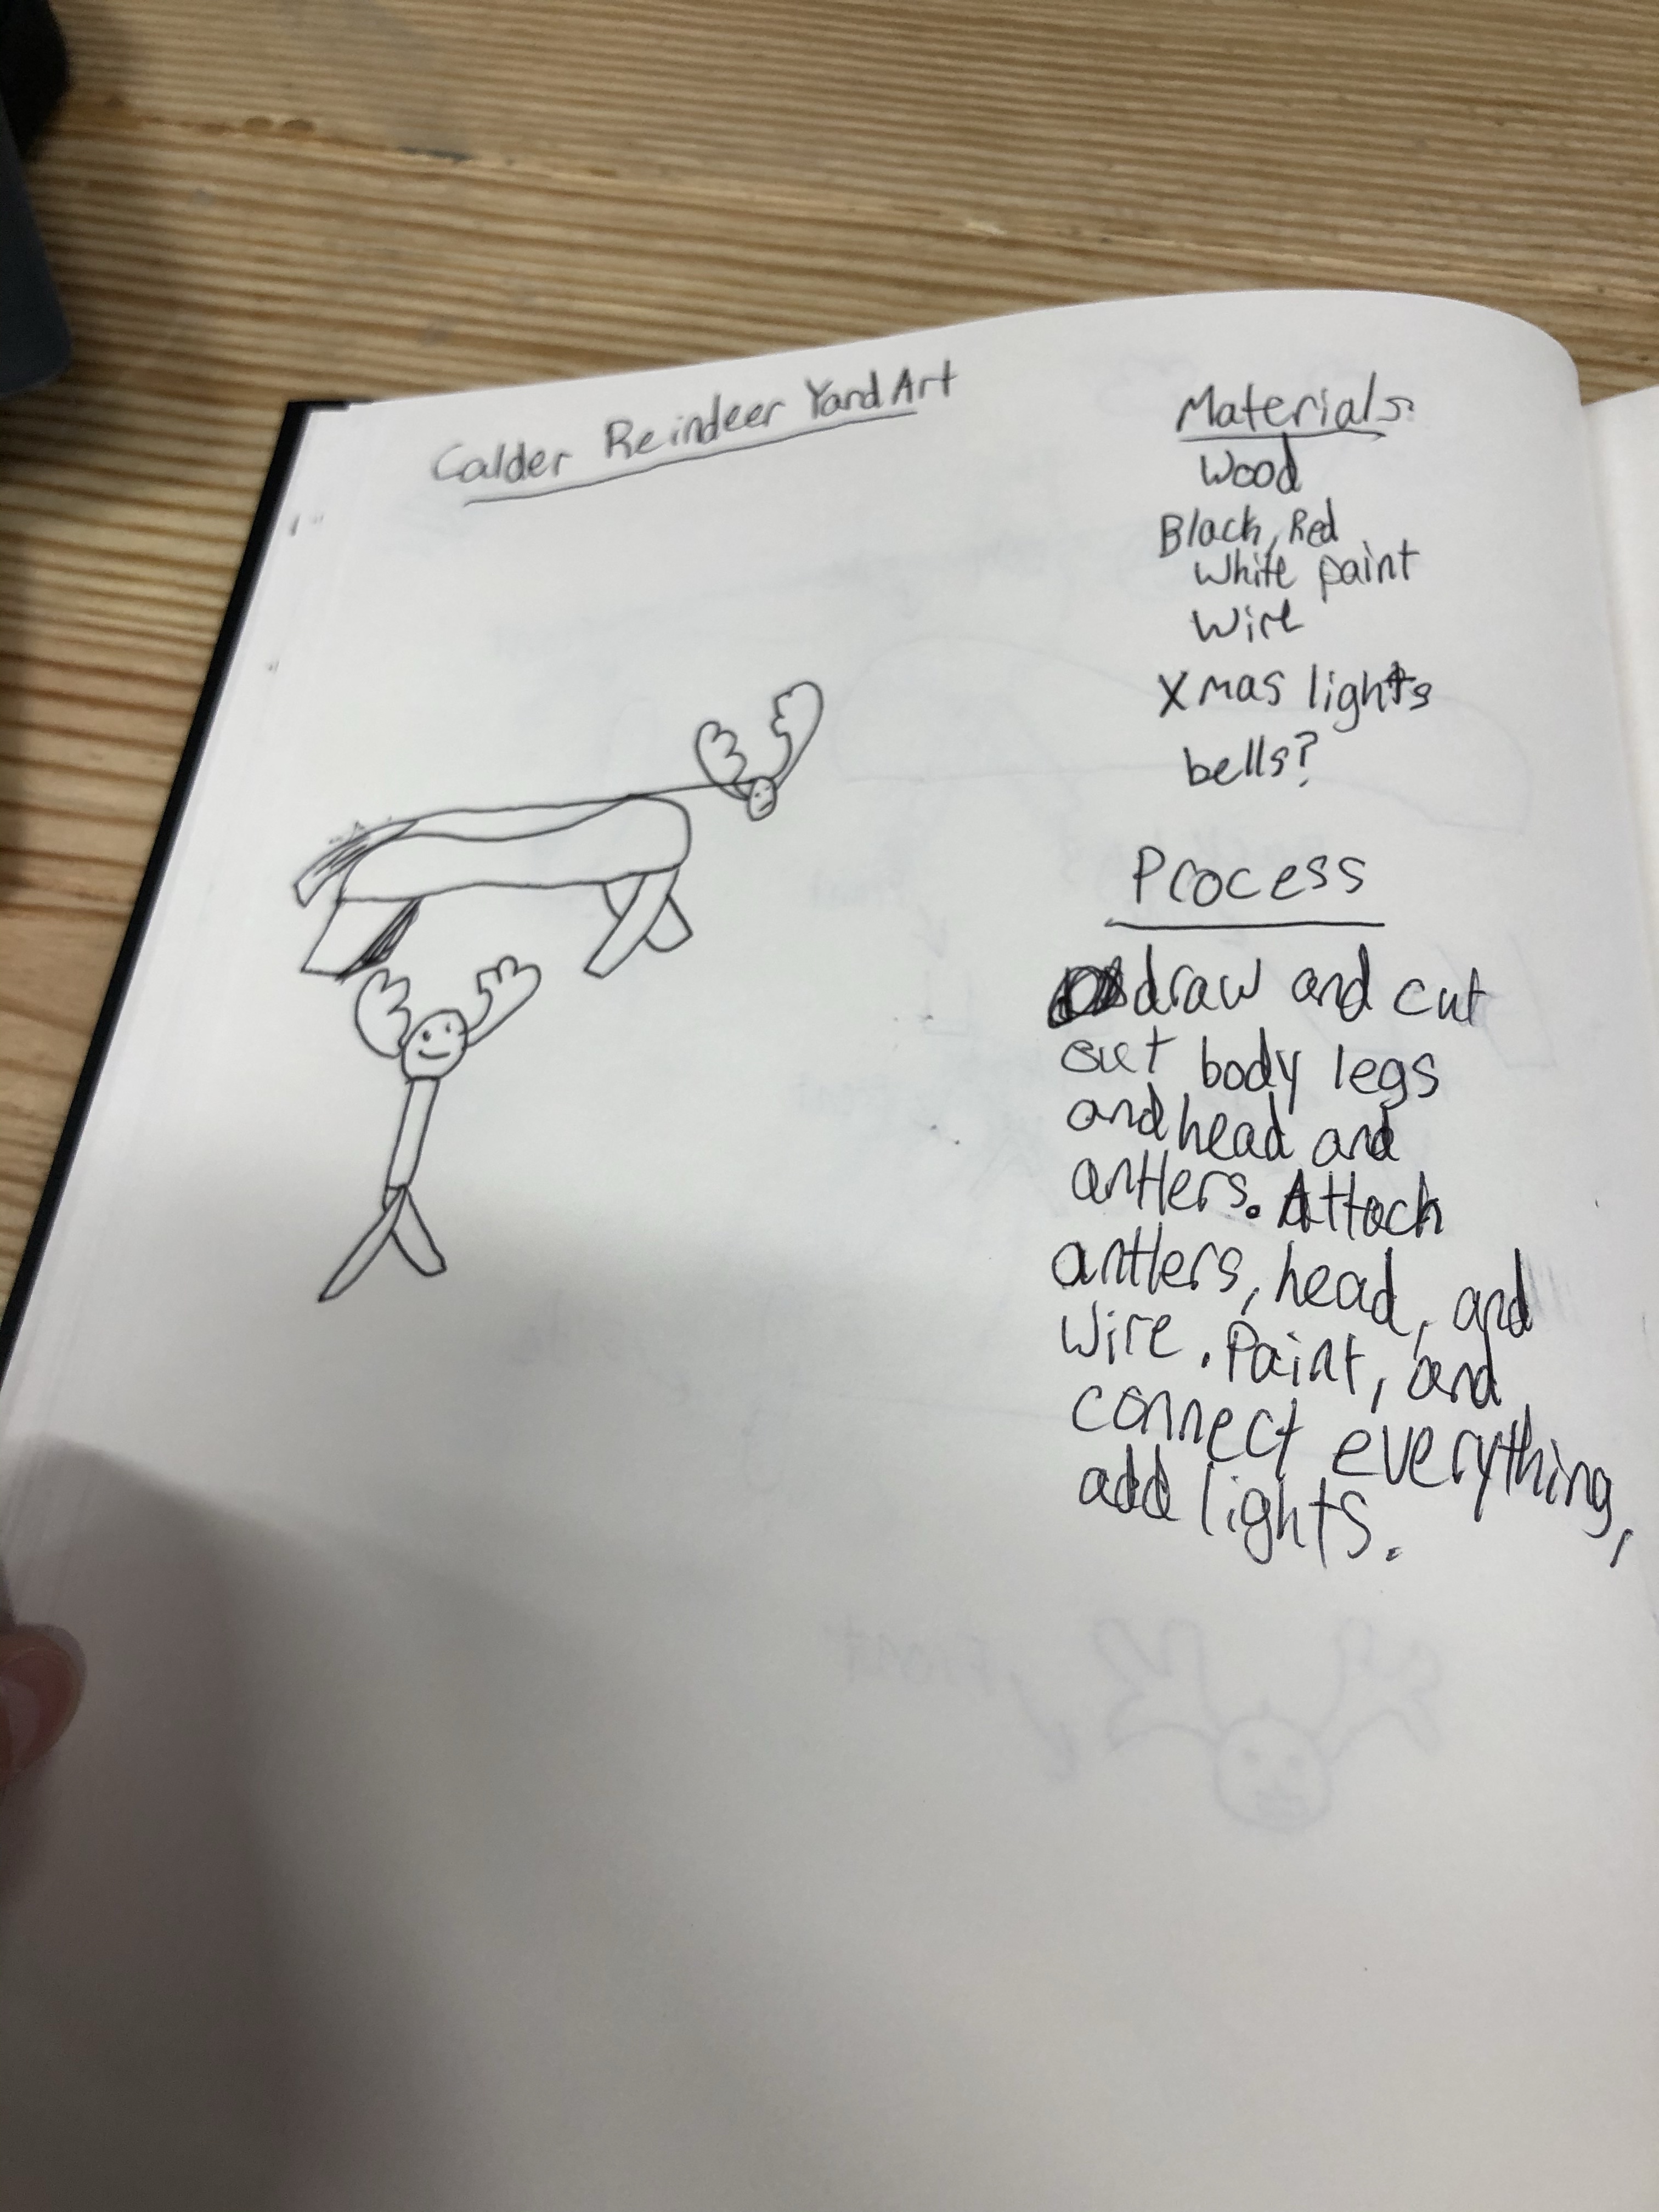
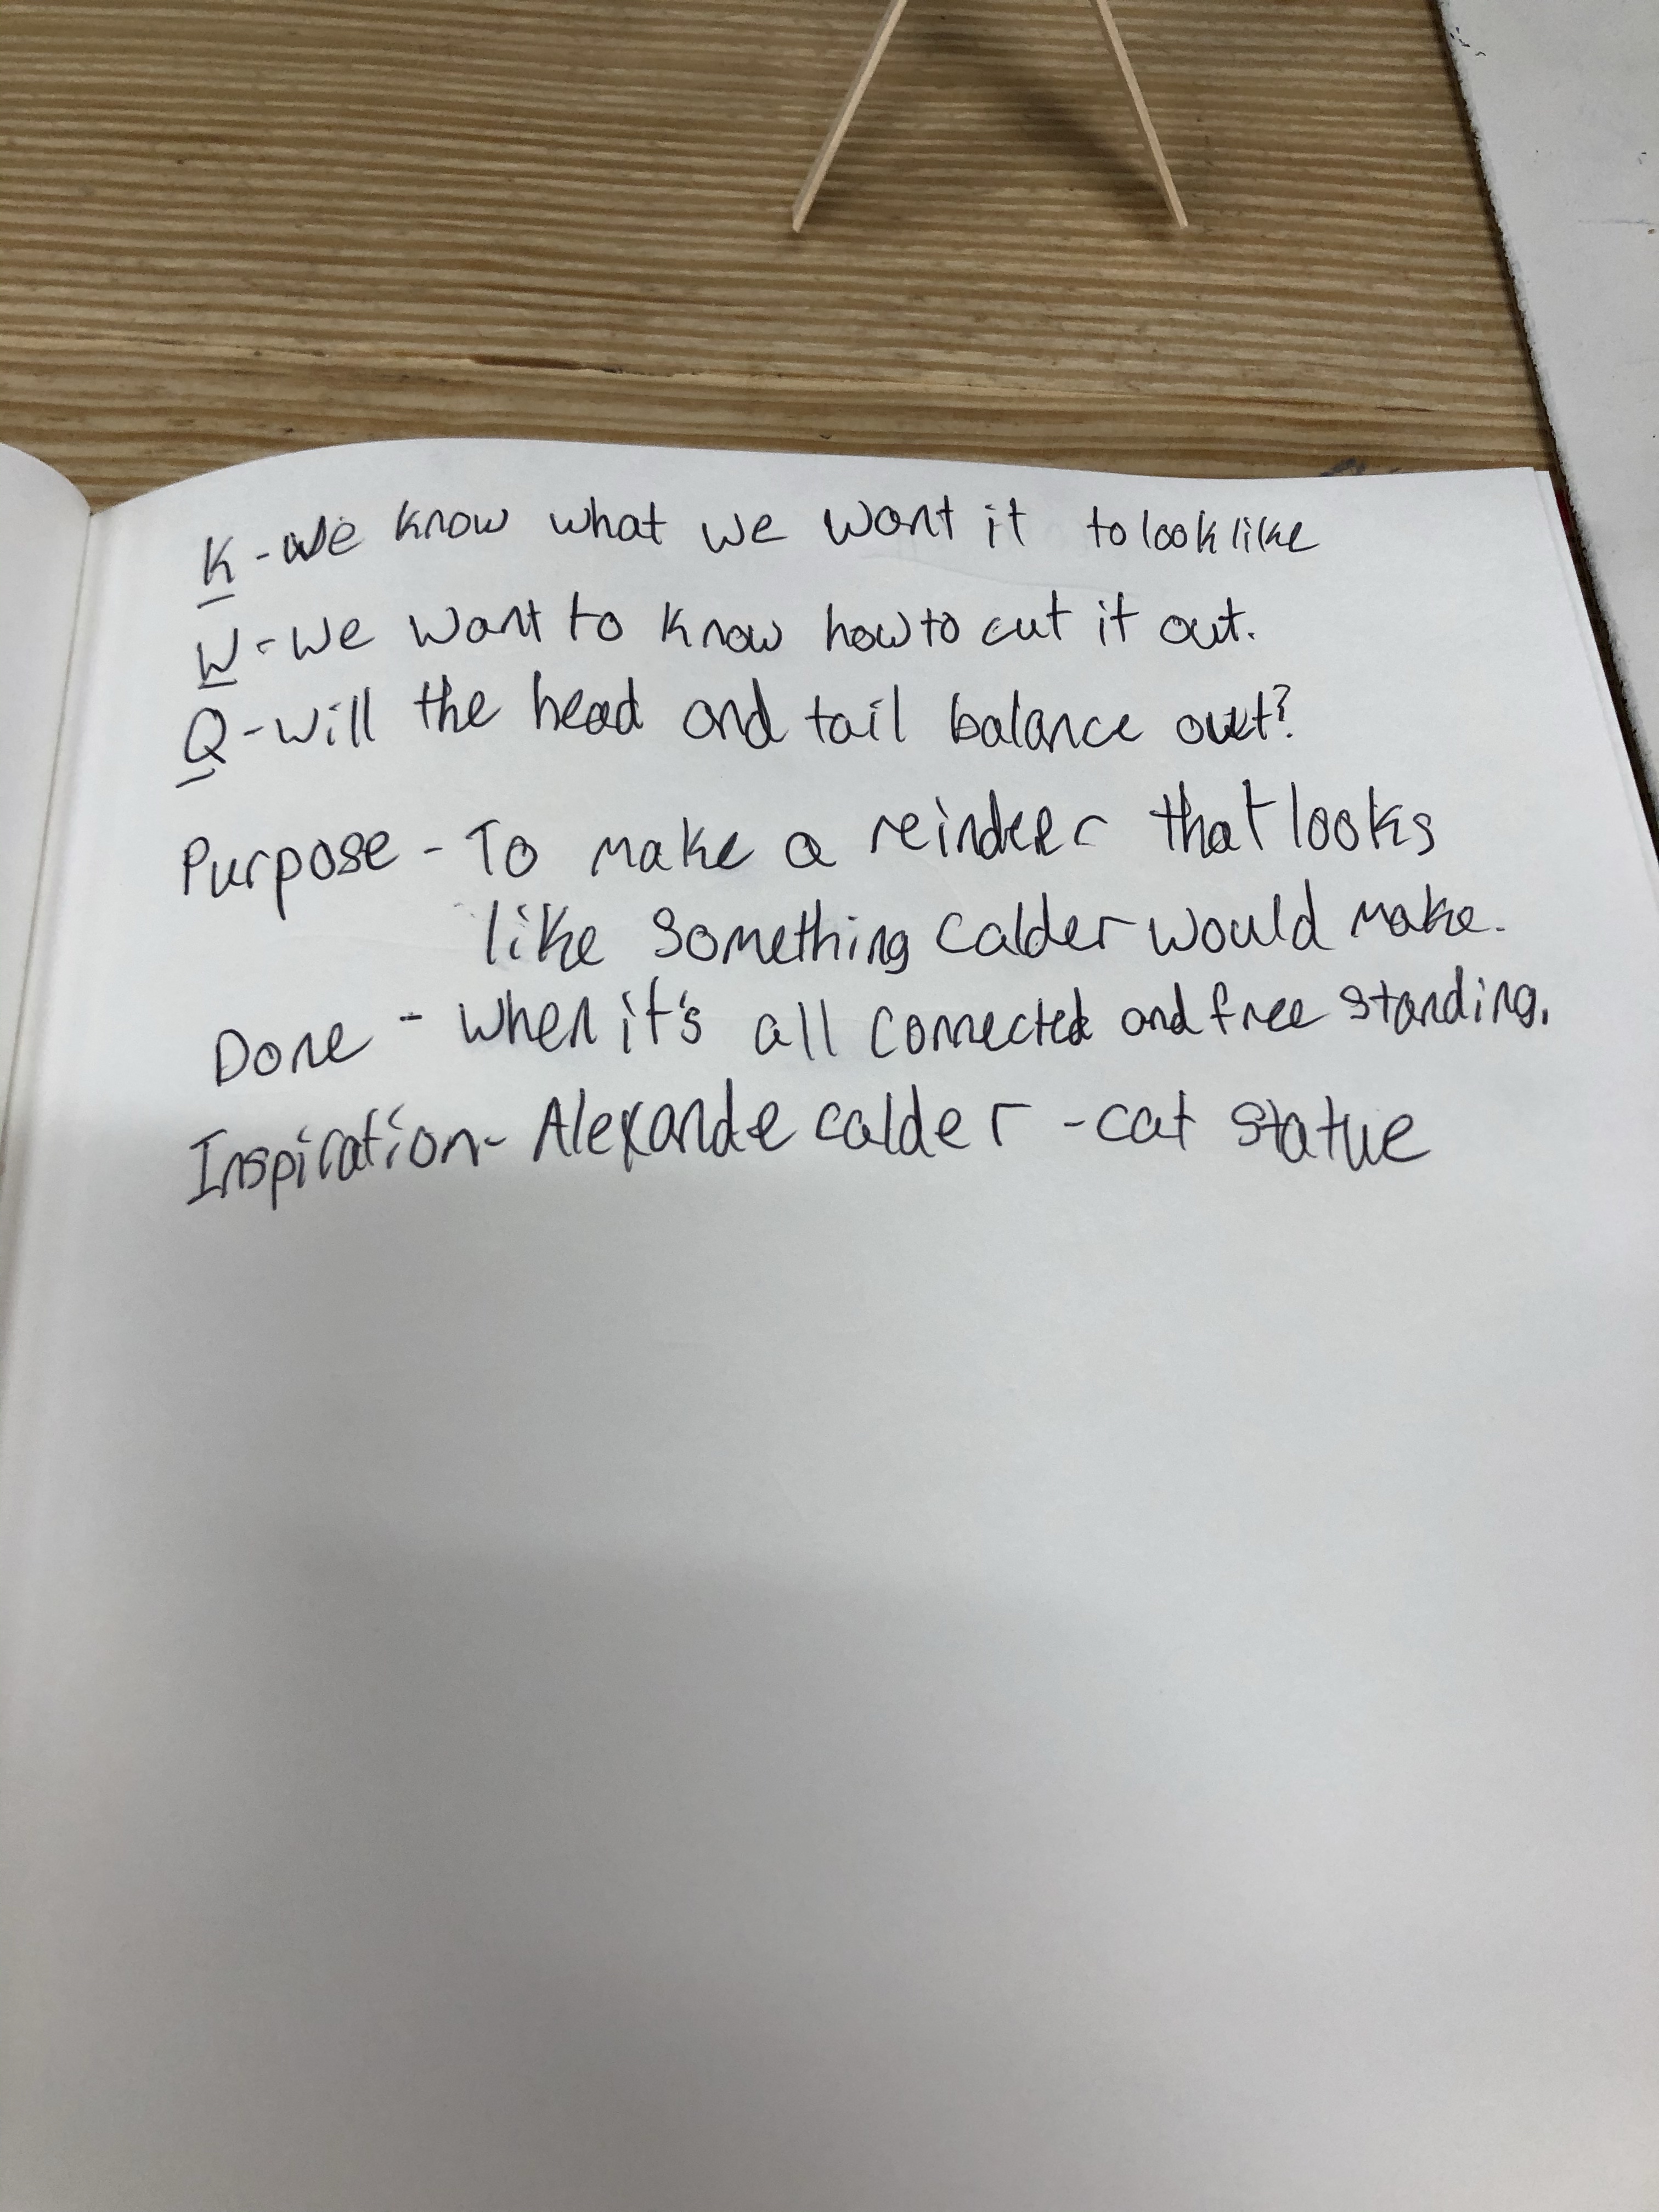
Today, Ethan and I combined our ideas into one and drew some sketches of what our project will look like.
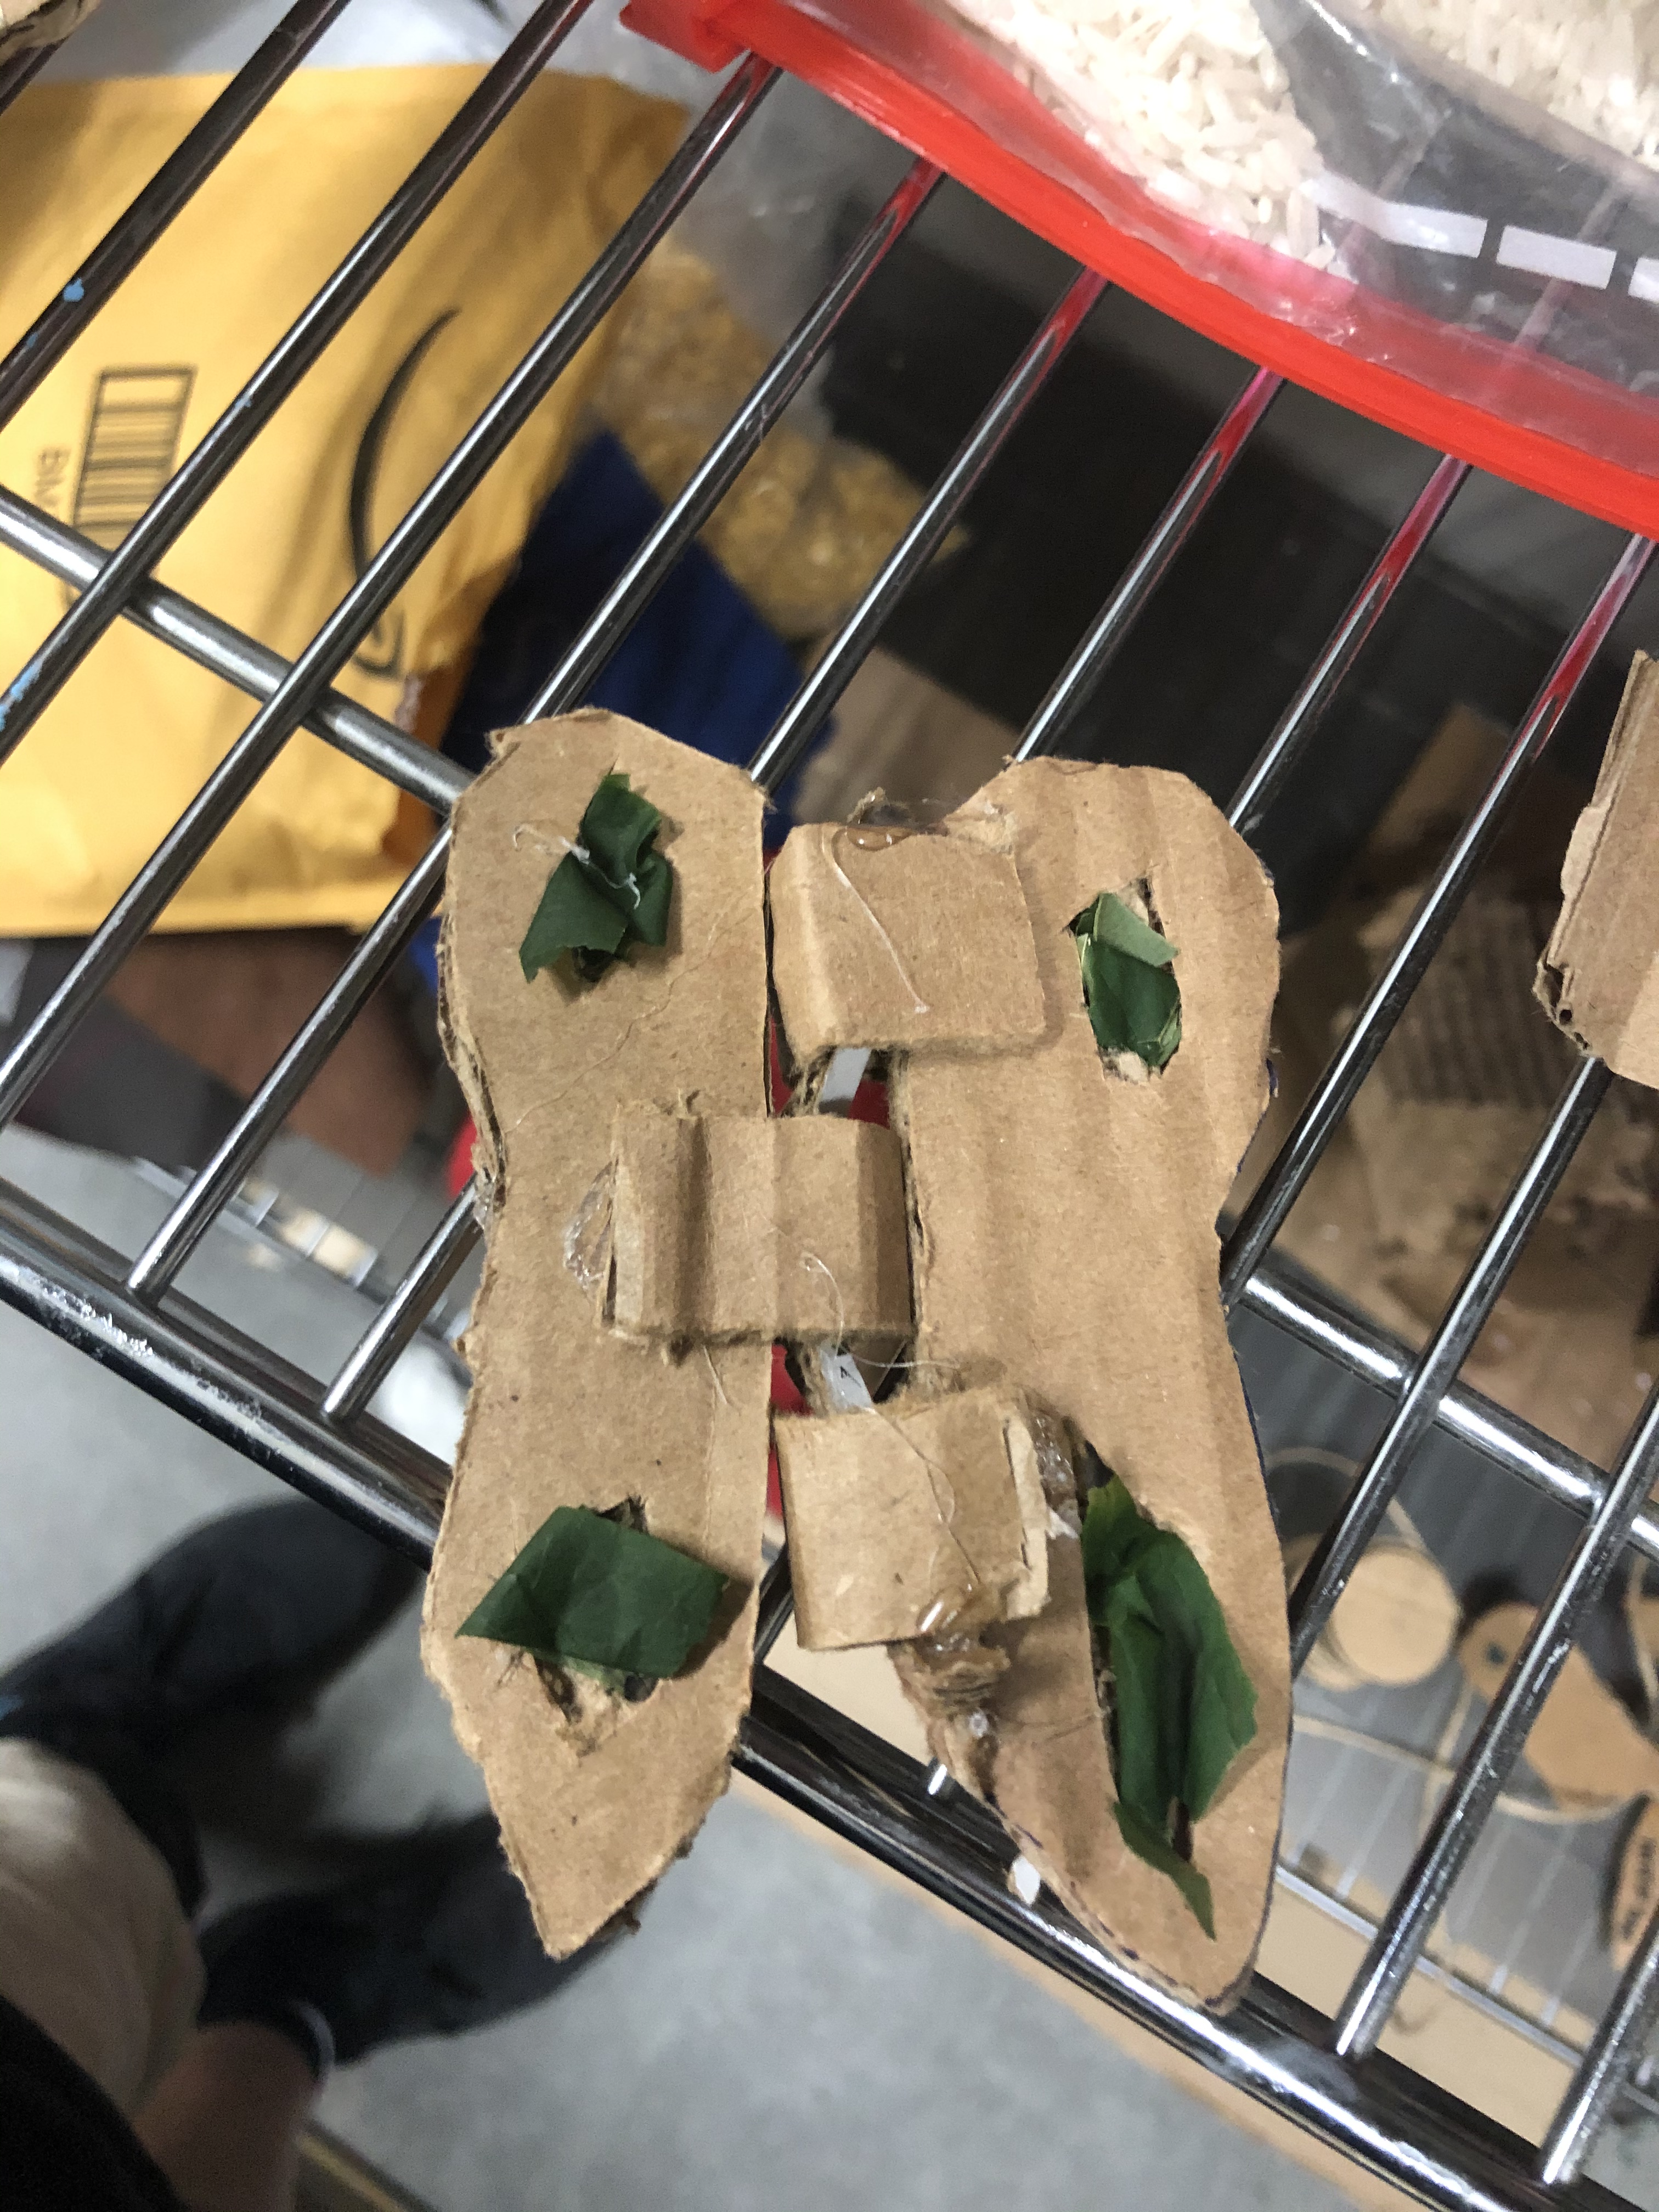
Today Alex and I tried to add the leaves to our butter fly which he finished printing in the last class. We tried to do this by putting in the leaves and hot gluing them down. This was a big failure because the hot glue didn’t dry clearly. We then tried to sand it down which made it worse. We ended the class where we started, but learned what not to do.
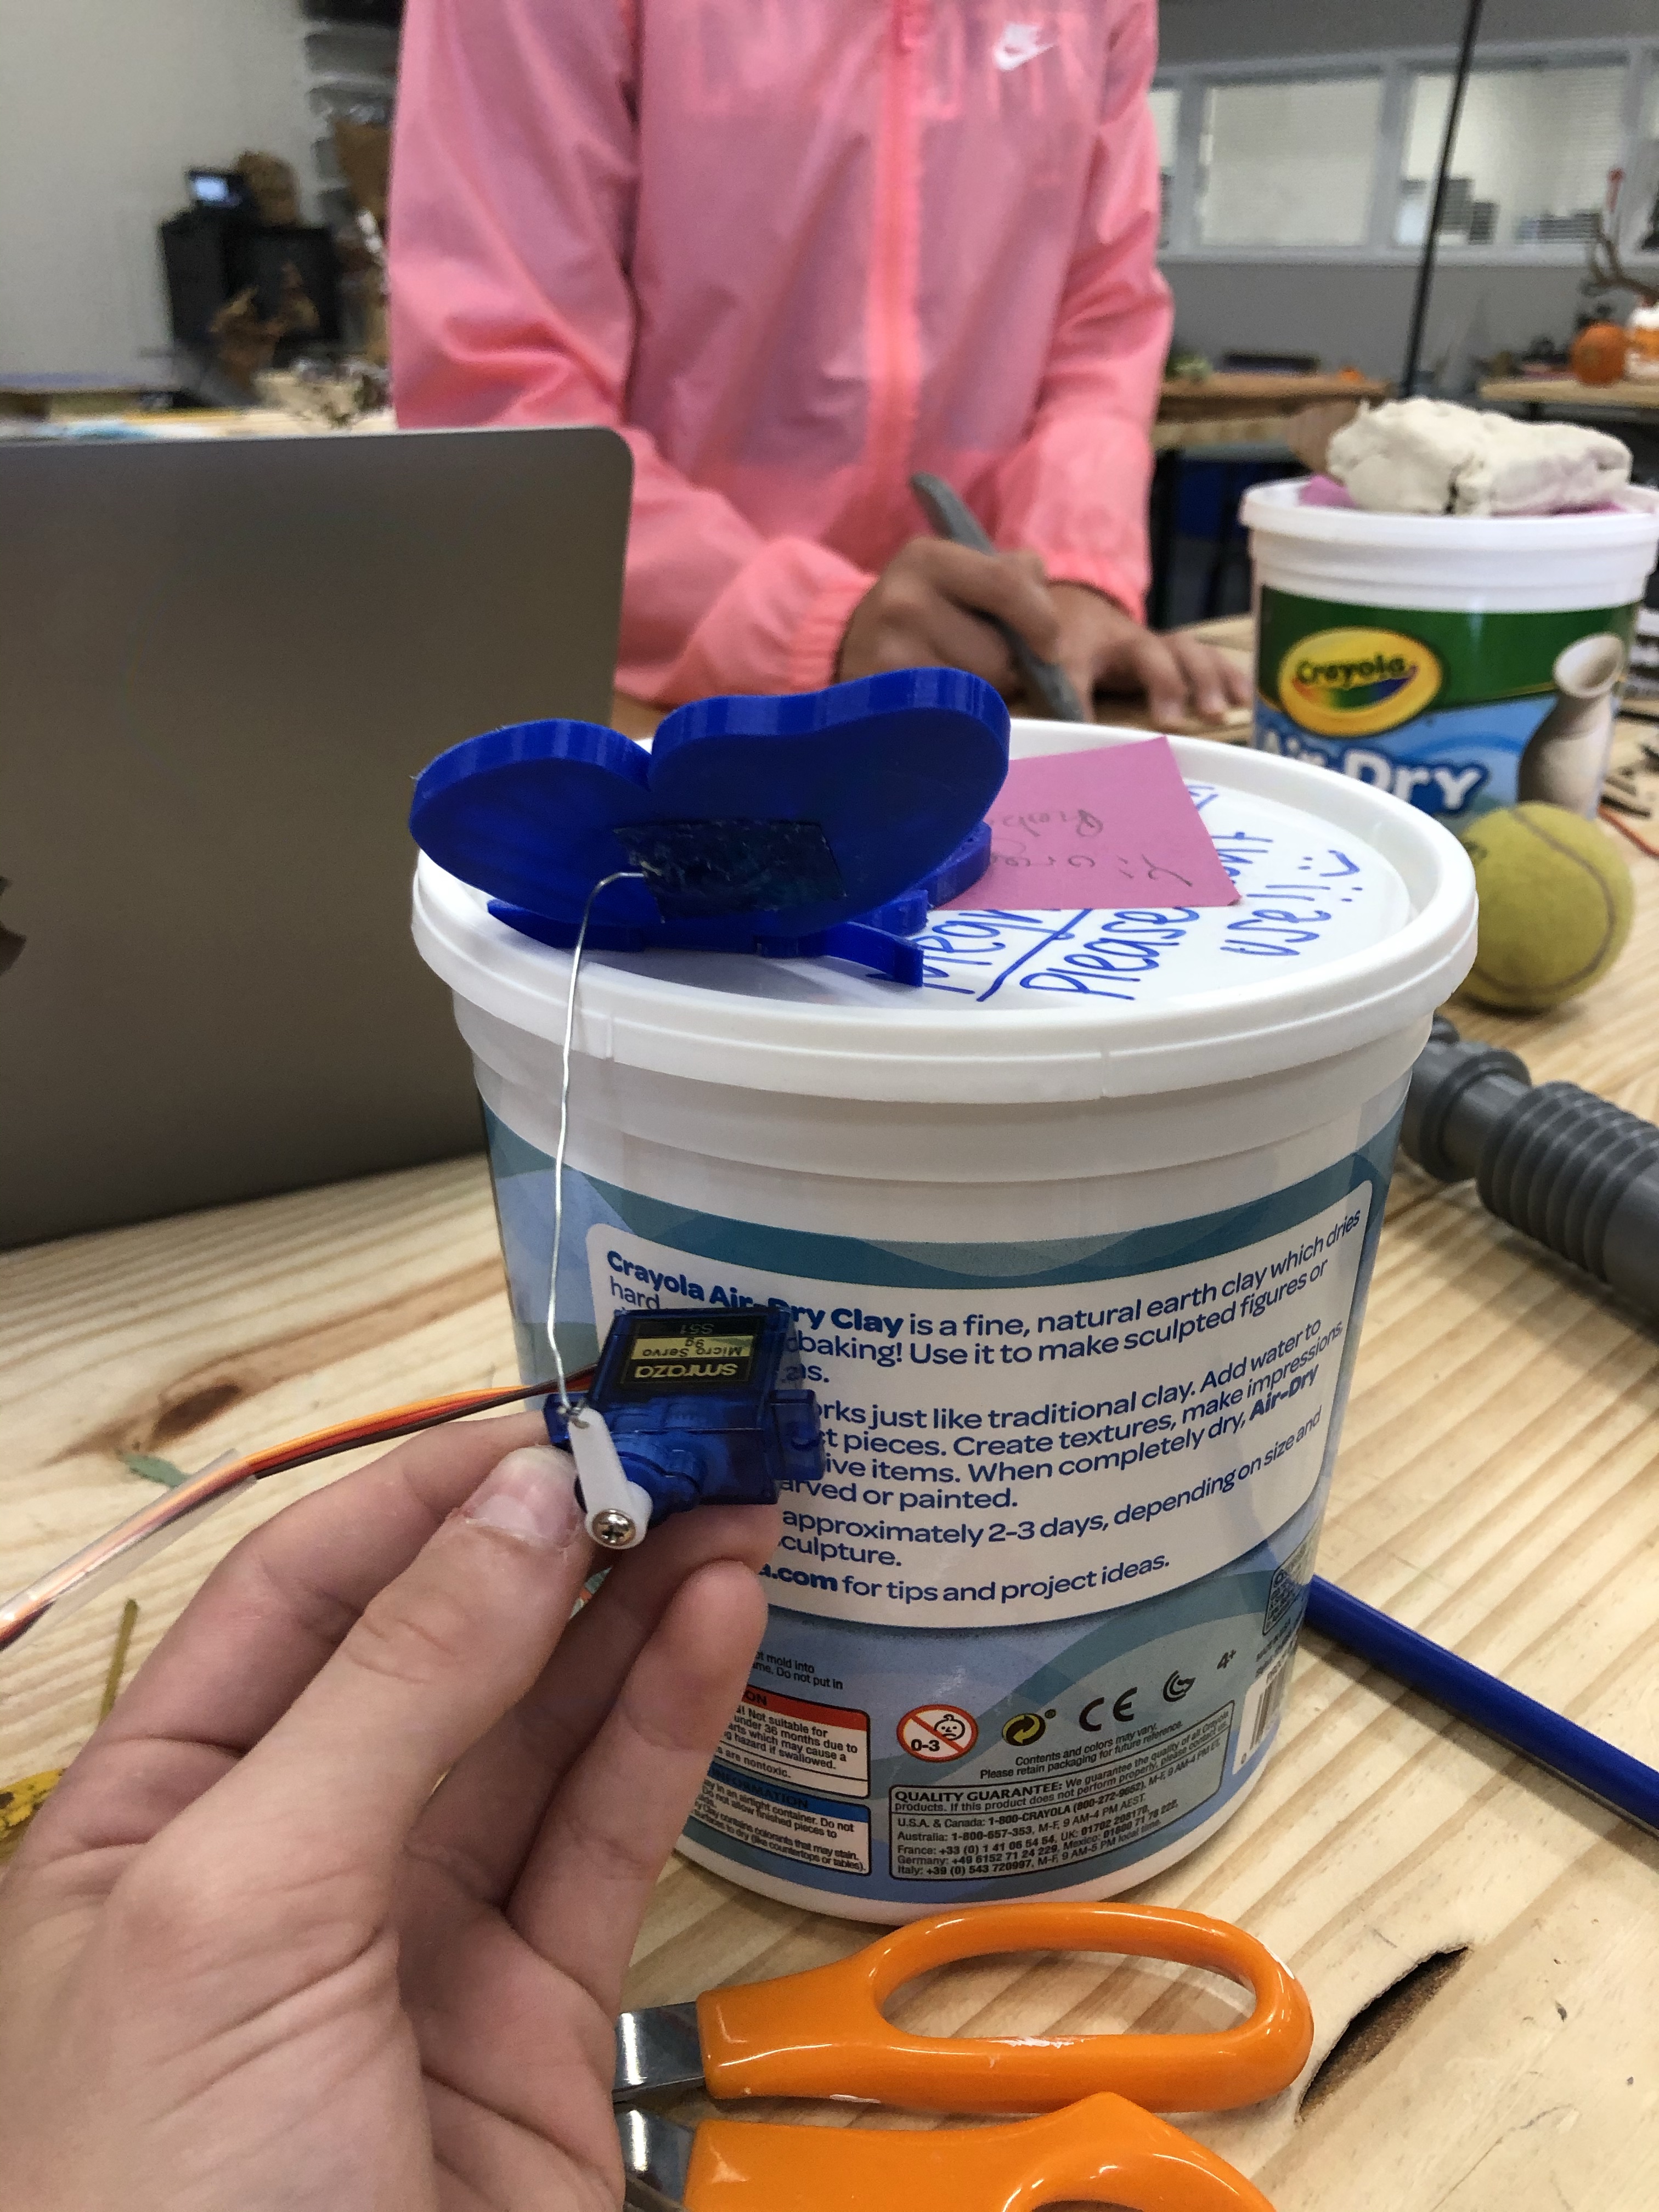
Today, I glued all the leaves on, then attached the sirvo to a paper clip and the wing of the butterfly.
Today, I attached the butterfly to a straw, and put it on a cardboard platform. The I used a glue that dries into plastic to attach a popsicle stick to the wing that doesn’t move. It is not yet stable but I will do that in the next class.
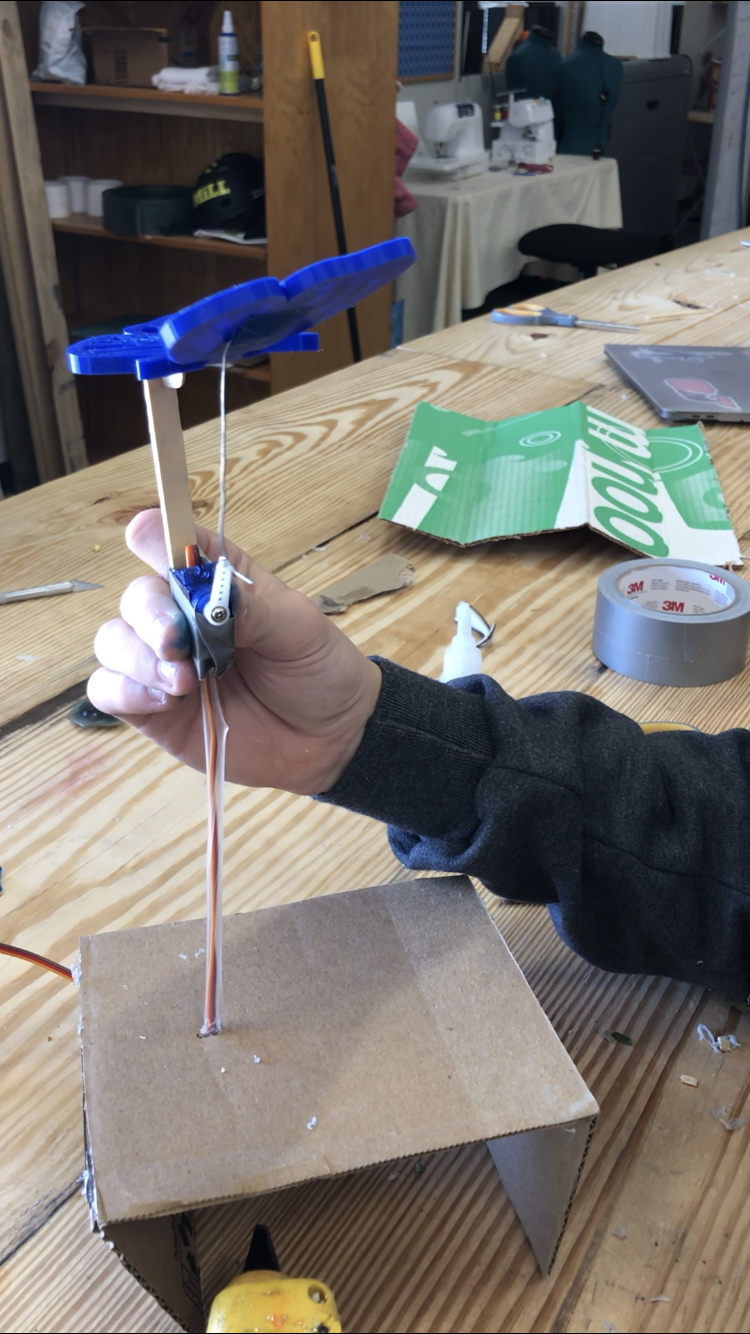
Today, I covered the platform in grass and added support so that it doesn’t collapse. It is now free standing and all we have to do is add the flower. *ADD PICTURE*
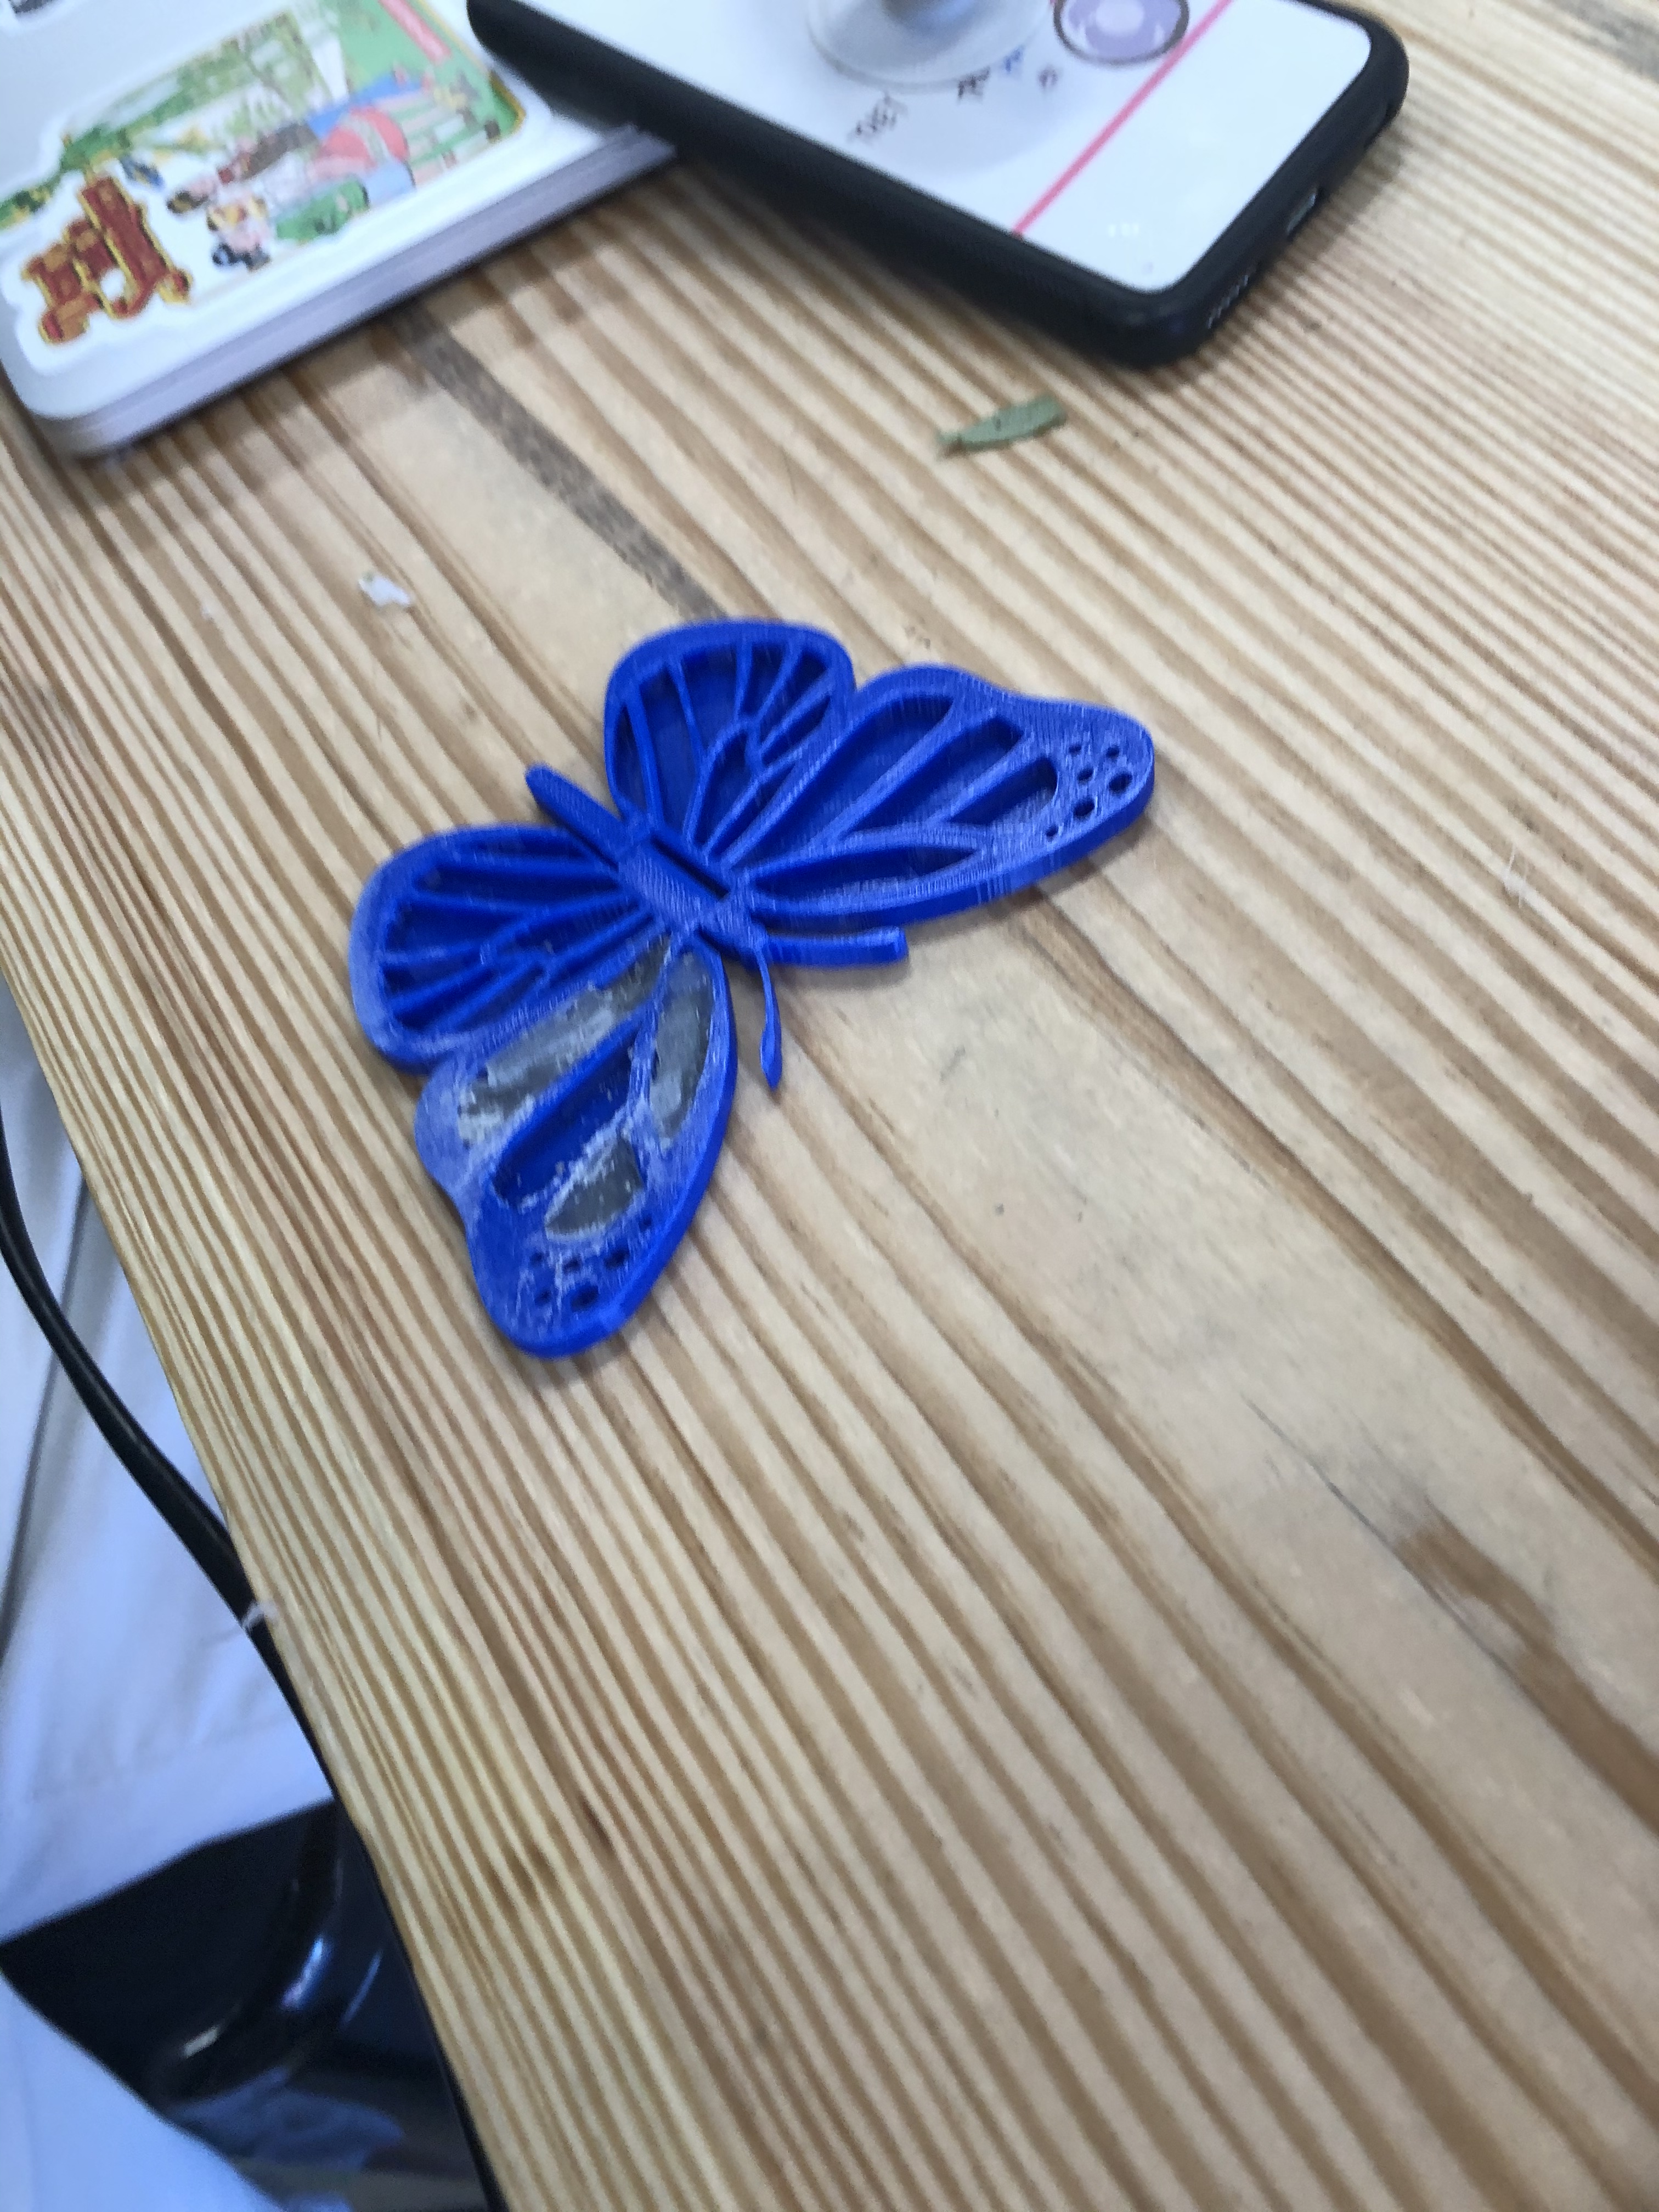
Today Alex and I did some planning for our project, we settled on making a butterfly that’s wings would flap when cranked by a handle. Then we made a project proposal in our sketchbooks. We are going to 3D print the butterfly body.
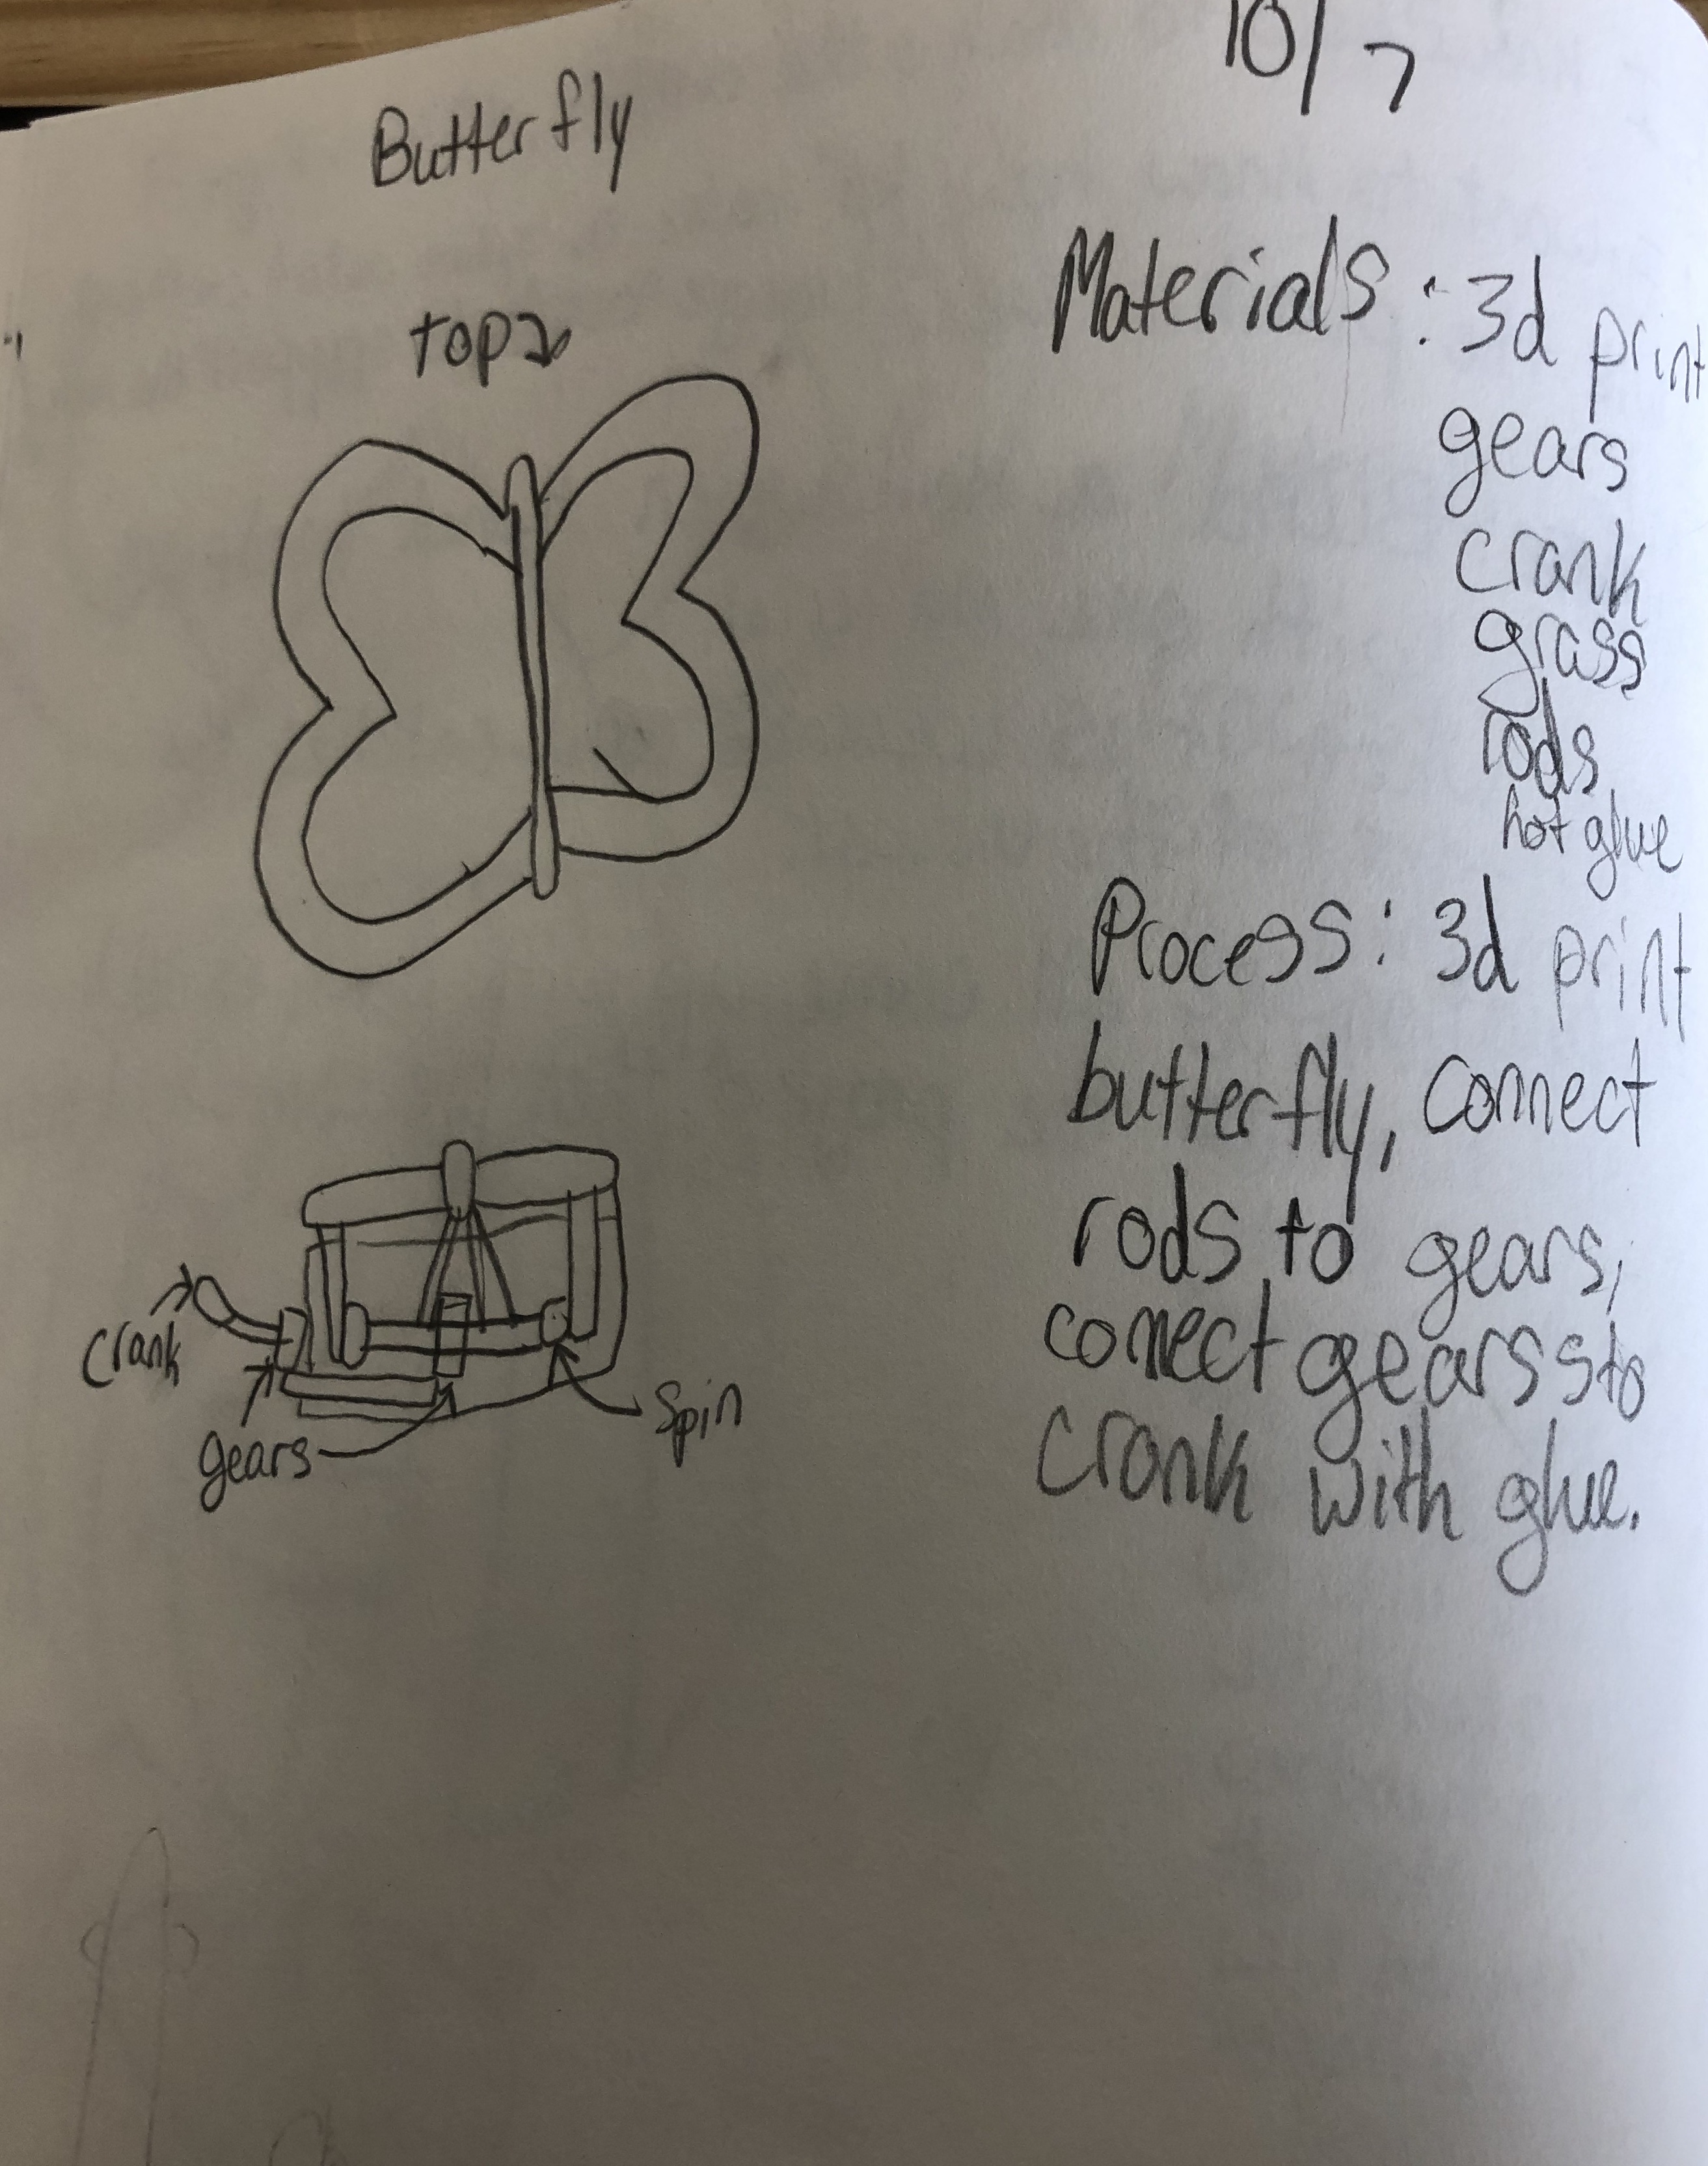

Today Alex and I did some planning for our project, we settled on making a butterfly that’s wings would flap when cranked by a handle. Then we made a project proposal in our sketchbooks. We are going to 3D print the butterfly body. We innovated by seeing a butterfly in the presentation that Mush showed us. We liked that it was simple and also detailed. In ours, the wings will move connected to a servo, but in the one in the video they were connected to gears. Also, our butterfly will be resting on a flower. For the design, I wasn’t sure what material I wanted to use. I haven’t really 3d printed anything, but Alex was enthusiastic about it and knew how to do it.
We then created the very first prototype for the butterfly:
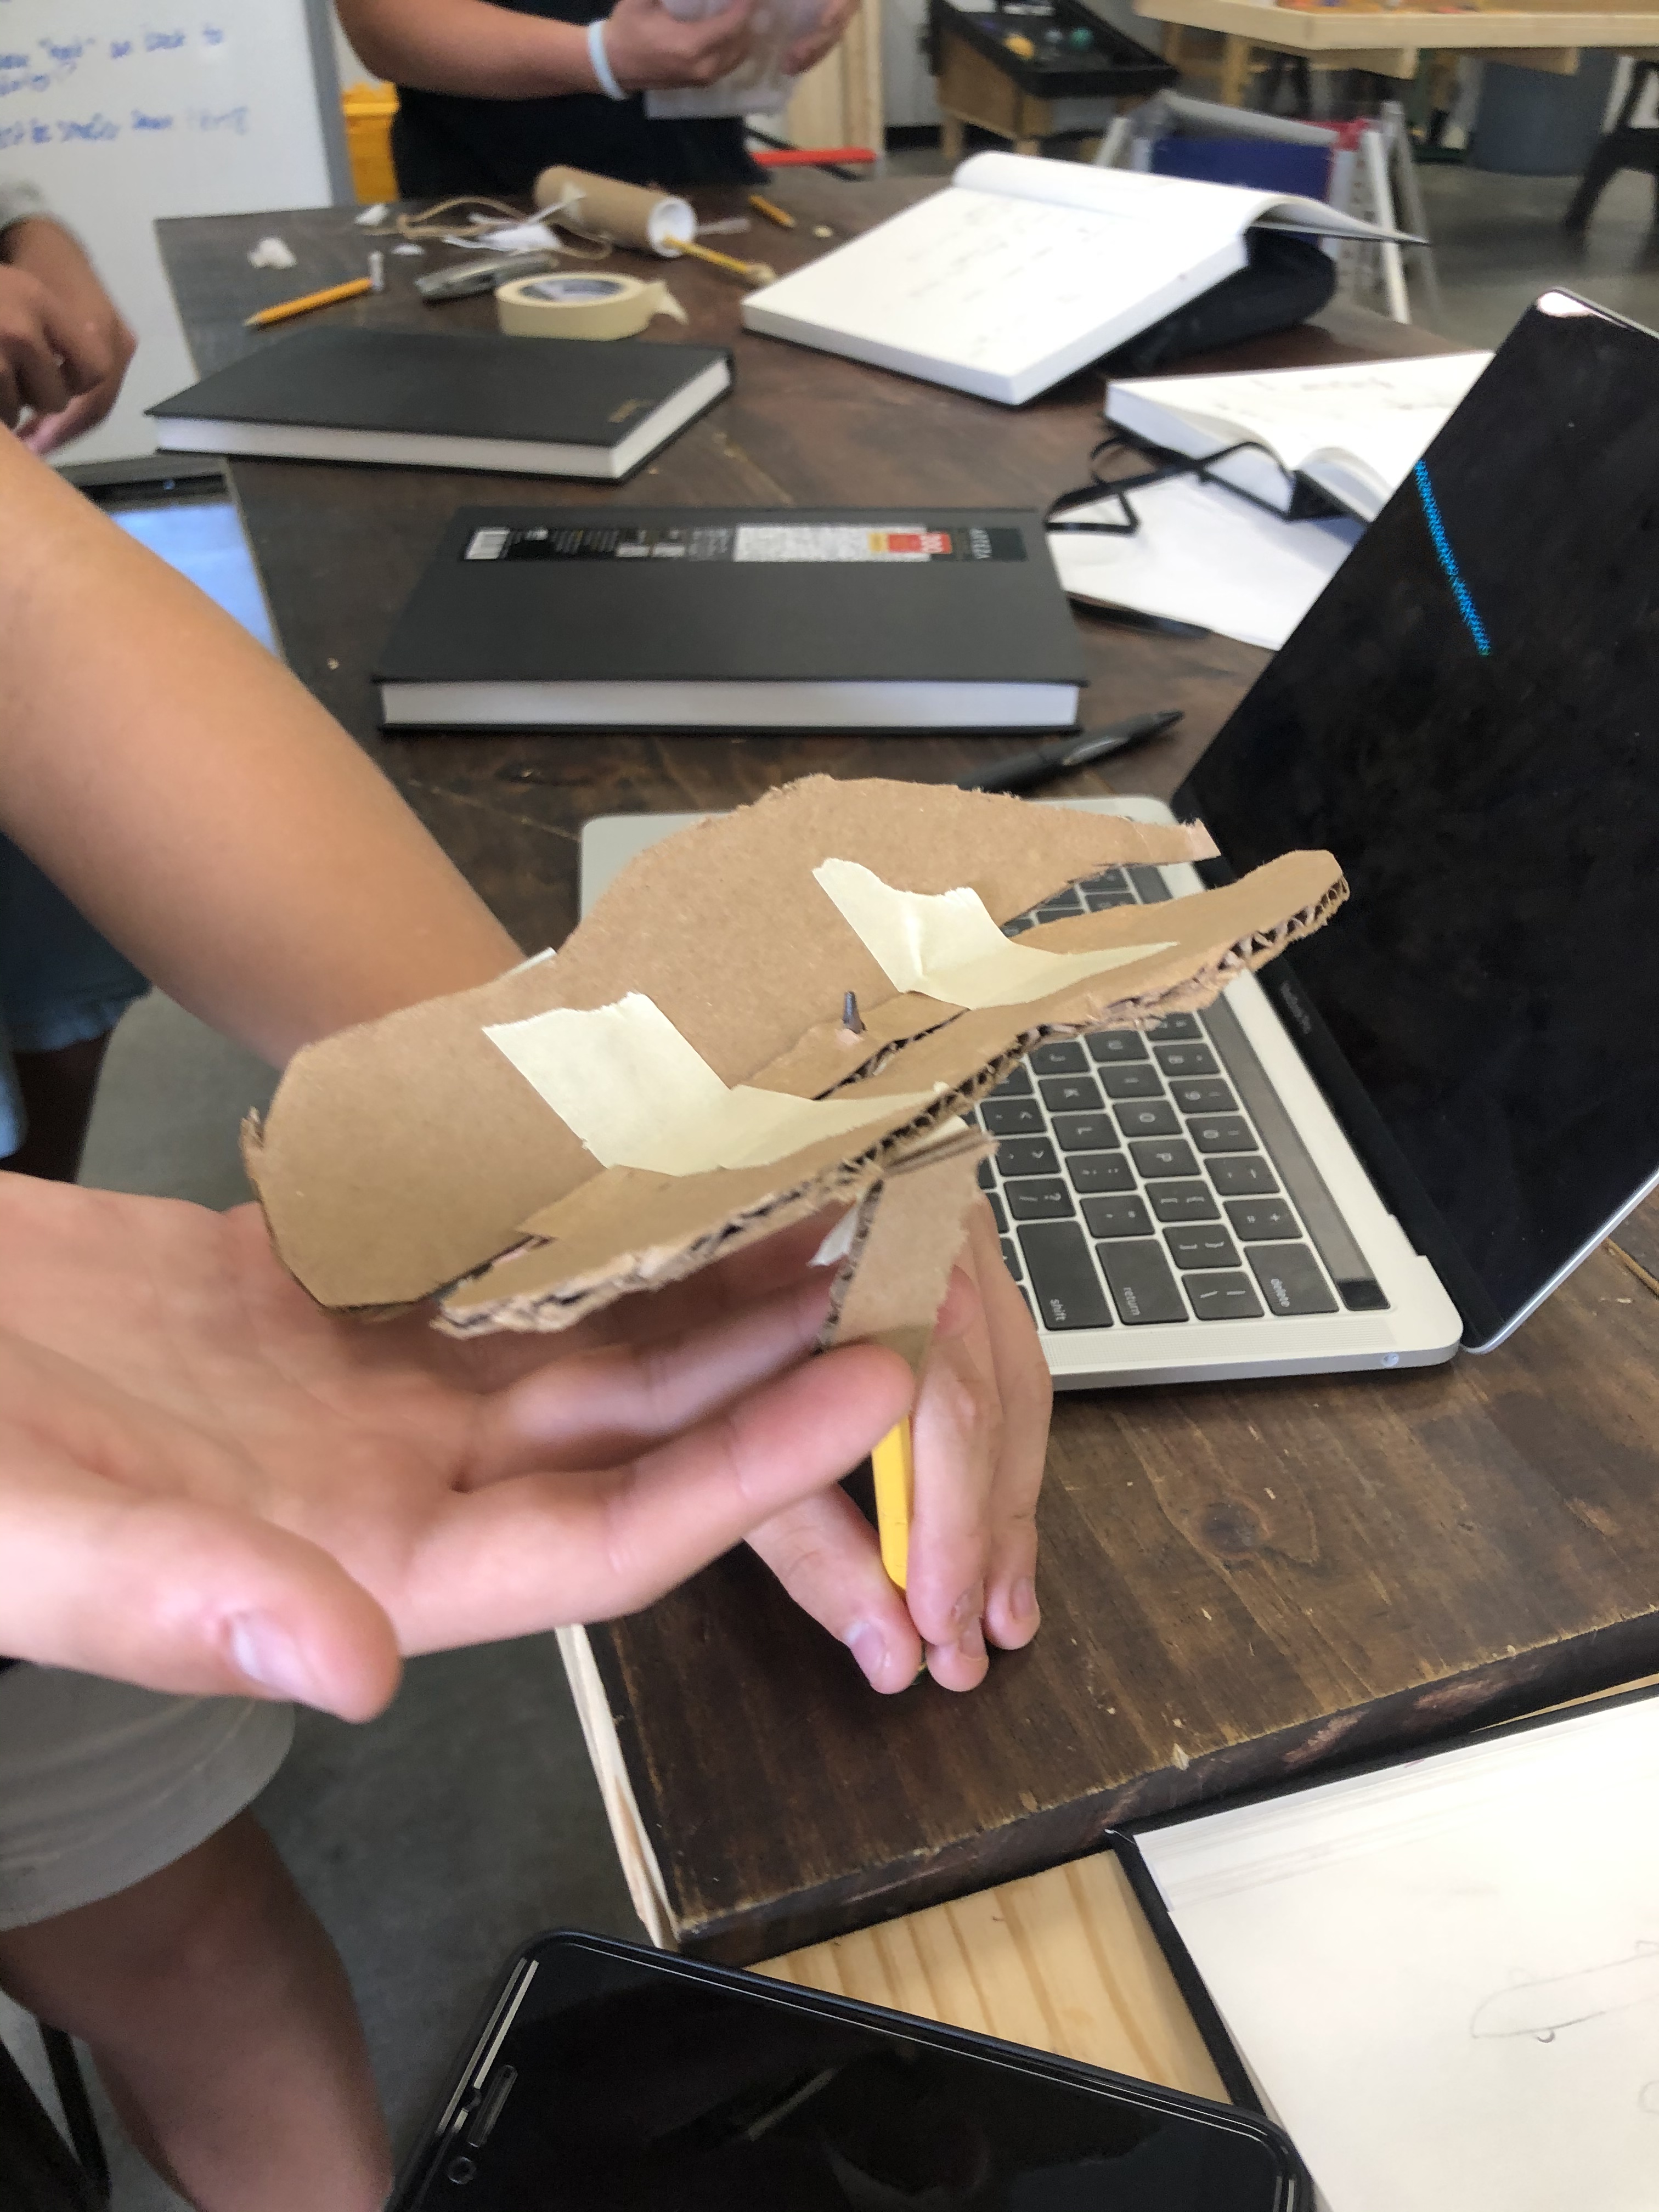
In our next class, we created the next prototype. In this one, we created a hinge that the wings were attached to them we had 2 pieces of cardboard coming down.
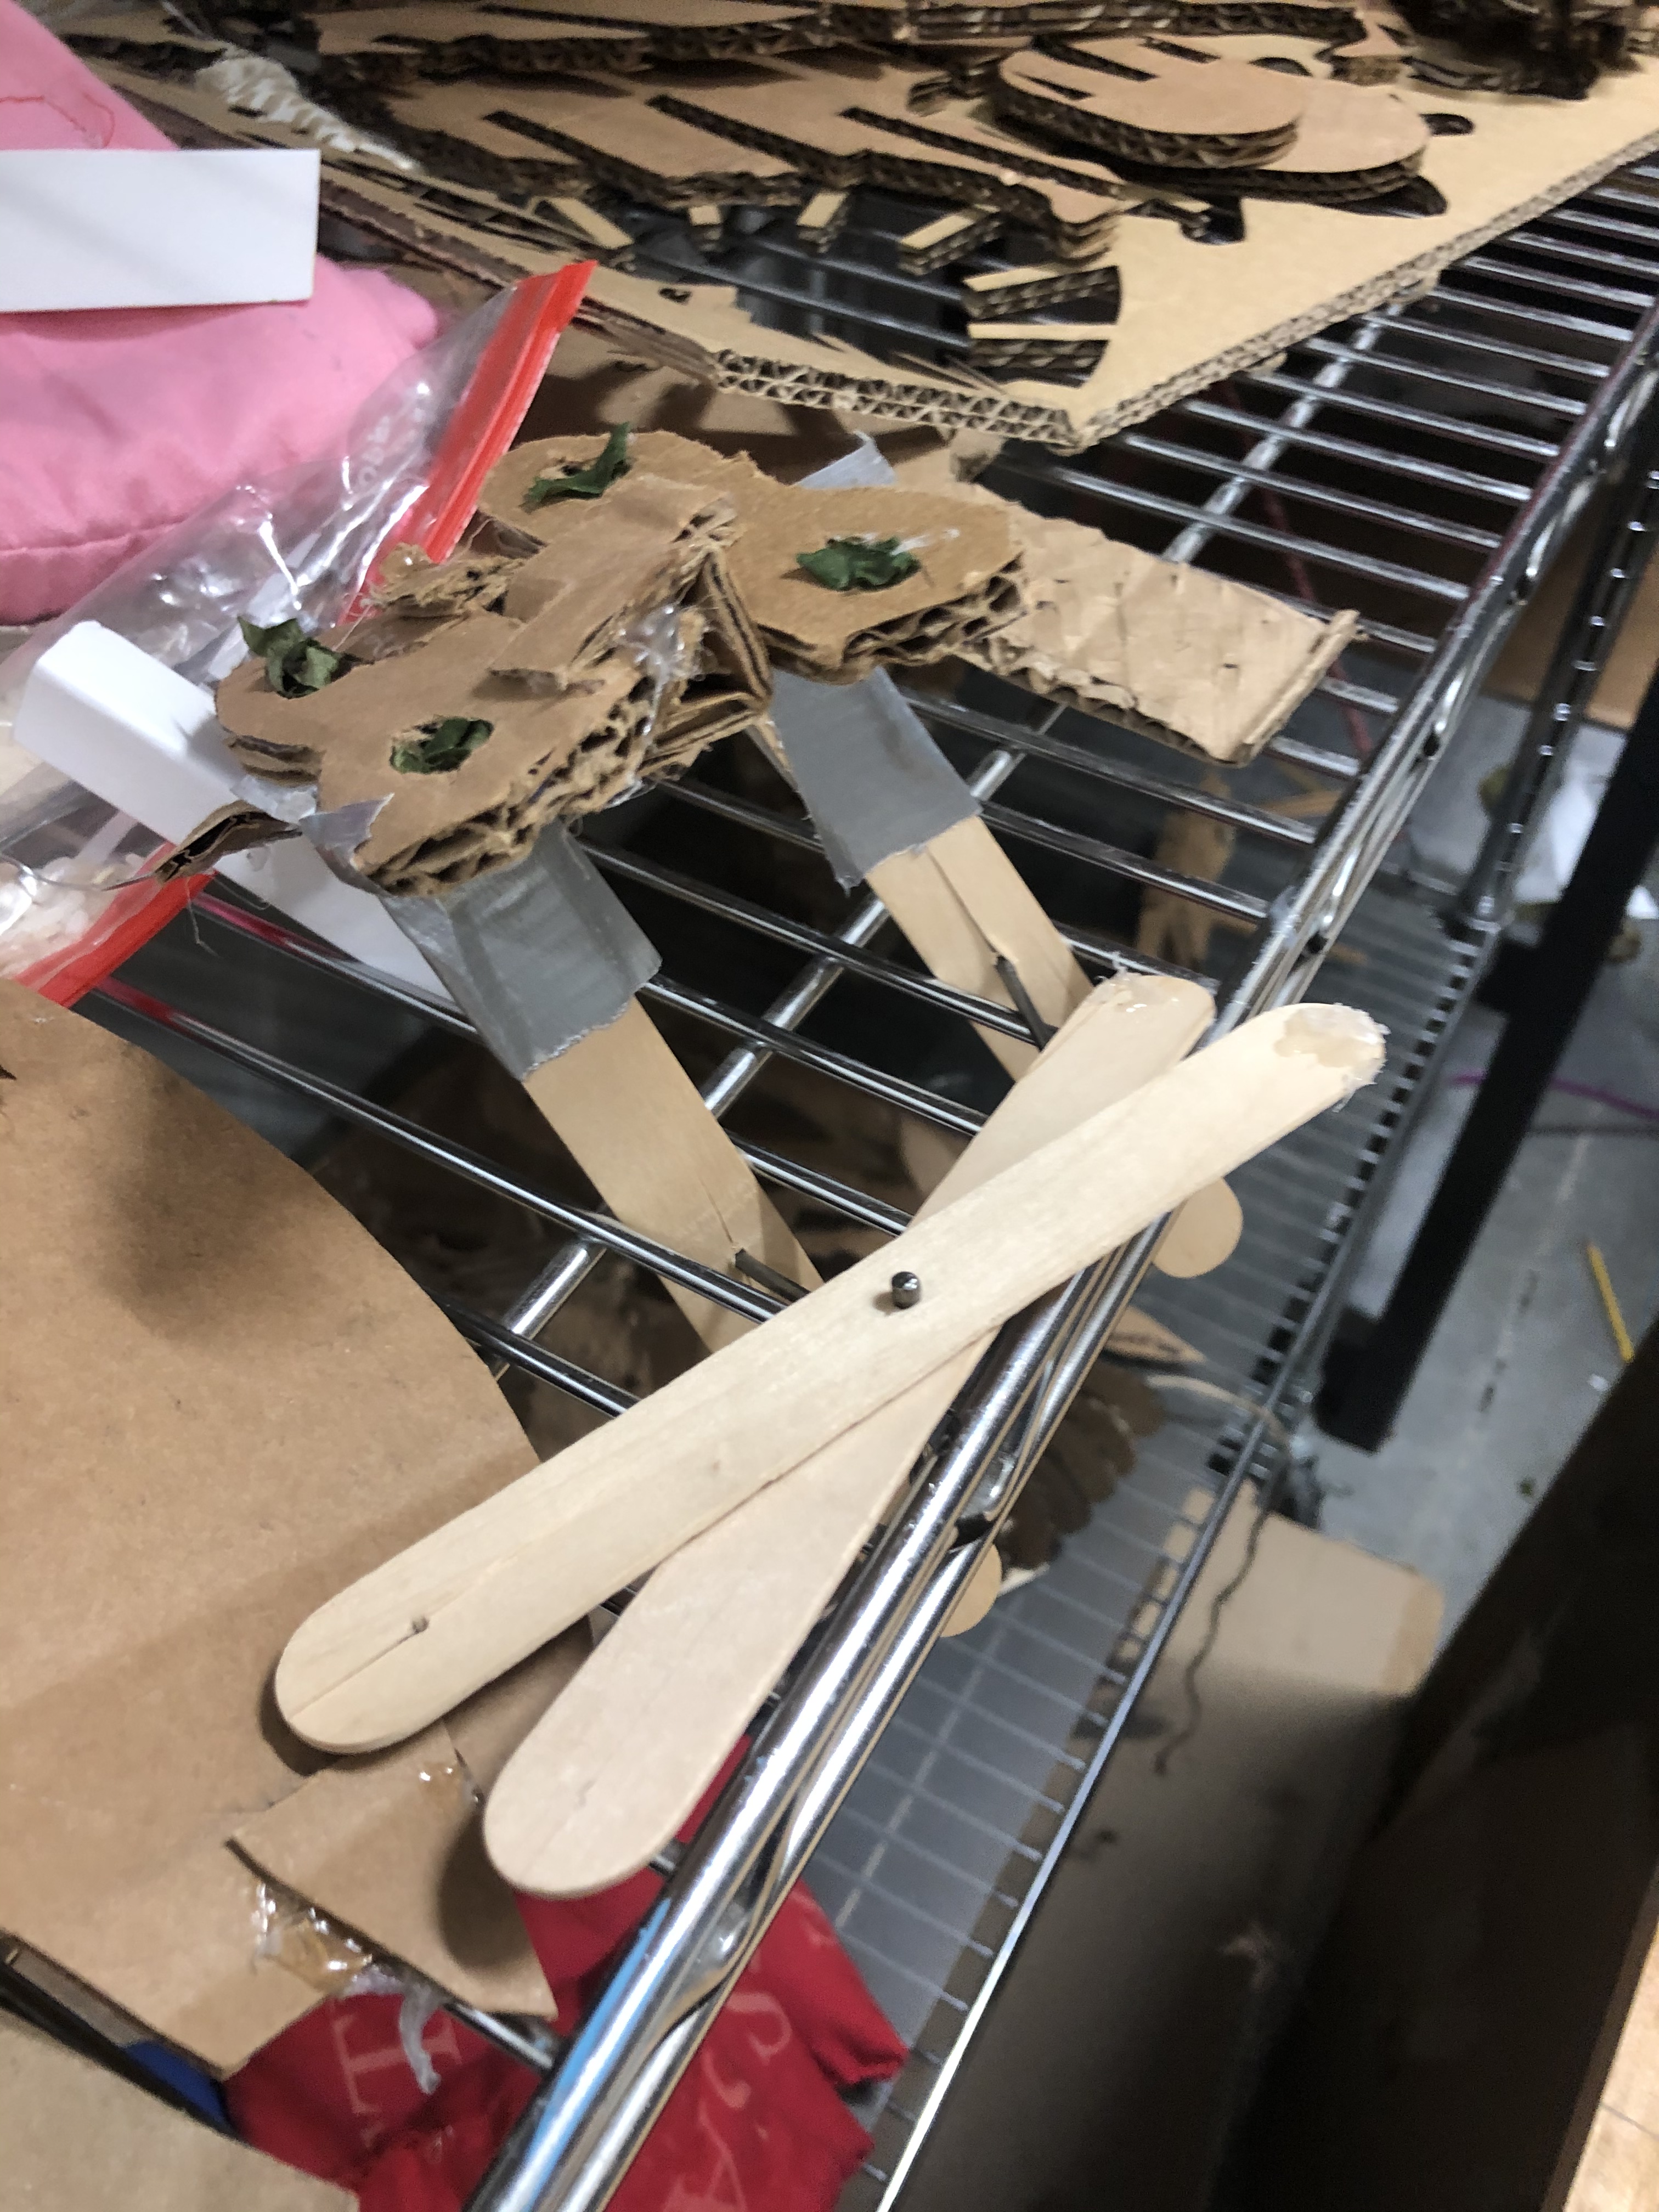
In our next class we needed to figure out a way to make the wings flap, we brainstormed through many ideas but decided to make a scissor sort of action with popsicle sticks.
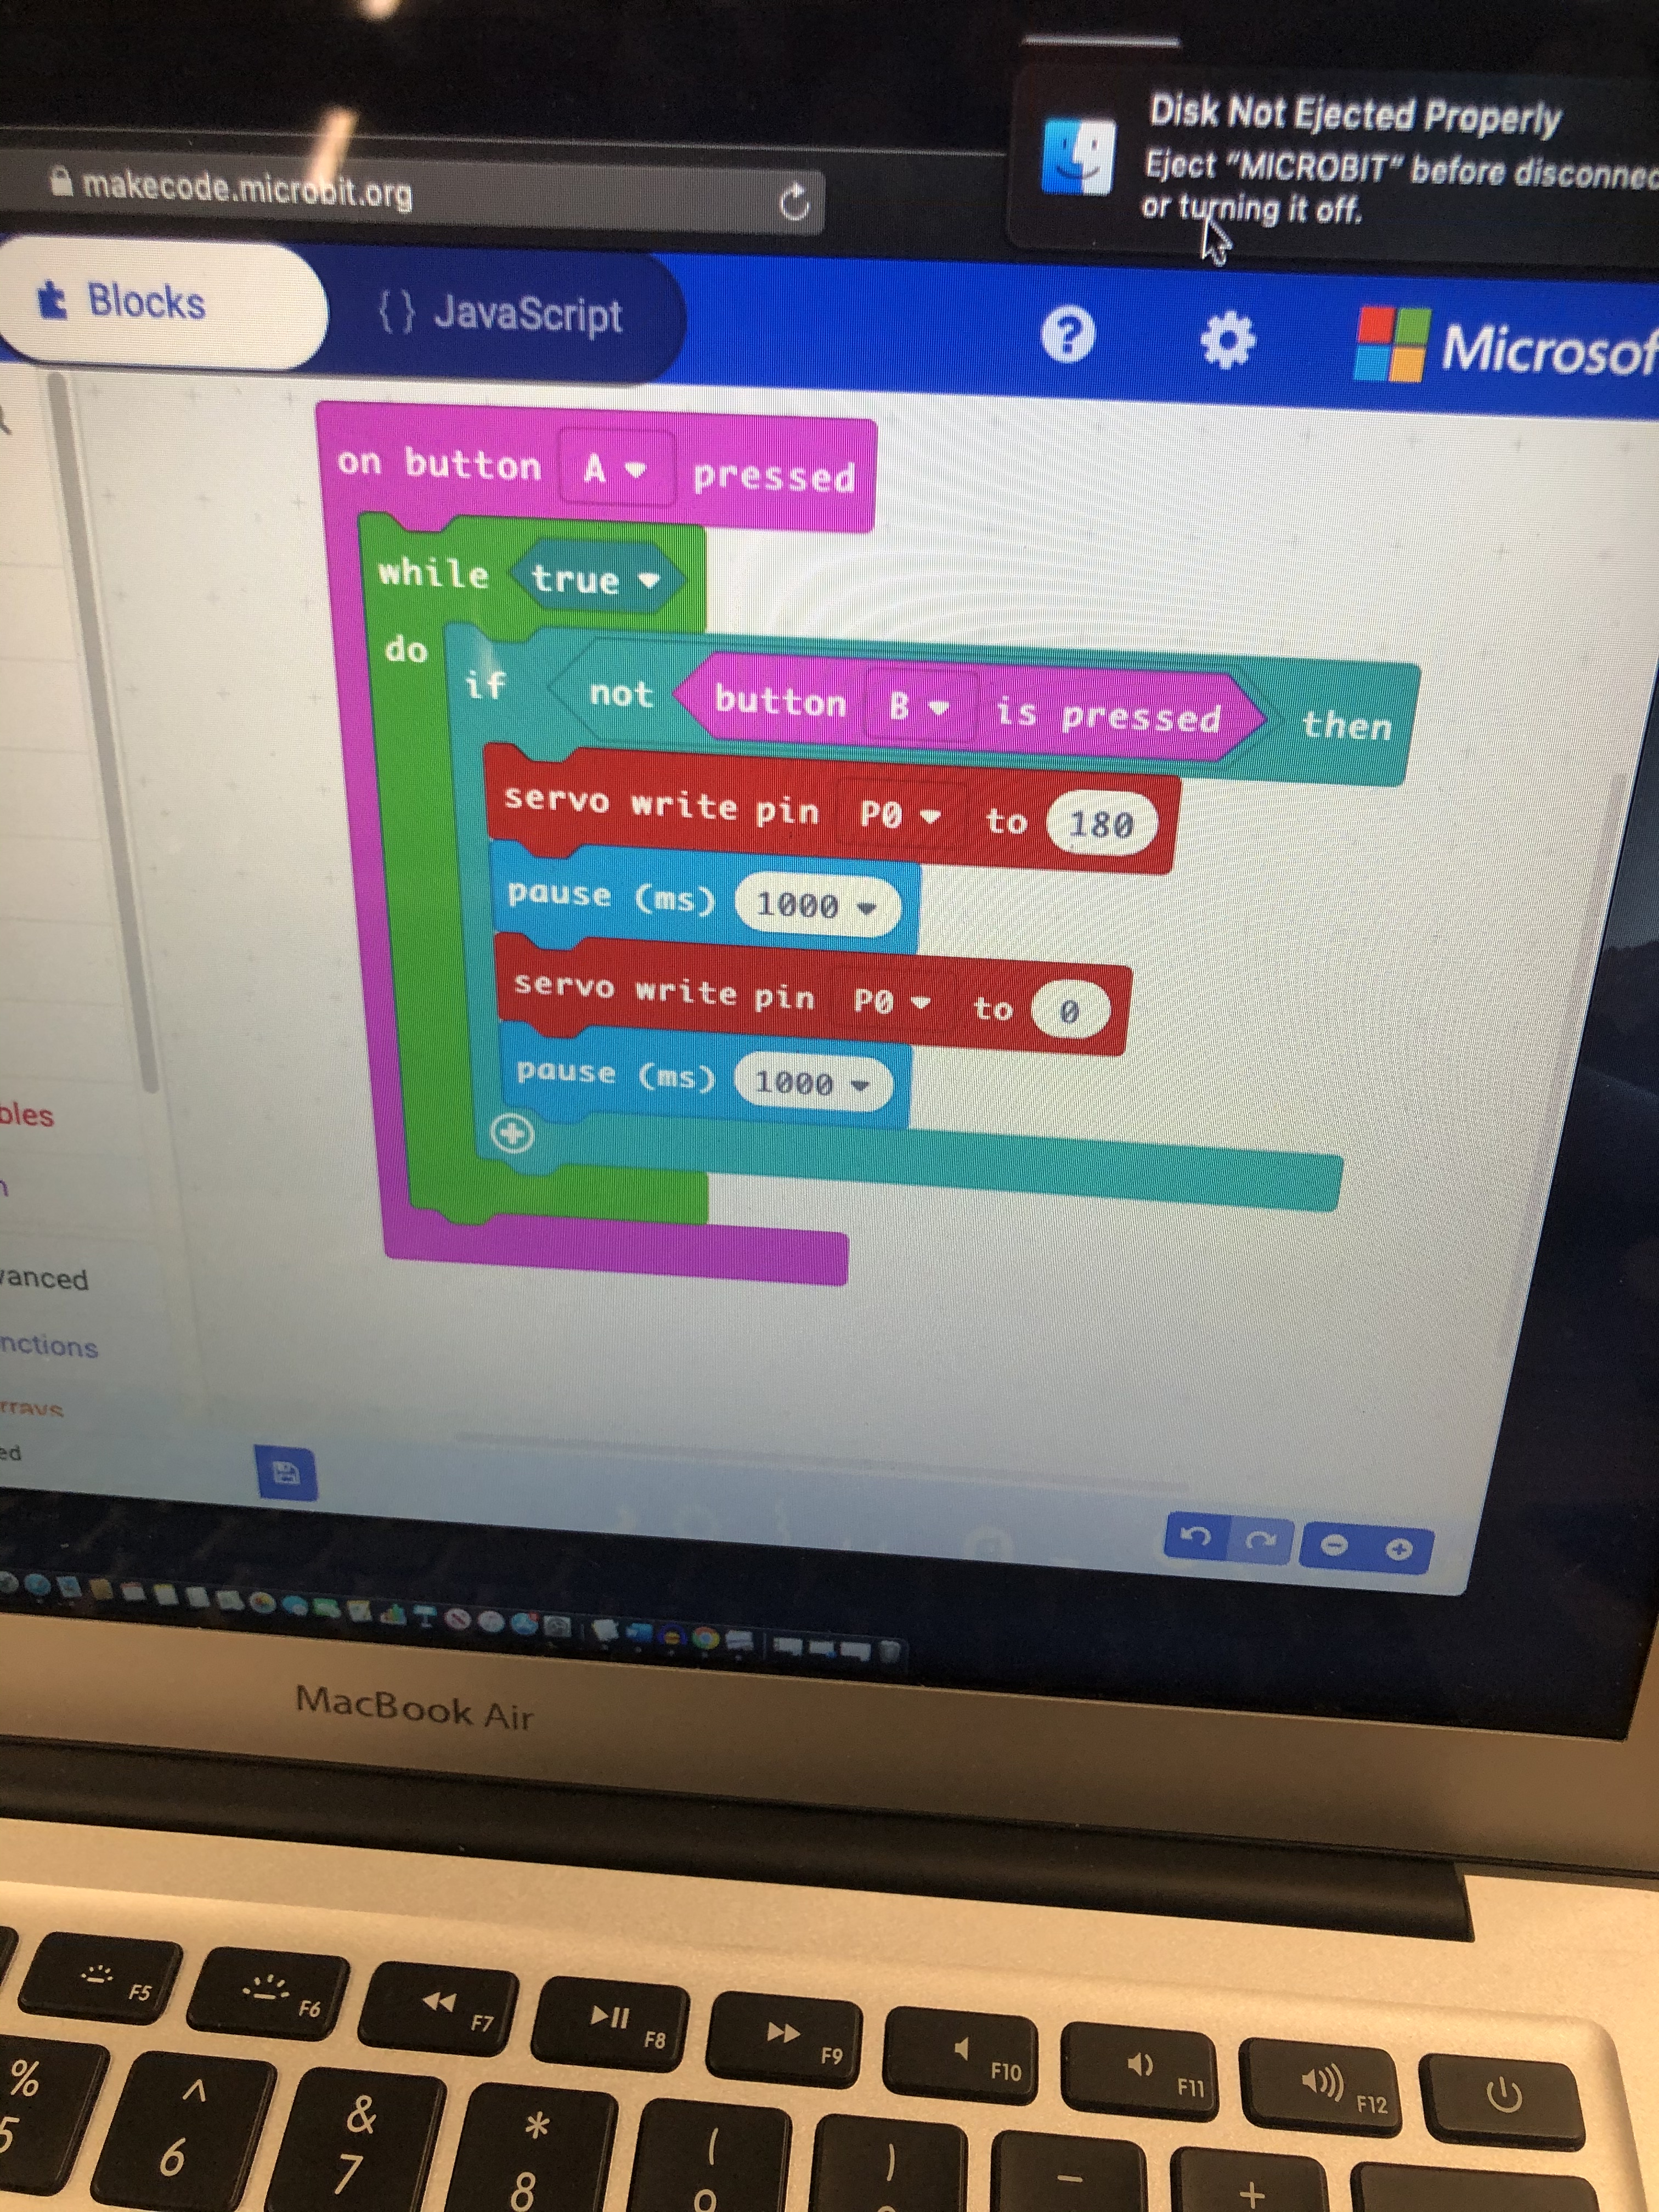
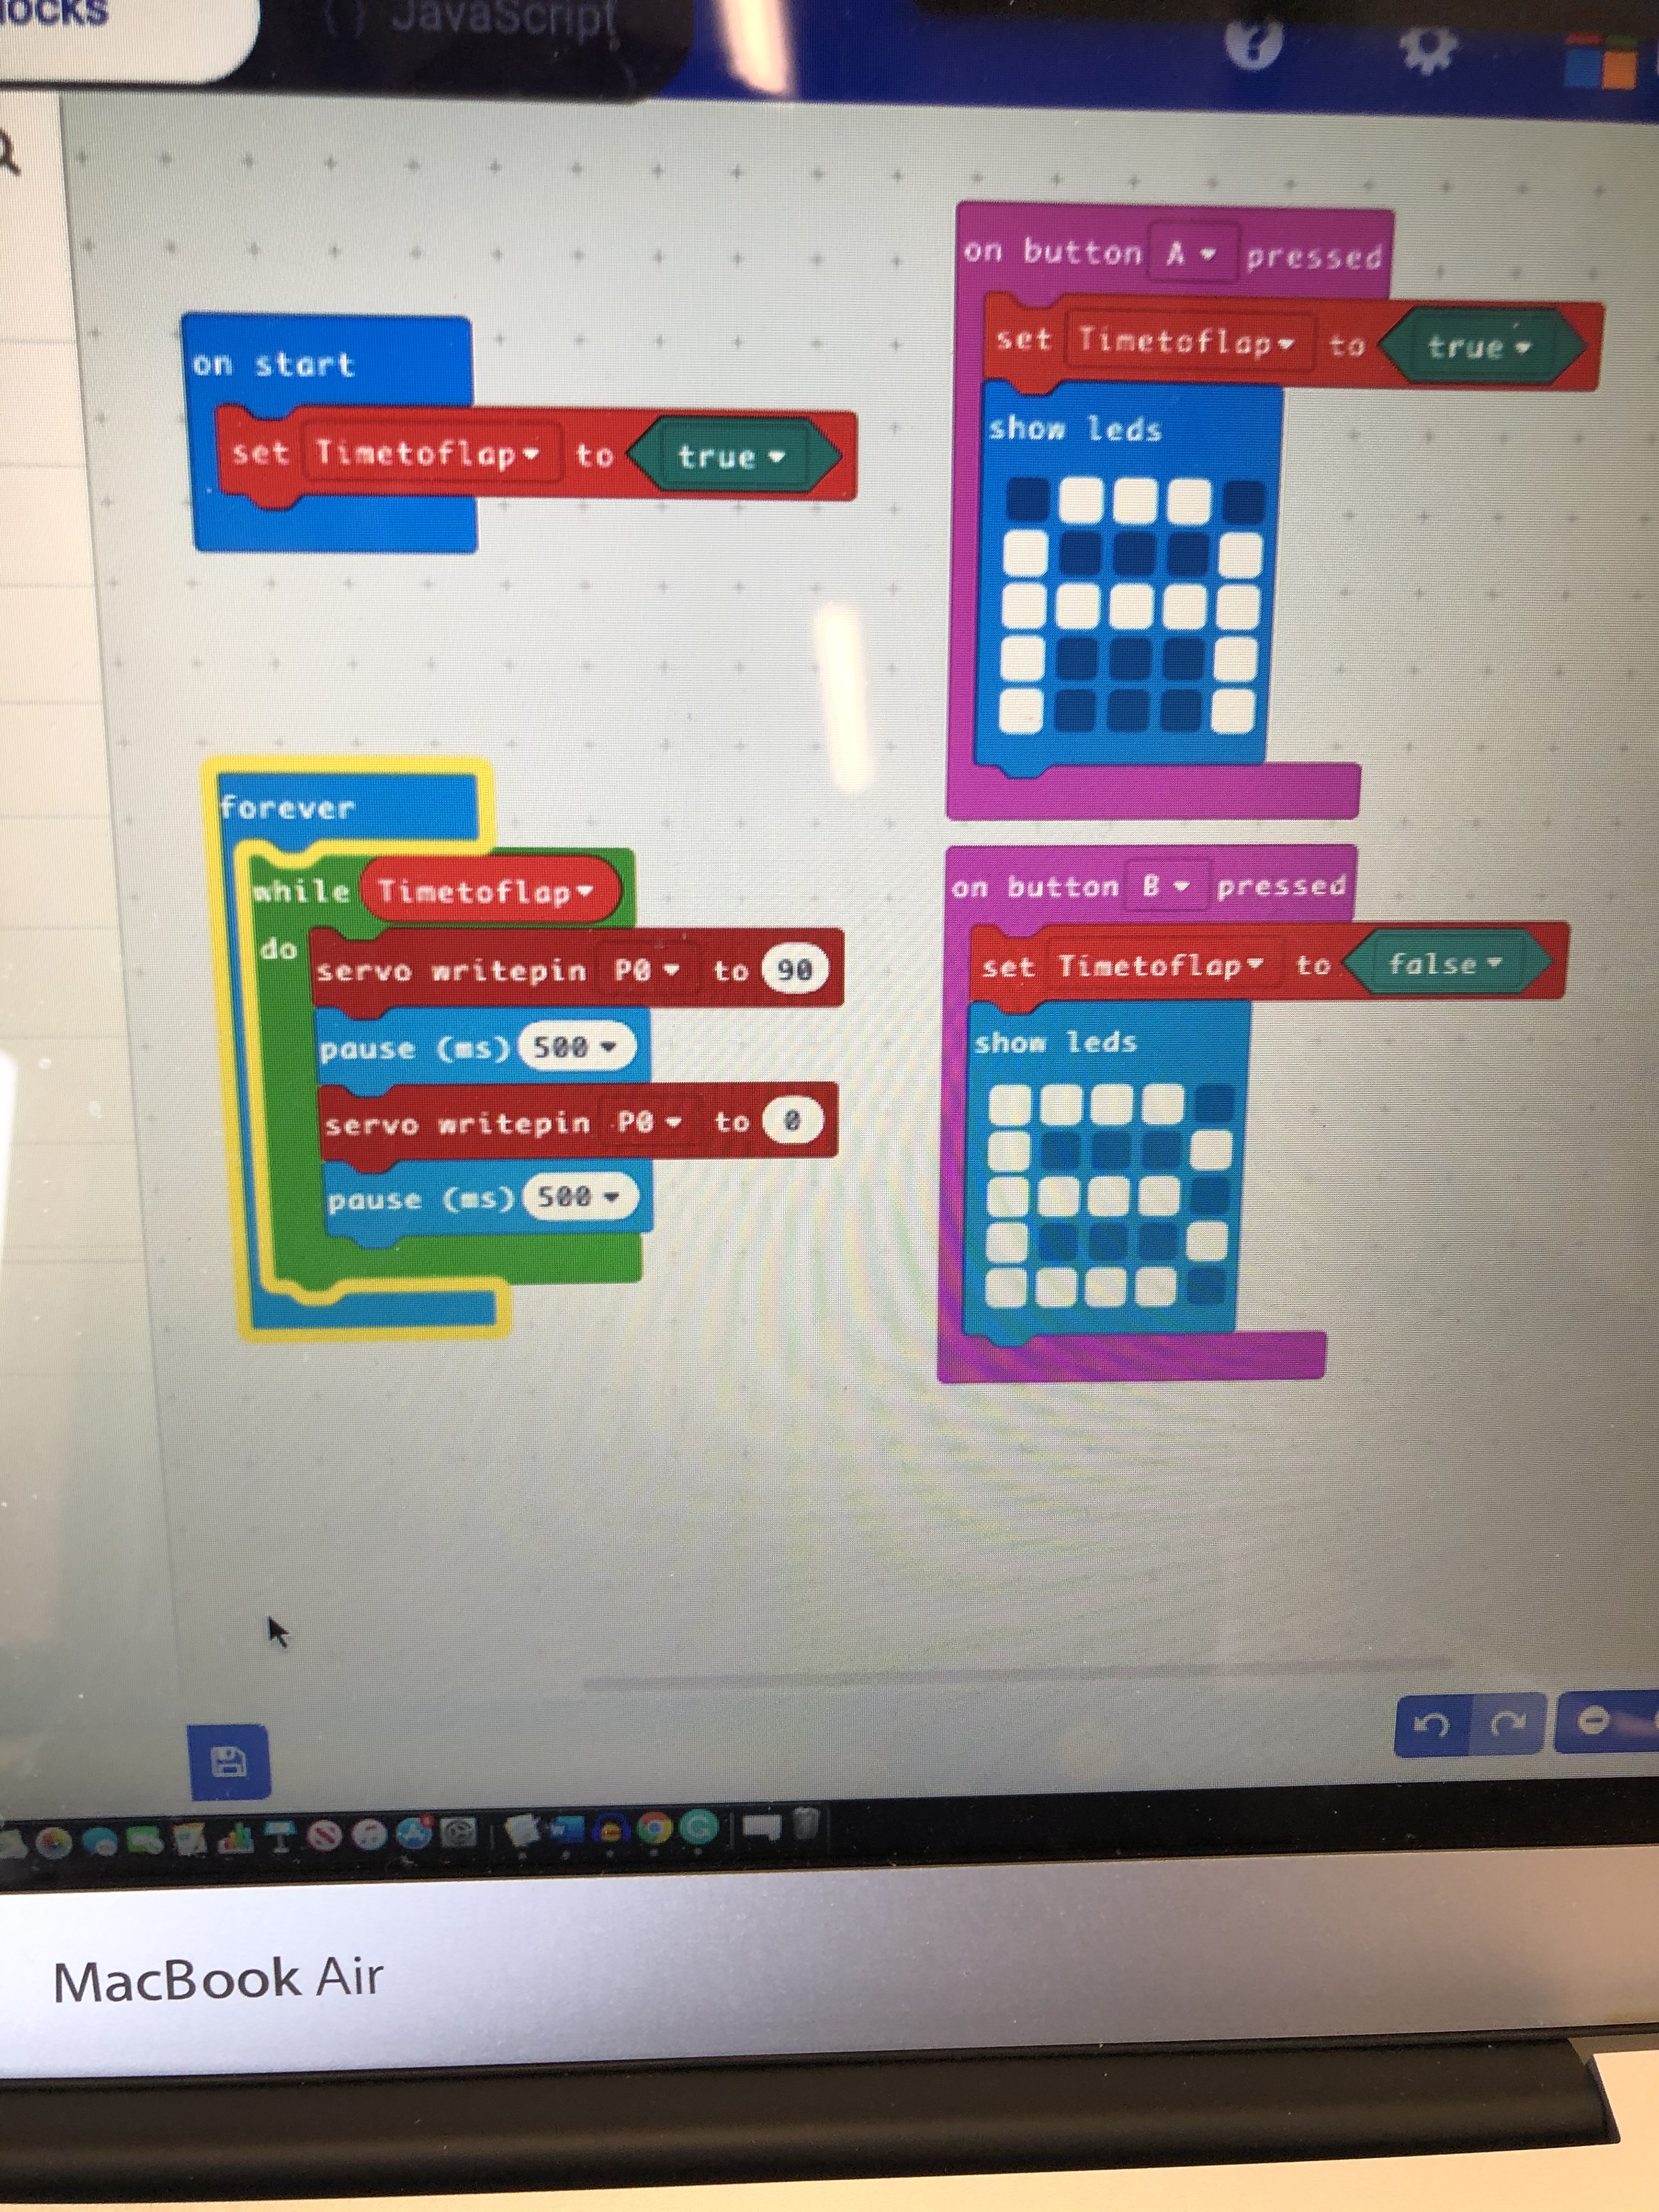
Today, we did block coding with micro bits. We connected a servo and I made a code that made it so when I press button “A” it would go 180° then back to 0° but when I hold down button “B” it stops. I really enjoyed this and I think we are going to use it on our project. This is where we show craft, when we planned to make the butterfly, we had a general idea of how we wanted to make the wings move. This turned out to be harder than I had anticipated, so when we did coding with the servos it was perfect. We got to combine a new thing that we had just learned with our project.
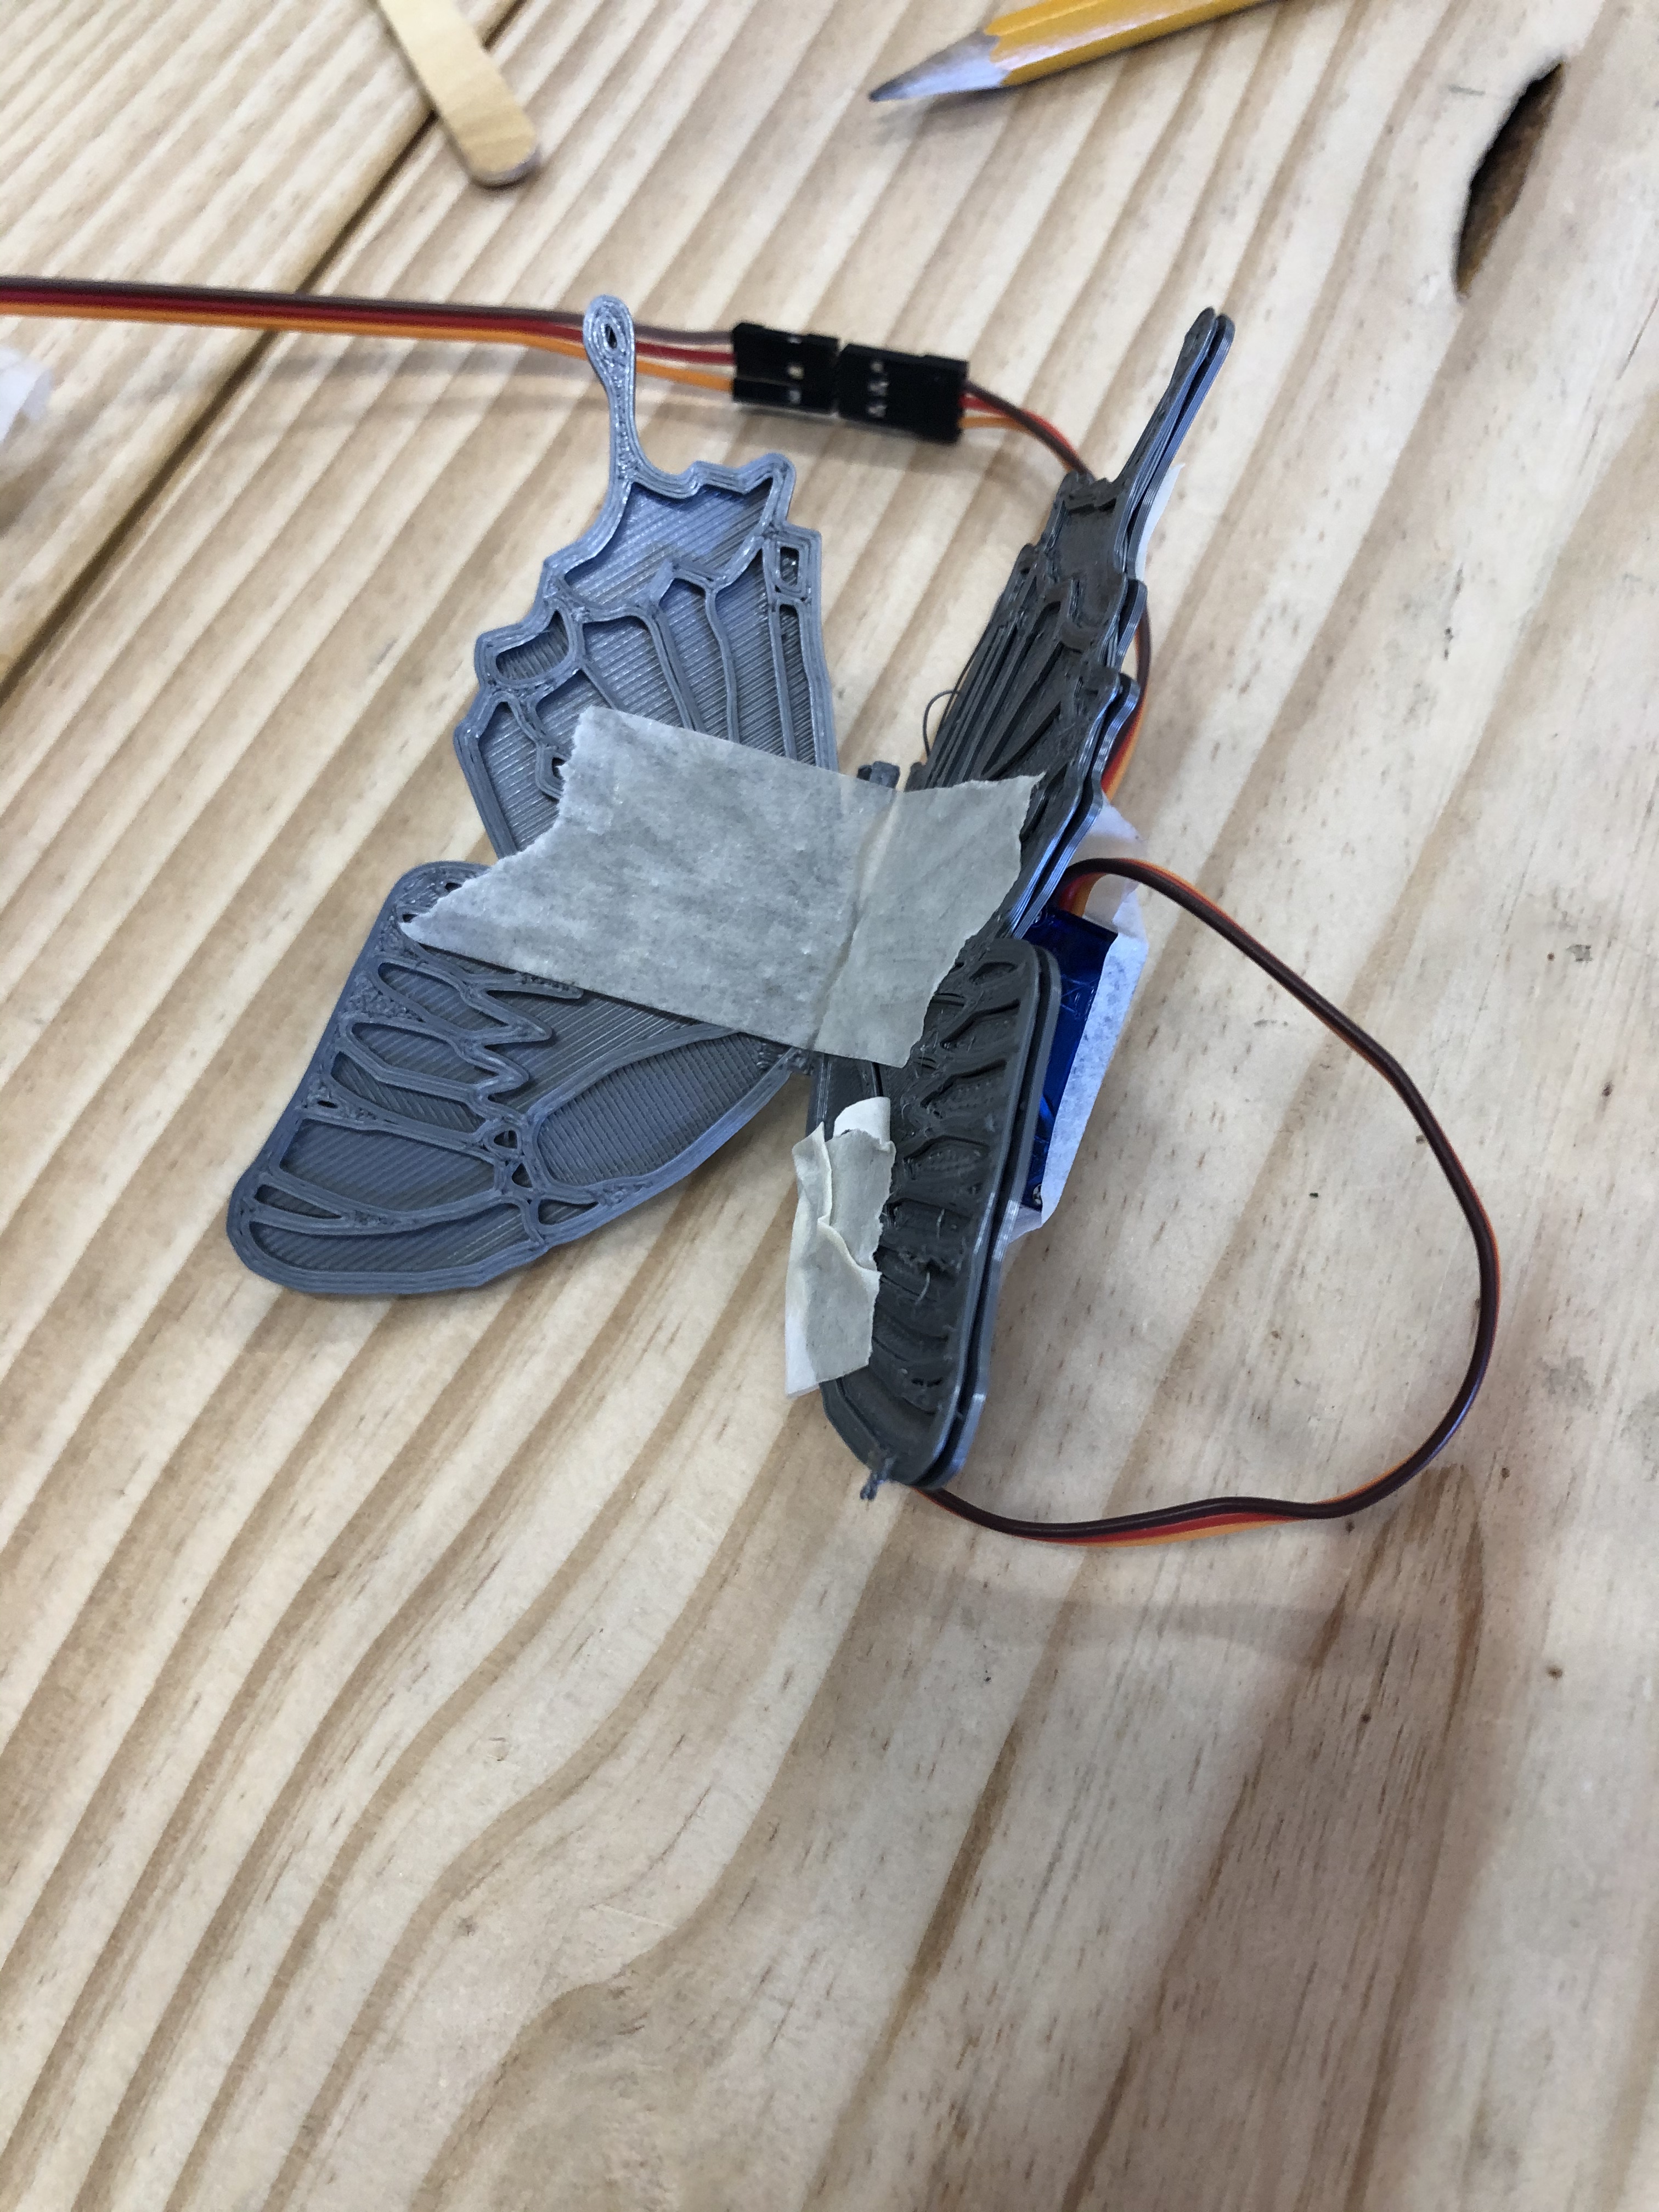
Yesterday I created a code that would work for the butterfly. I also figured out how we were going to make the wings flap by mounting on wing and having the other move. By testing it, and showing Mush, he gave me feedback on how I could make one wind move and mount the servo to the other wing. This made the whole thing run smoothly.
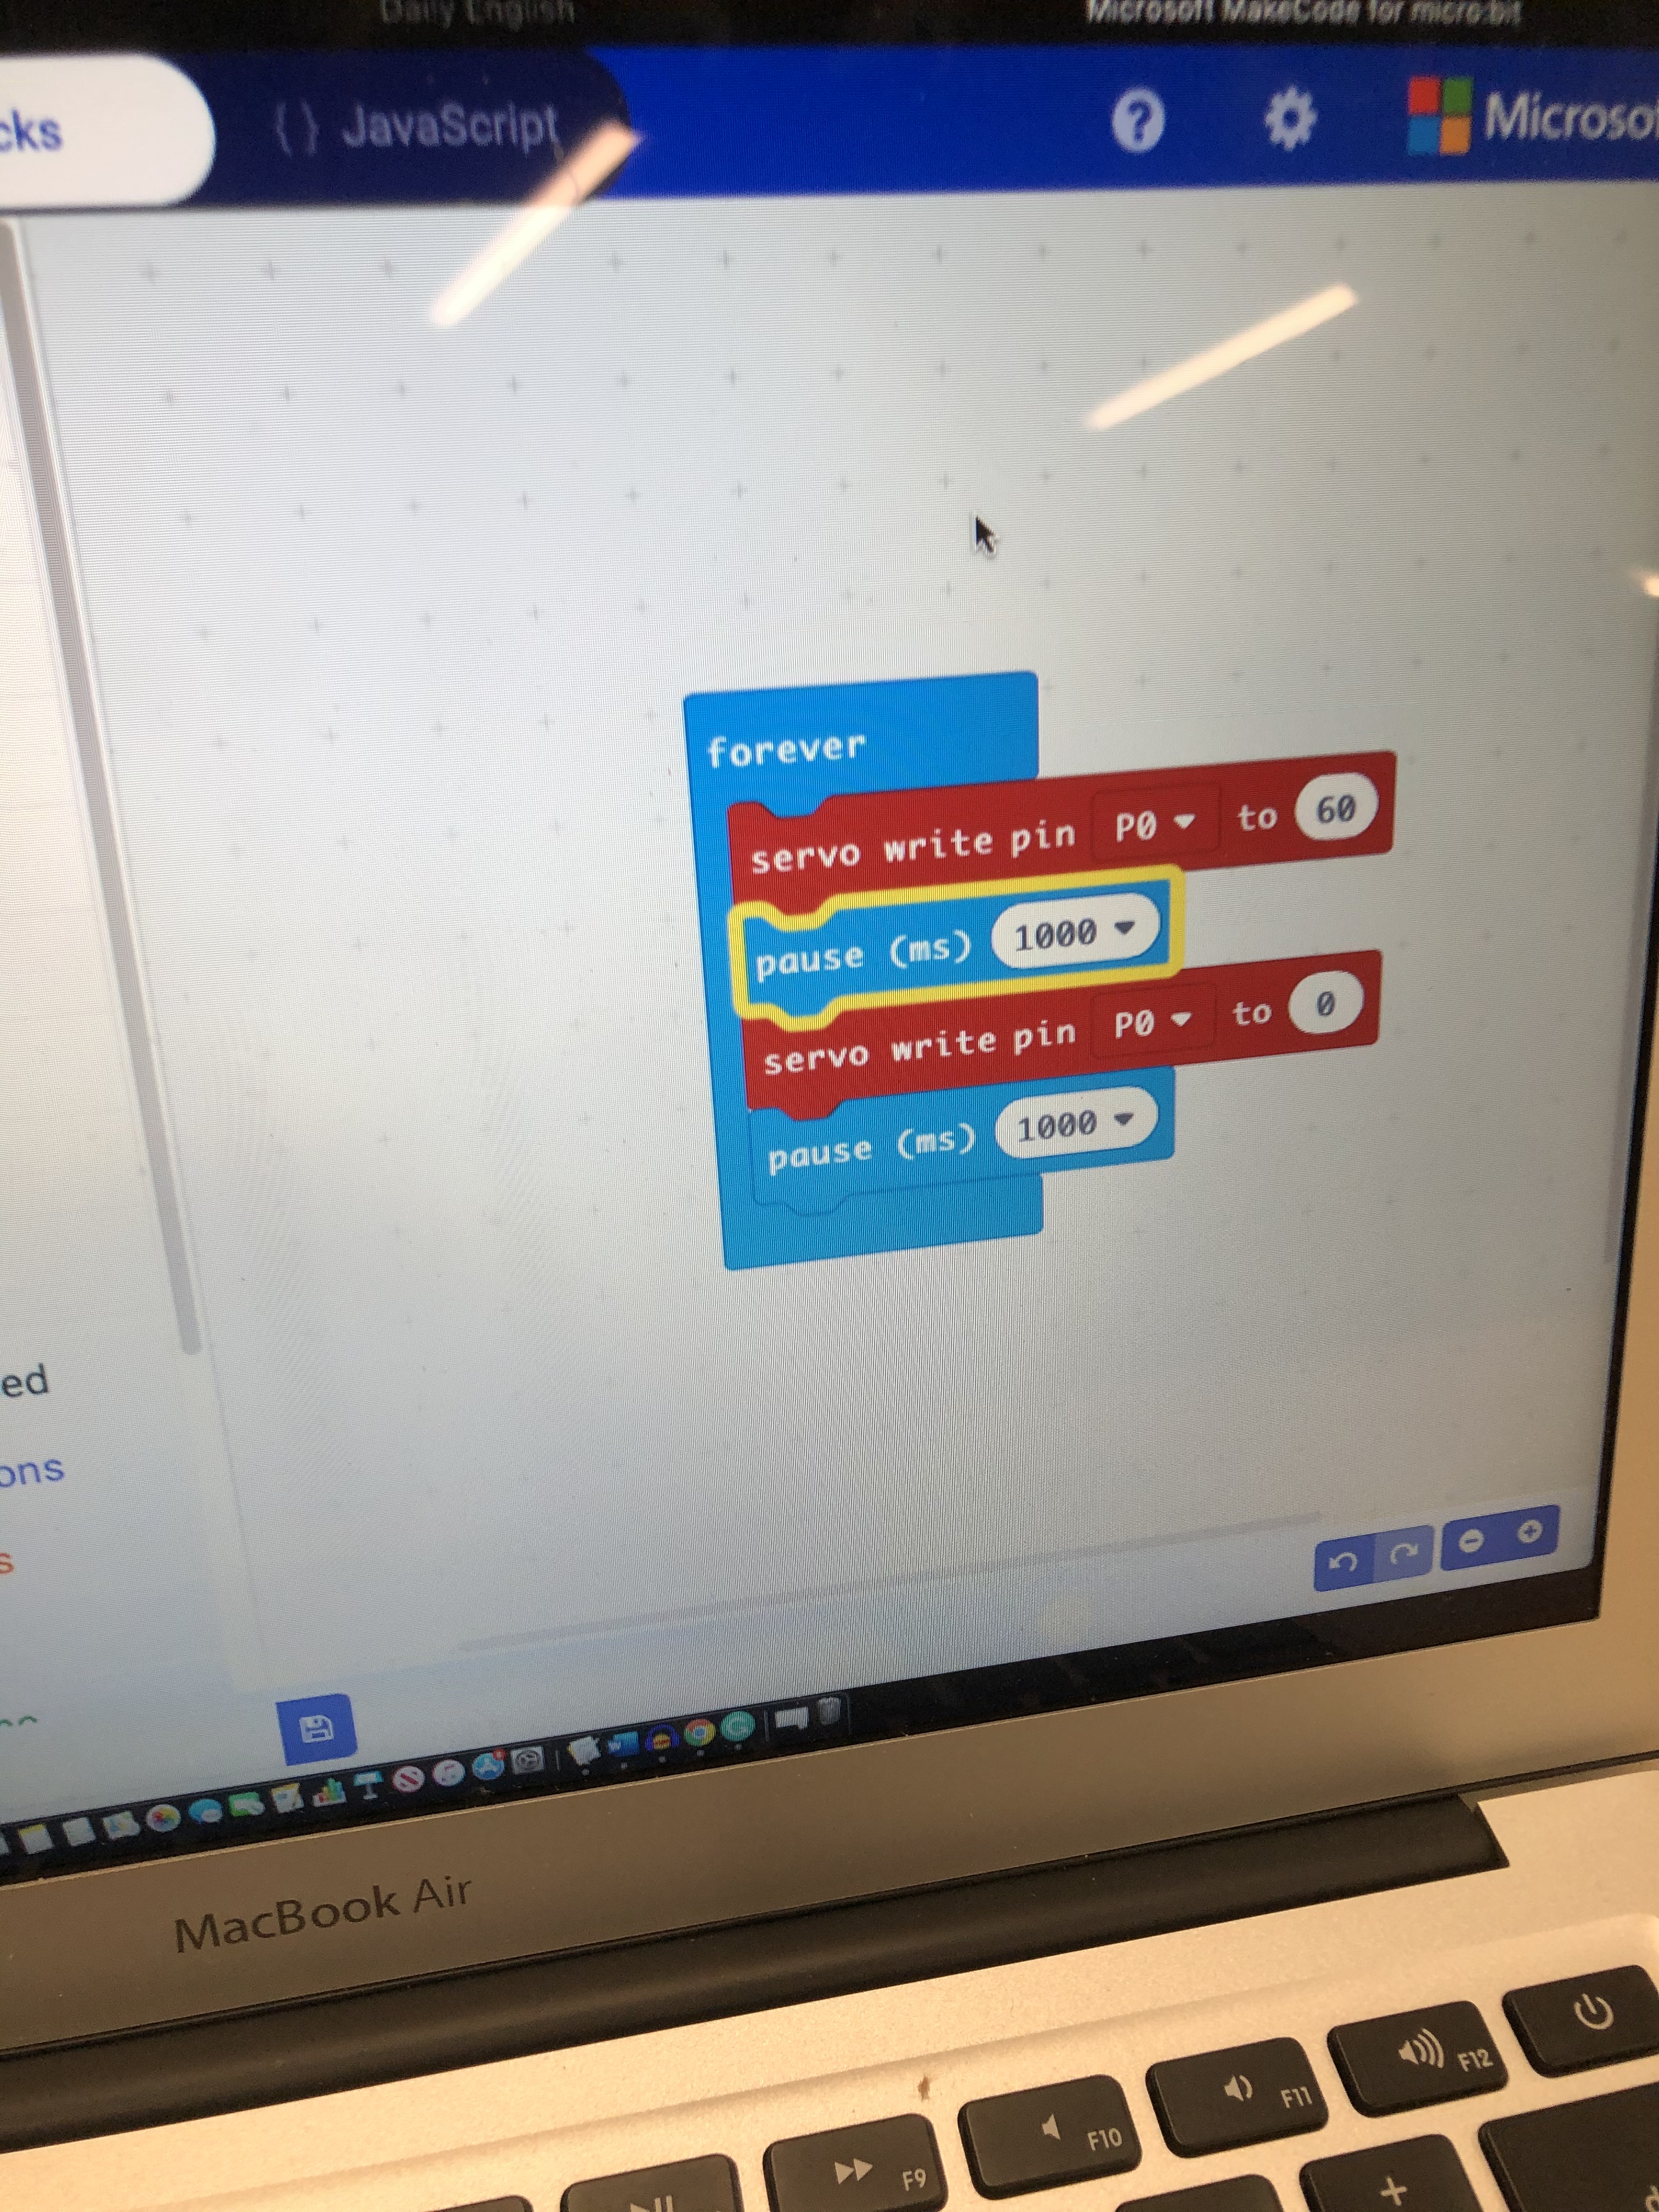
Today I started class off by making a more advanced code. This one made the timing better, and allowed us to start and stop it by pressing the A or B button. Then we used the 3d butterfly that we tried to print and failed. We then made the decision to cover the servo with a flower and have the wires run through a straw.

Innovate: 3.5 didn’t change the butterfly too much but enough to make it original
Design: 3 Alex and I agreed with each other on everything so we didn’t combine our ideas
Craft: 4 we changed our original idea a little bit after the prototype, but that’s really good because that’s the whole point of a prototype.
Test: 4 we got lots of feedback from both Mrs. Kato-Starr and Mush that improved our project.
