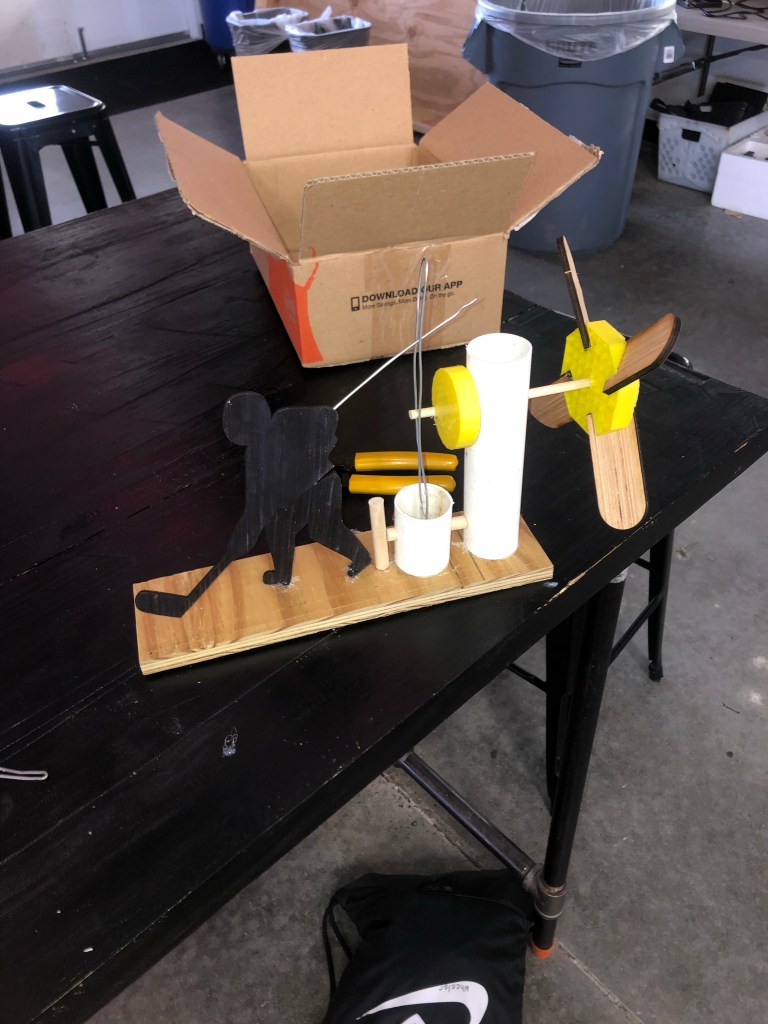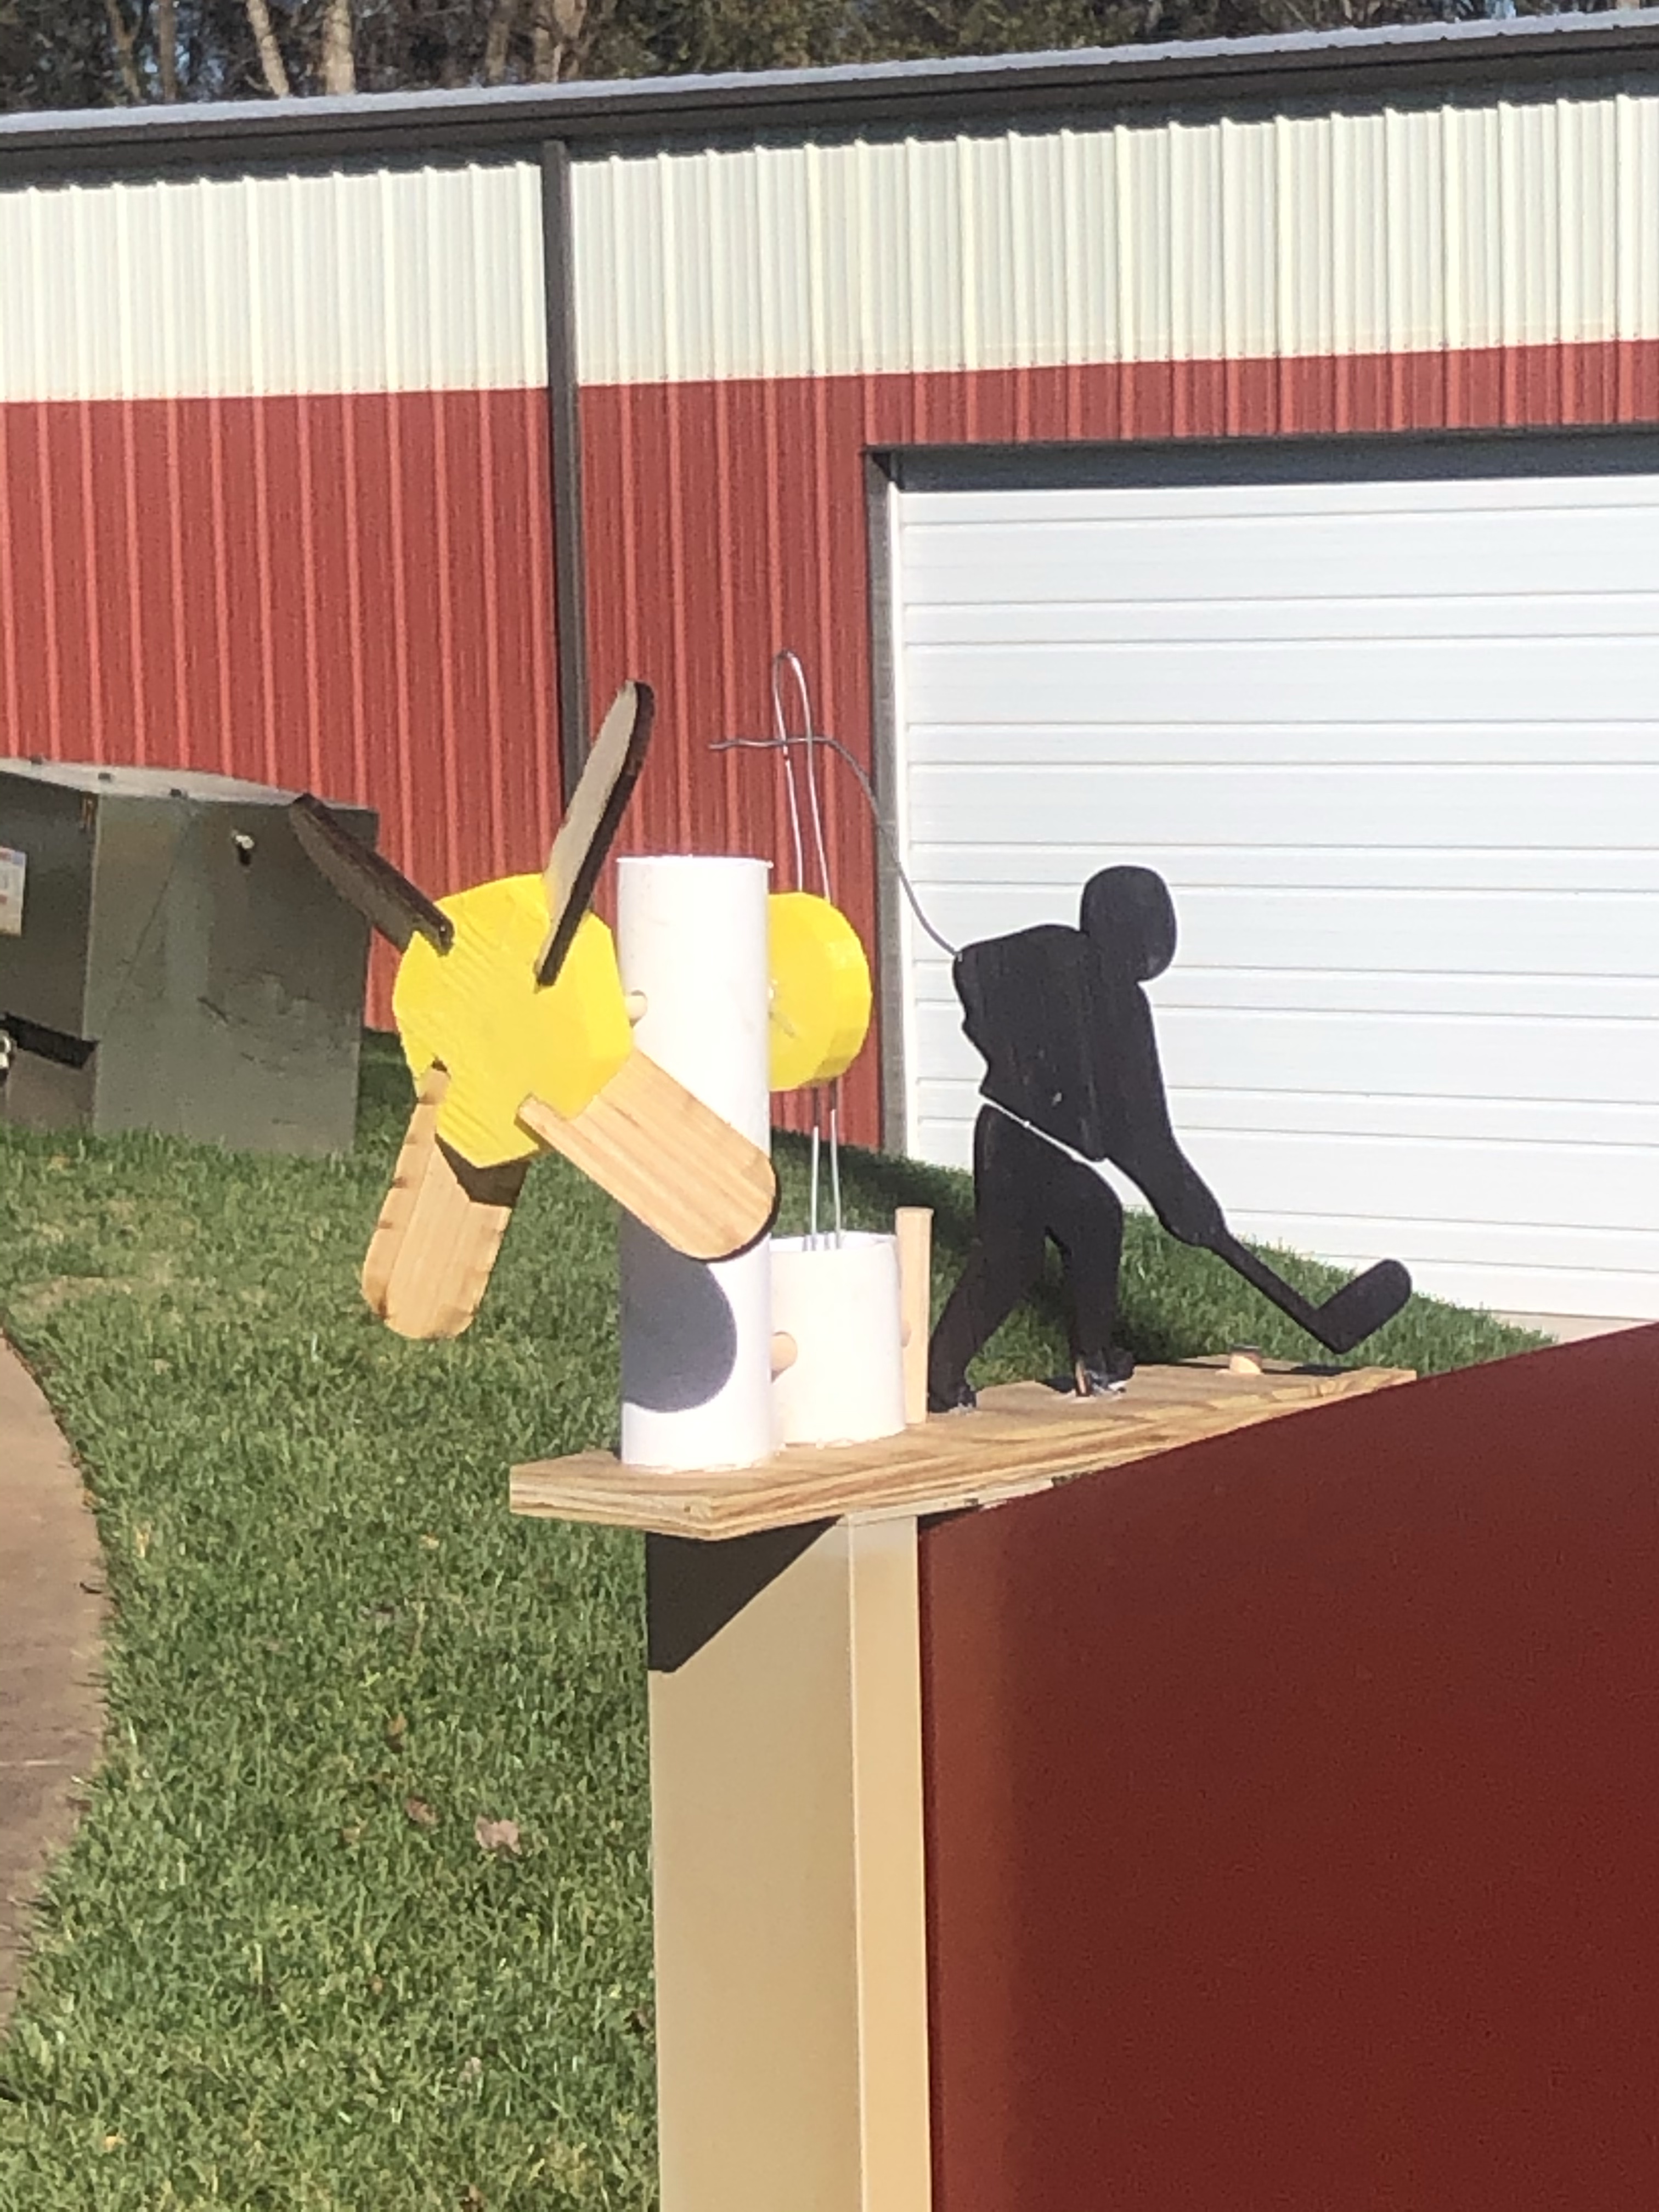

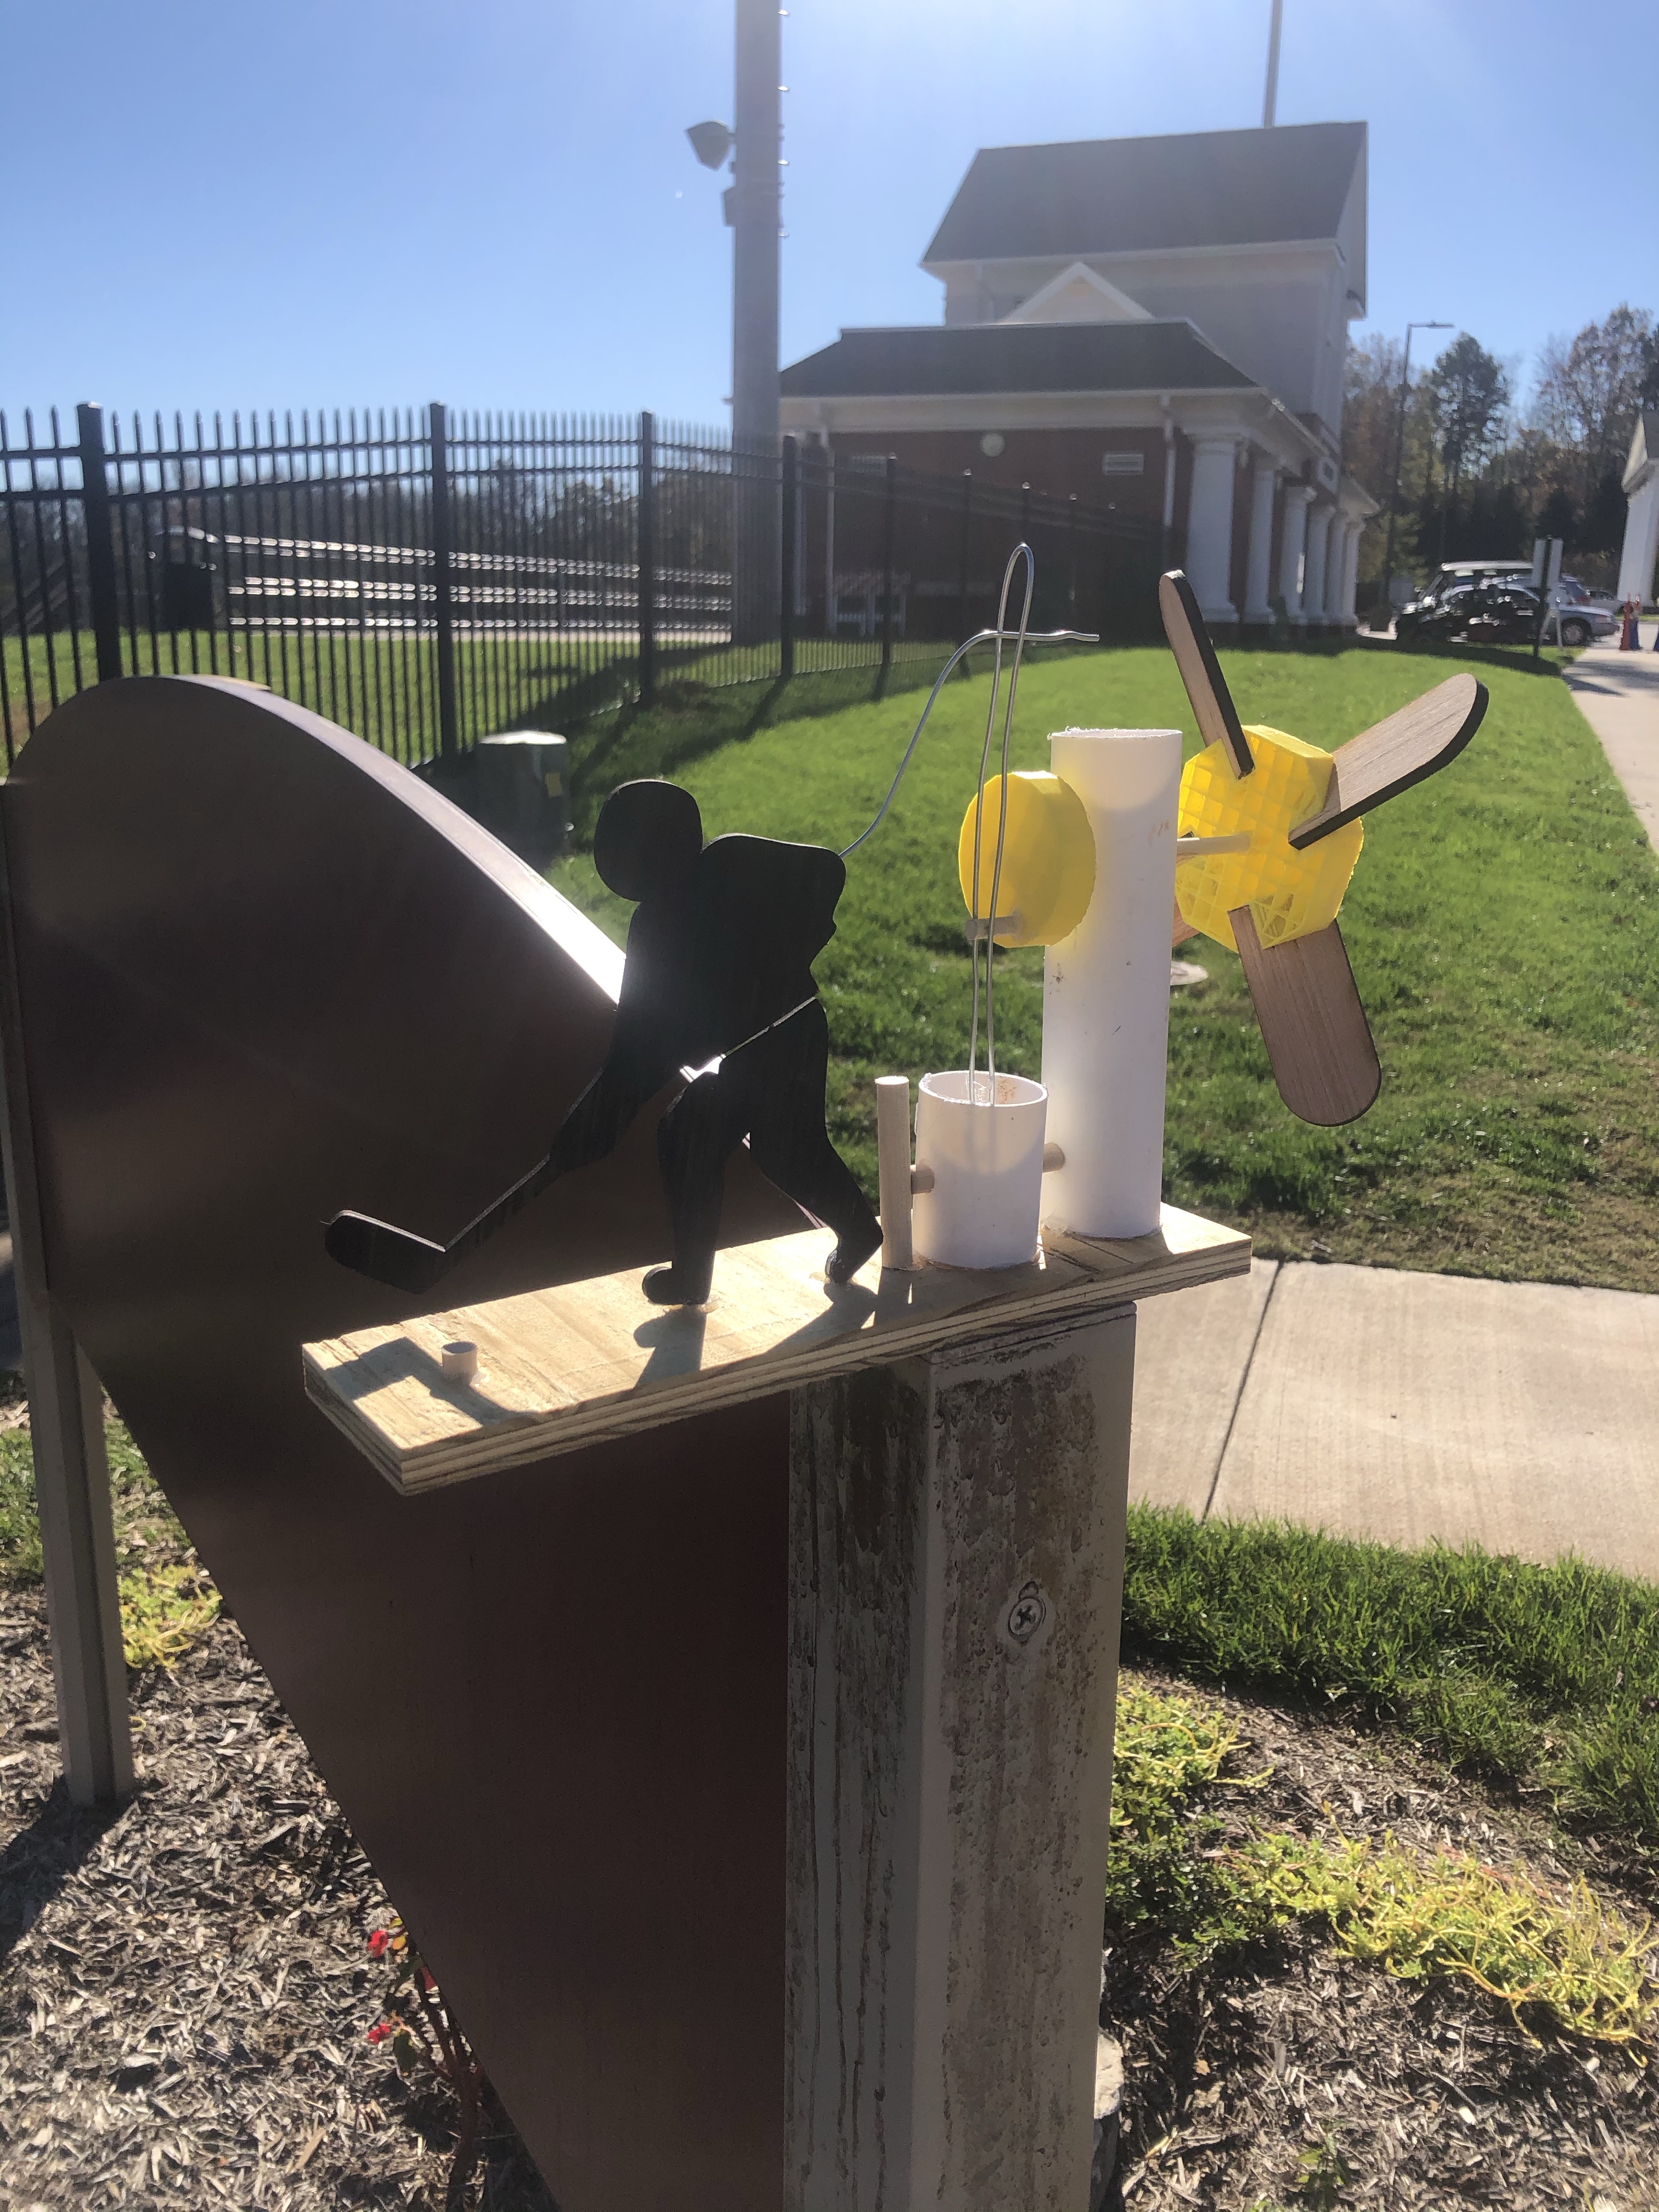
This whirligig hockey player is a project that I made for my CDE 2 class. A whirligig is an object that spins using the wind, and often uses the spinning to create movement on a different part. I got the inspiration from a video of a lumberjack whirligig that I saw on YouTube. In this video, the lumber was chopping down a tree, and the way the creator used the circular motion from the fans to create side to side motion gave me the idea to make a hockey player.
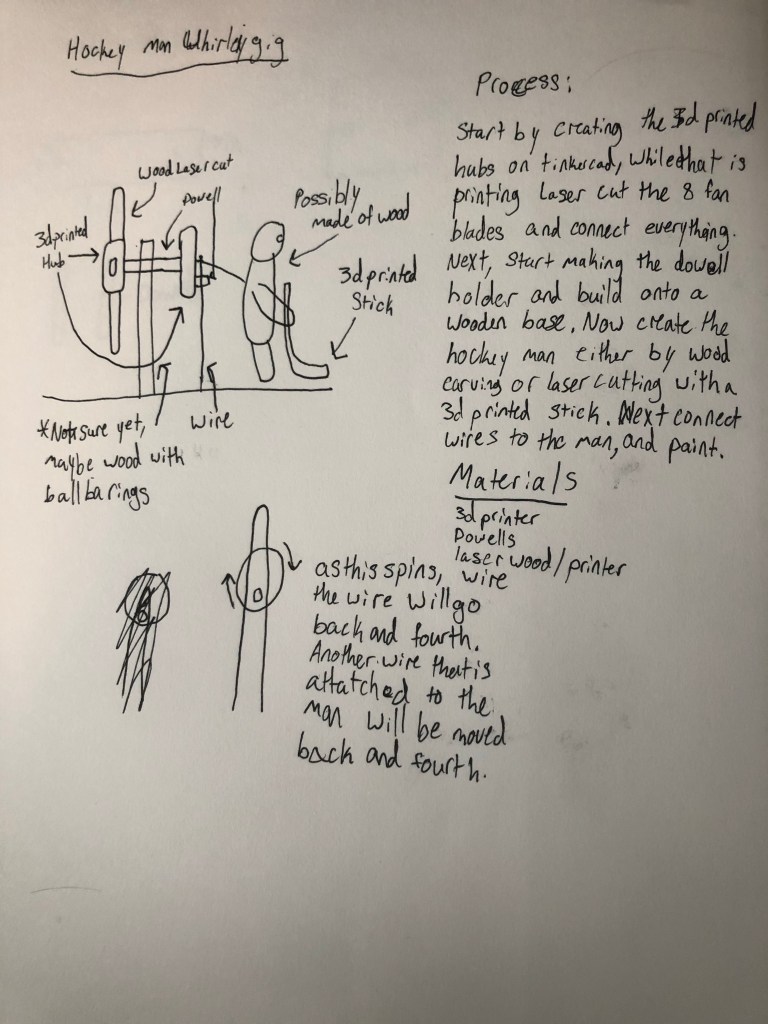
The actual whirligig uses elements of 3d printing, laser cutting, and drilling. A 3d printed hub connects 4 laser printed fans and this attaches to a short wooden dowel. The dowel travels through a low friction PVC pipe into another 3d printed hub that has two slots for dowels: the first one in the middle and the other on the side. This second dowel connects to a wire which is attached to a dowel-PVC joint. At the top of the wire there is another wire connected to the laser printed-Hockey Player. The man is cut in half so that when the fan spins, he swings the stick.
Tools and Materials You Will Need:
- 3d printer and filament
- Laser cutter
- Laser wood
- Band saw
- Drill press with 1/4″ 1/2″ 1/8″ inch drill bit
- 1/4″ and 1/2″ dowels
- PVC Pipe
- 1/16″ inch wire
- Hot glue gun
MiLL Experience Level: 5/10
To create this whirligig the maker must know how to use the laser cutter, 3d printer, drill press, and bandsaw. Make sure you can use all these things before you start the building process.
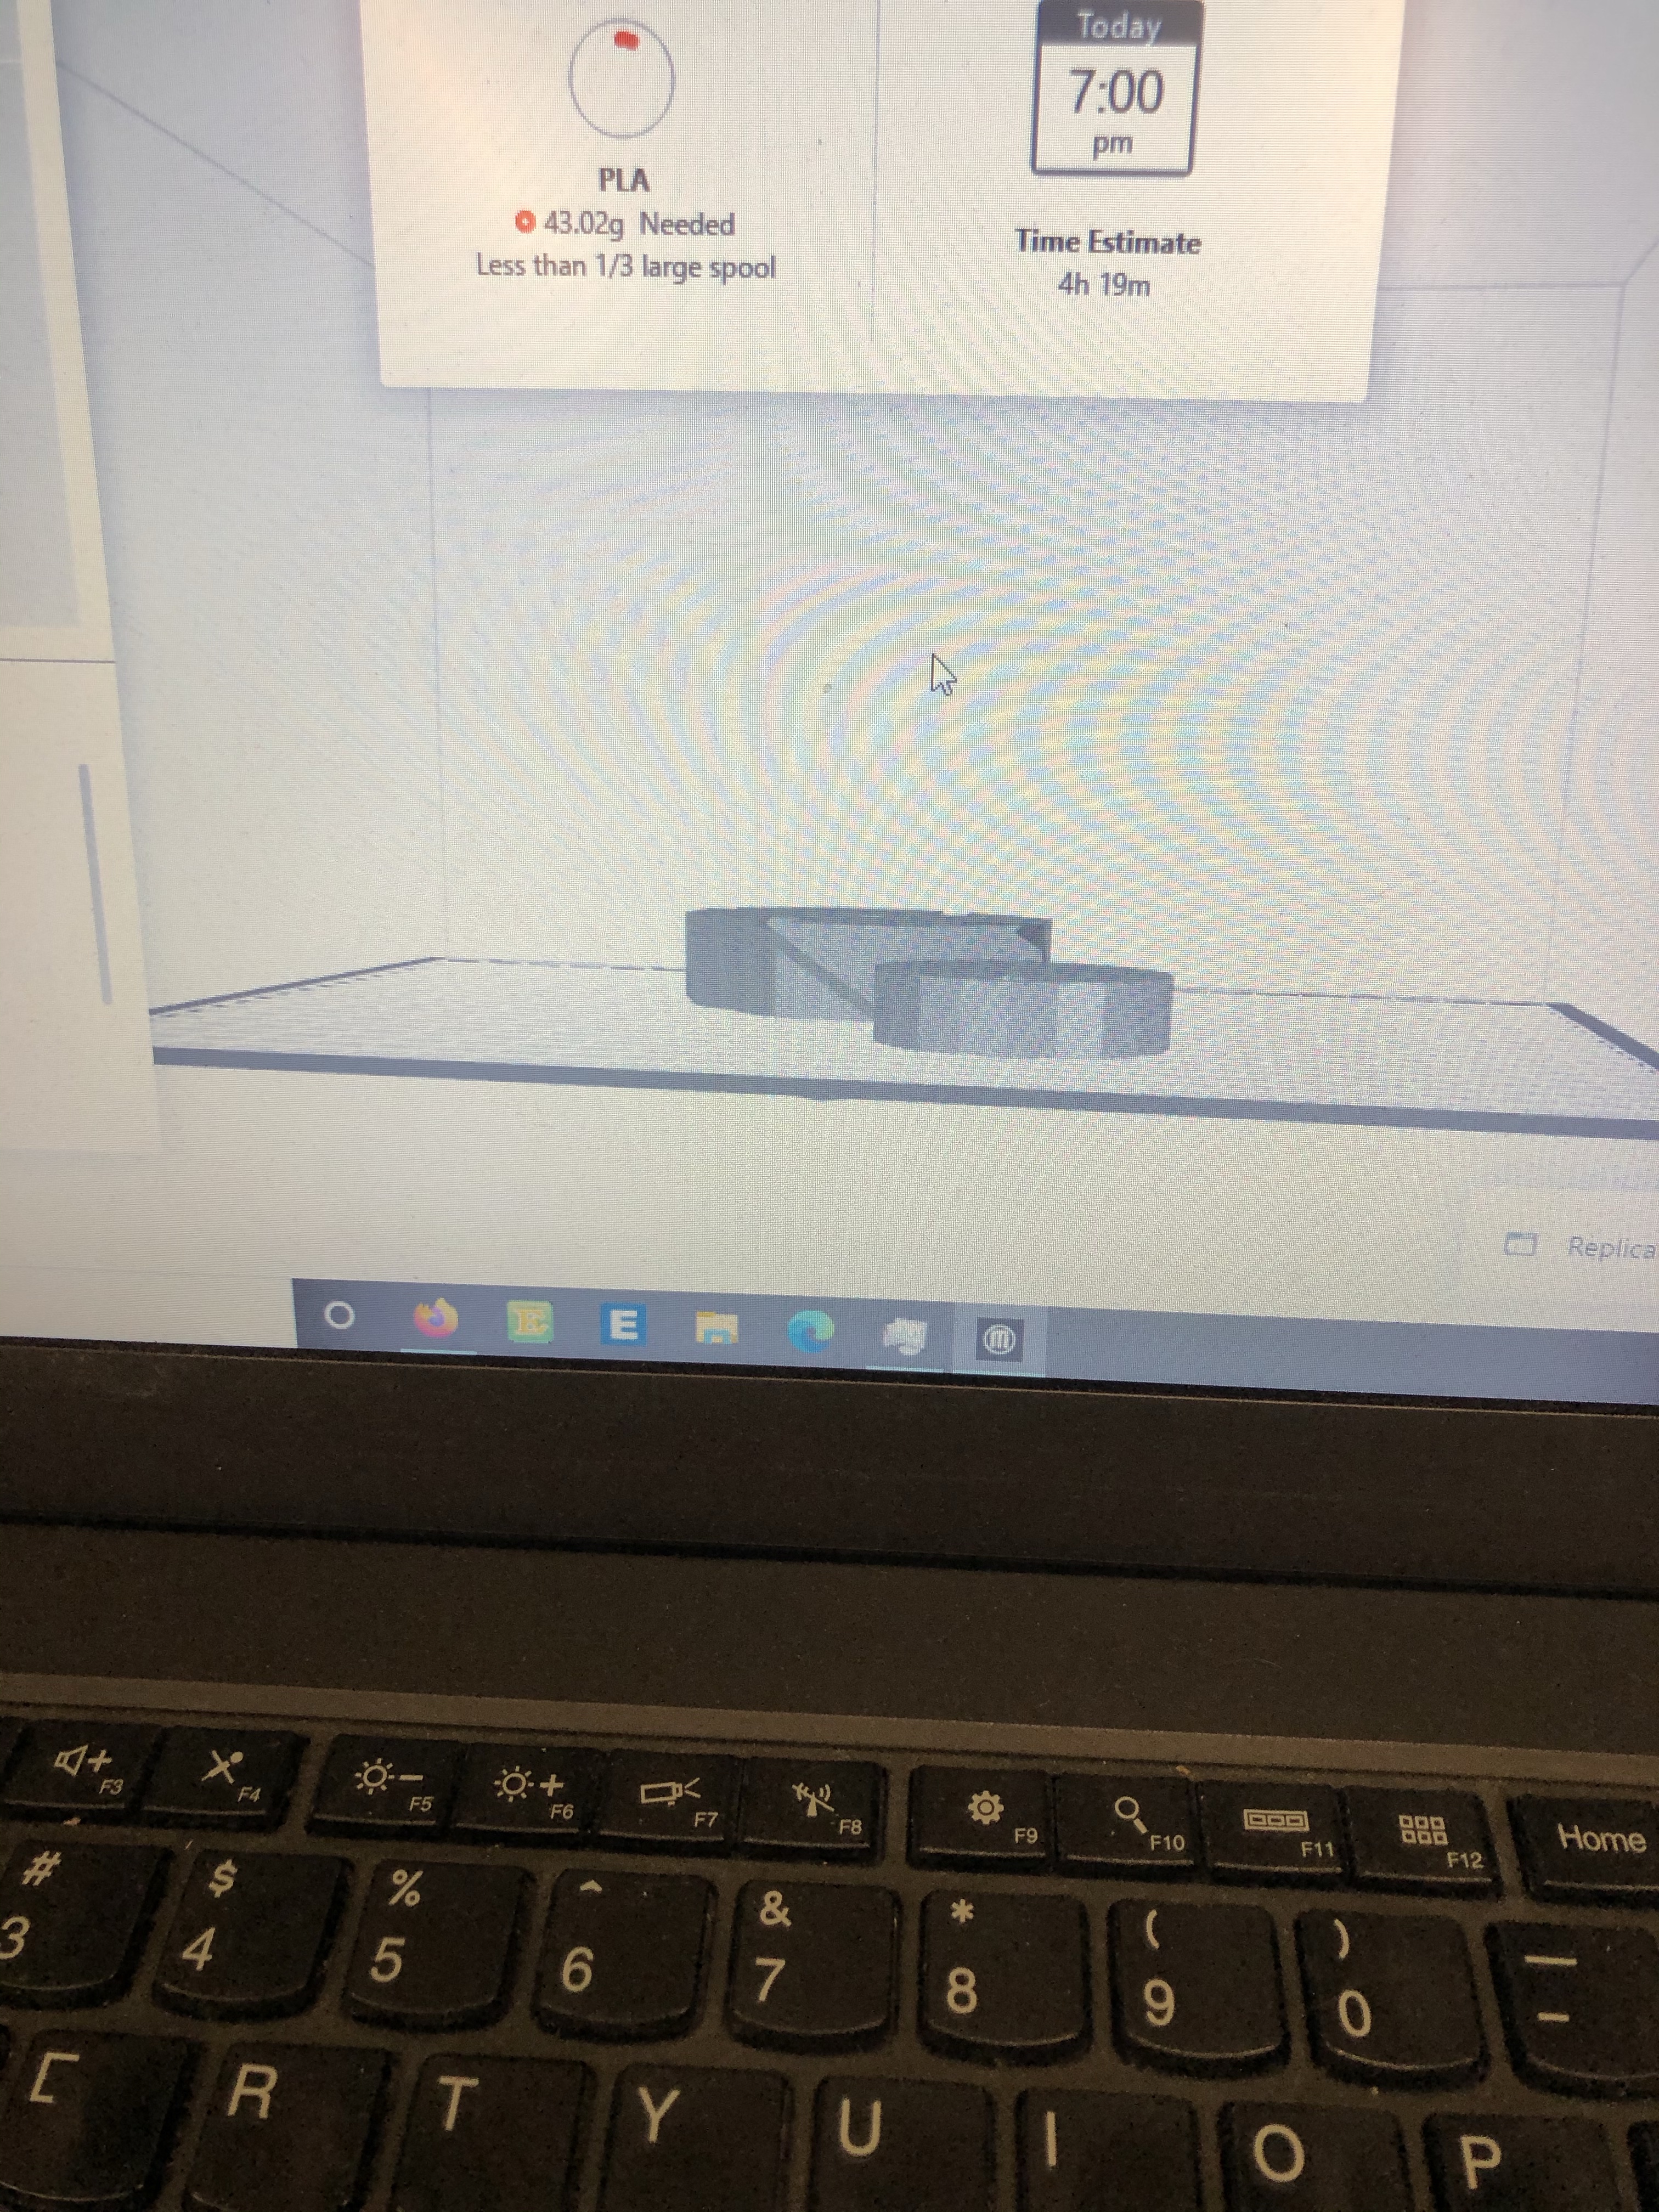
Step One: 3D Print the Hub
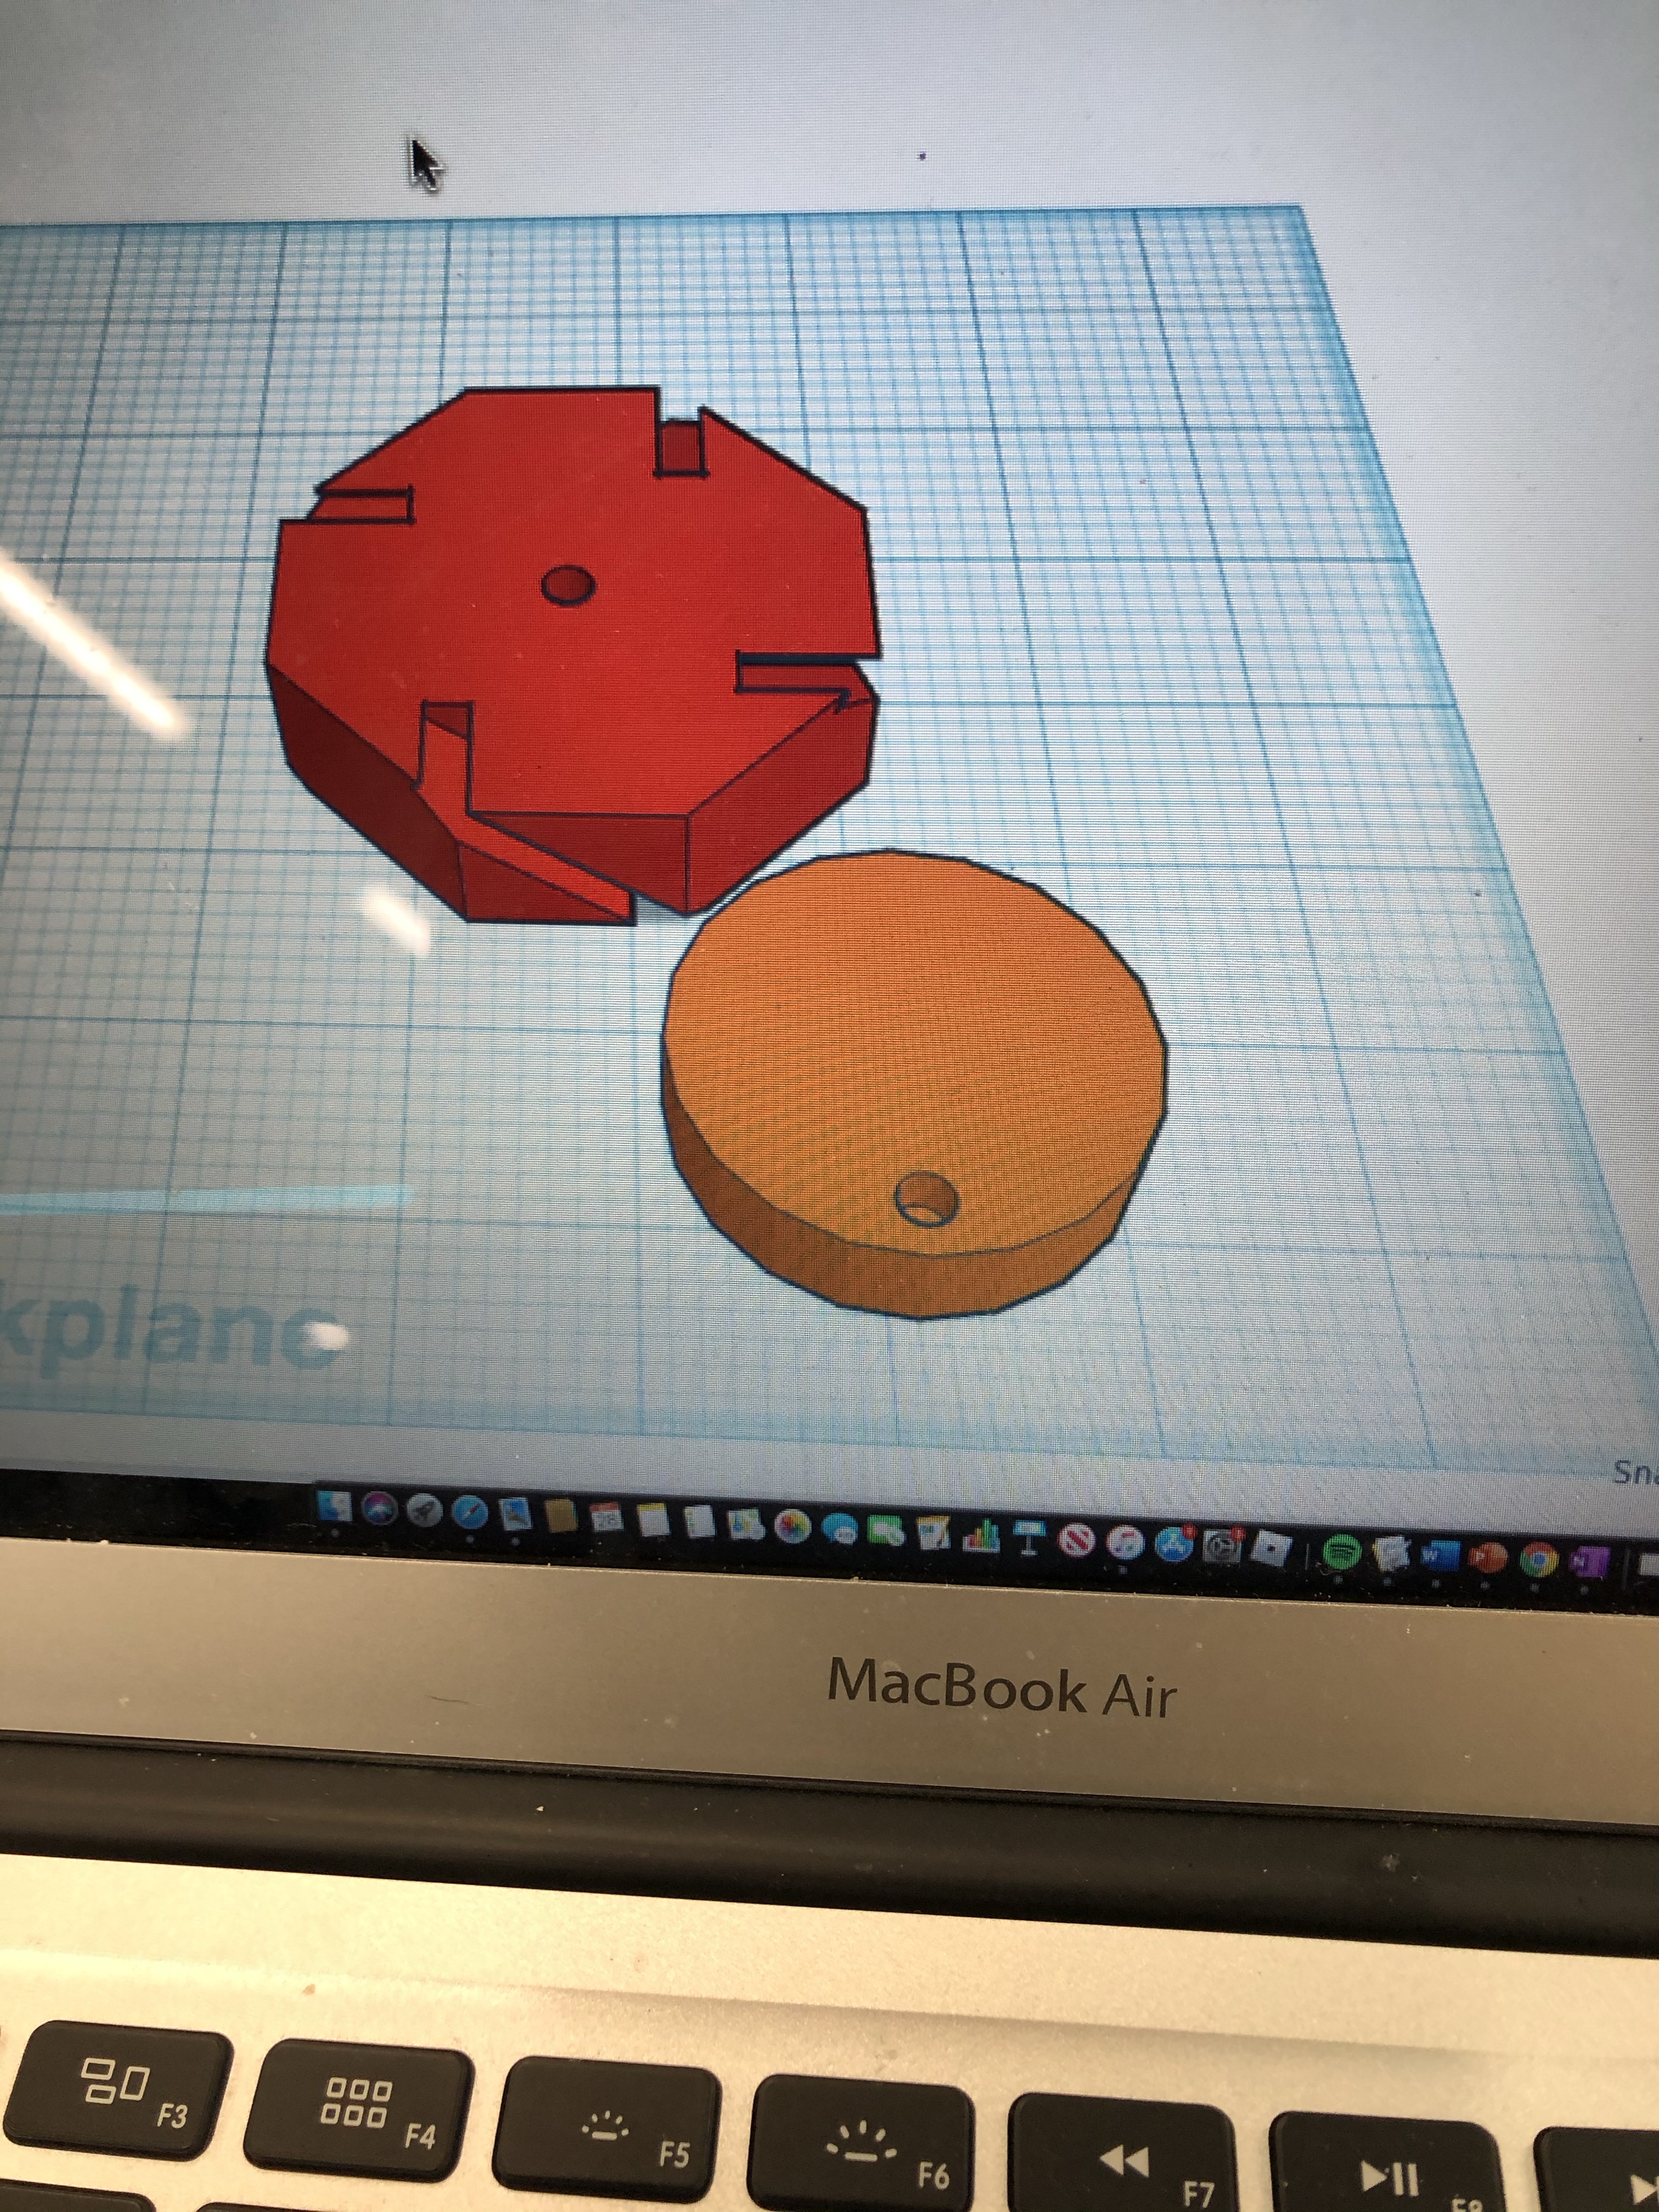
For the first step you have to create a hub for the fan blades to go into. To do this open some sort of software that you can create 3d models on, for this I used TinkerCad. Start by making a rectangle and then use the hollow rectangle piece to cut into the filament at a 35 degree angle. Make sure that the rectangle is 3/2″ by 3/2″ 1/2″ and the cut is 1/8″ thick. Next cut a 1/4″ hole on the opposite side for the dowel. Next, copy and paste this 4 times and align them by the hole in a cross shape. Finally fill in the sides using 4 triangles.
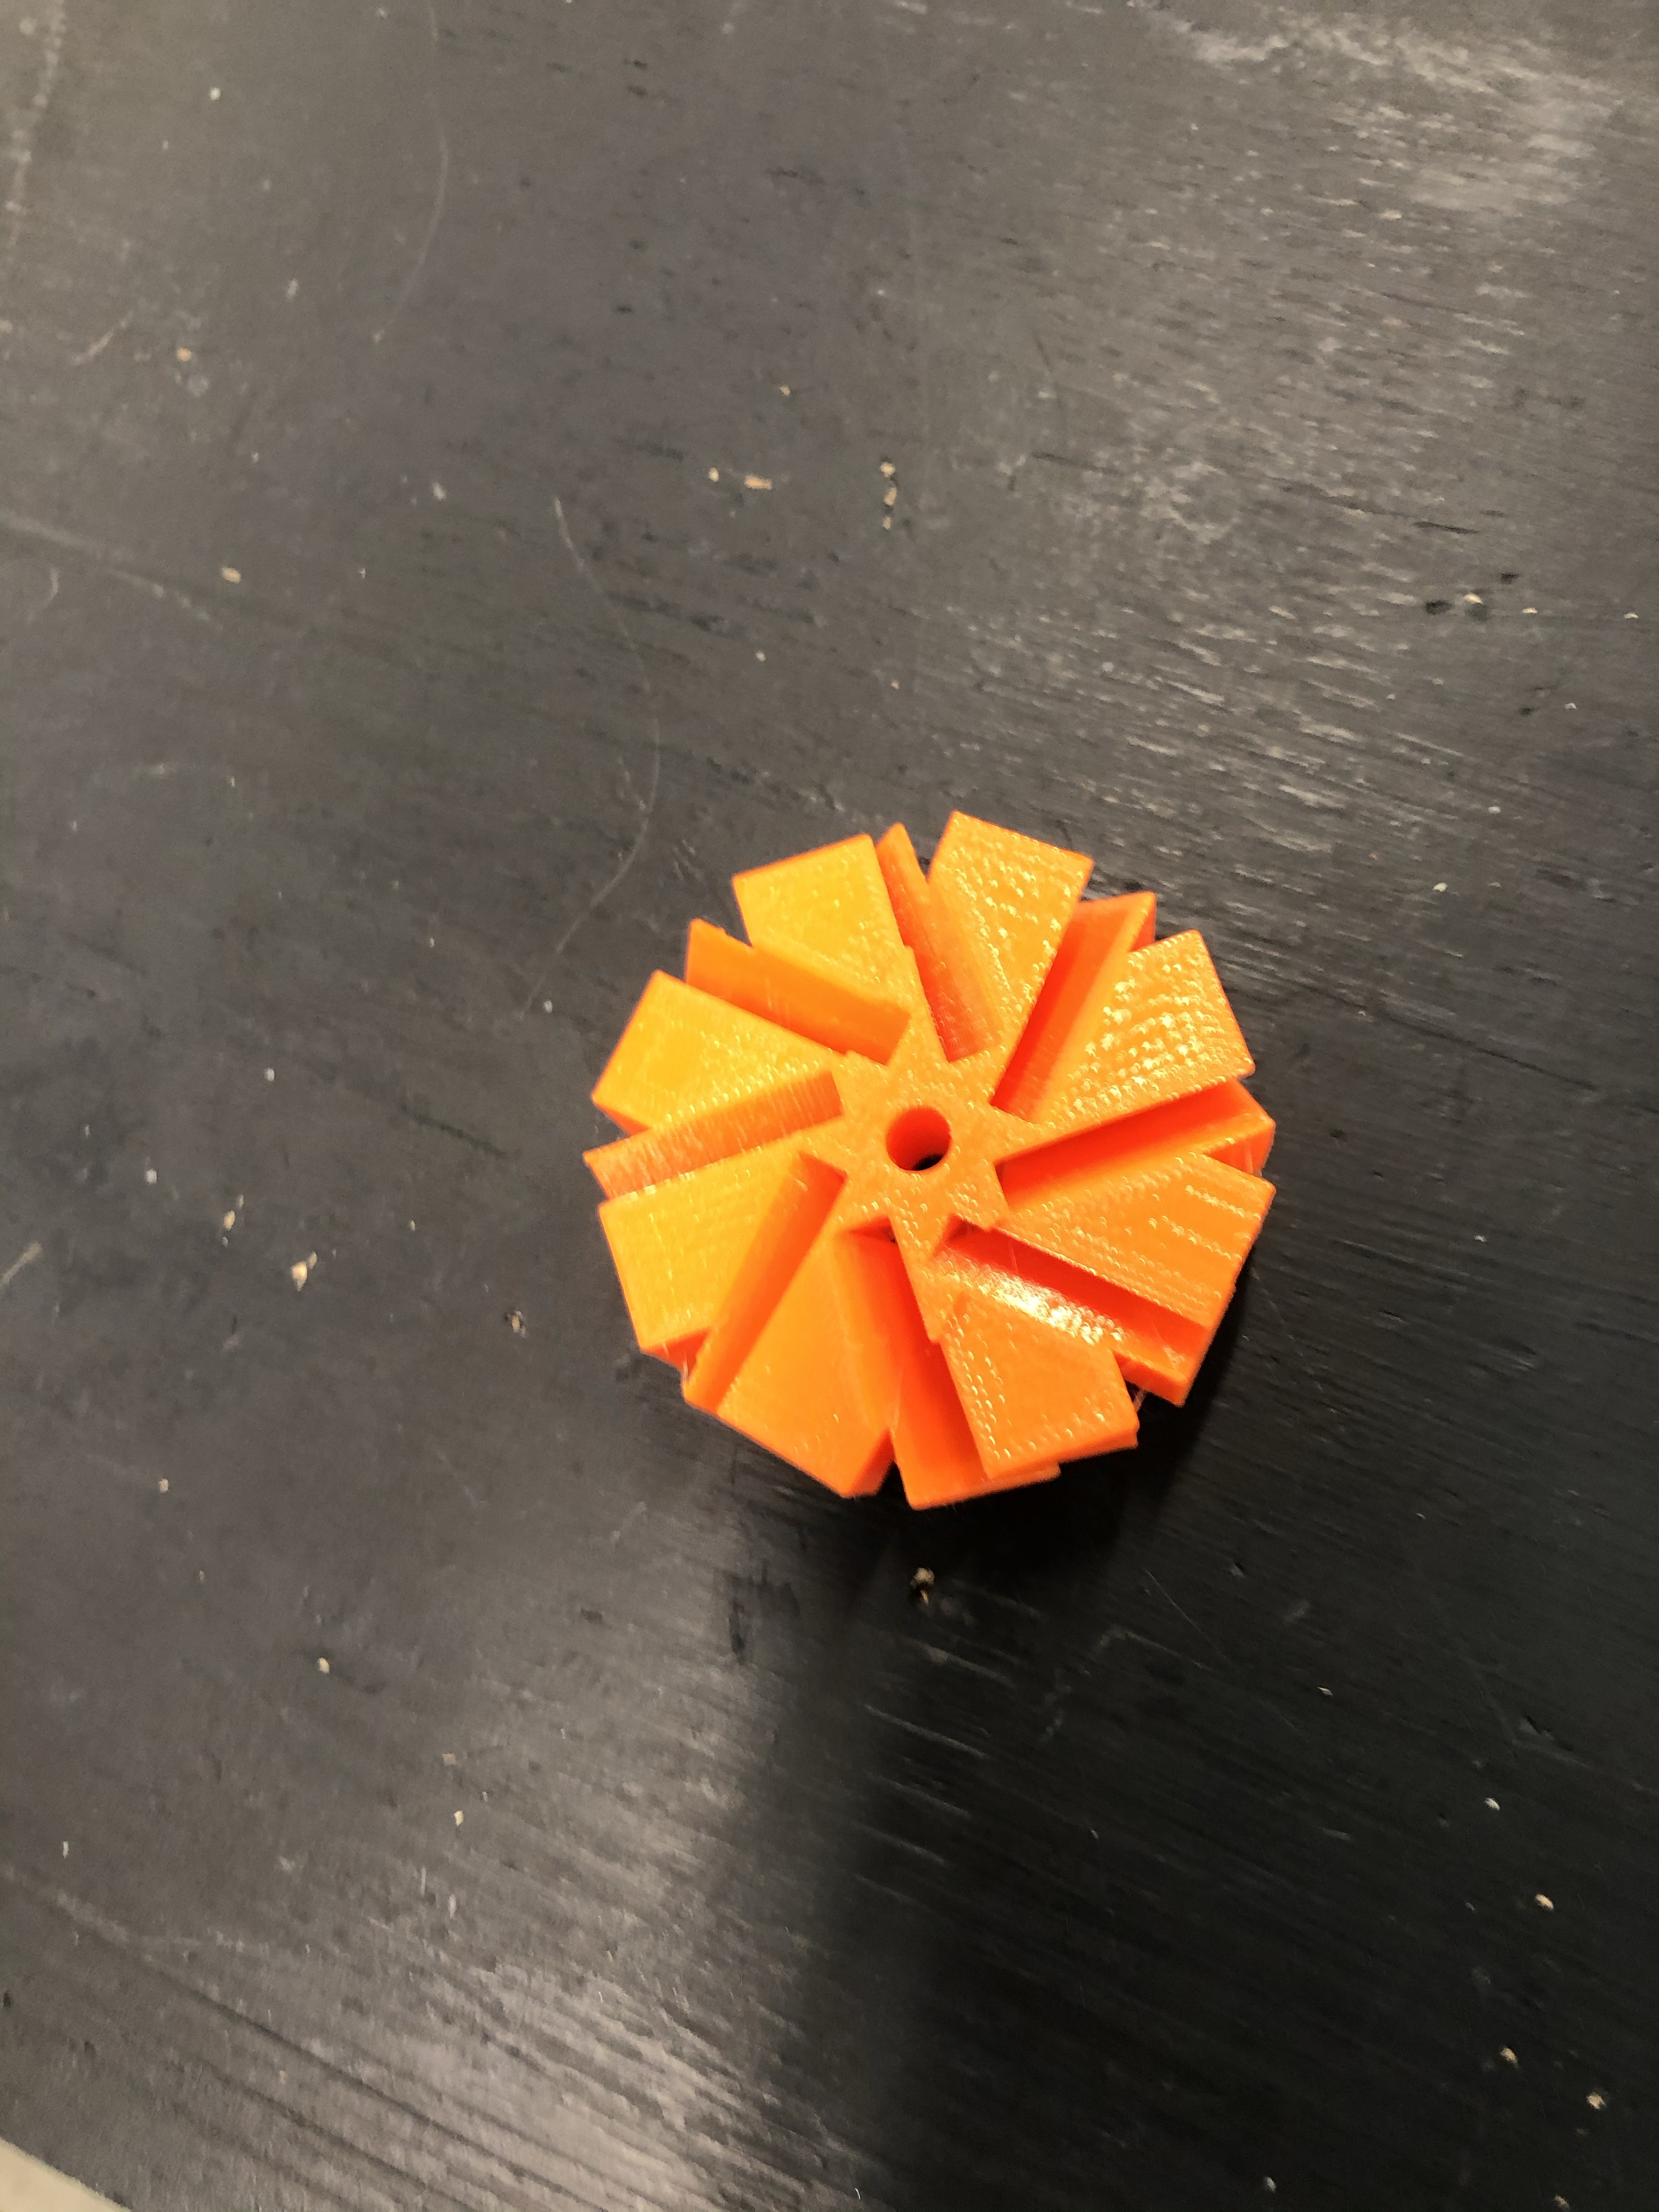
The next part is much easier. On the same TinkerCad file, create a circle with a diameter of 2″ and thickness of 1/2″. Then do one 1/4″ hole in the center and one slightly in from the side. These should go halfway in and be on opposite sides. Now you can print.

How to 3d print: https://www.youtube.com/watch?v=chVY3dBXBmc
Step Two: PVC Pipes and Dowels
Start this by cutting a 6″ PVC piece using a band saw. Next drill a hole 1/4″ about 1″ from the top this is for the dowel. Now, insert the dowel through the 2 holes and hot glue into the holes in the hub:
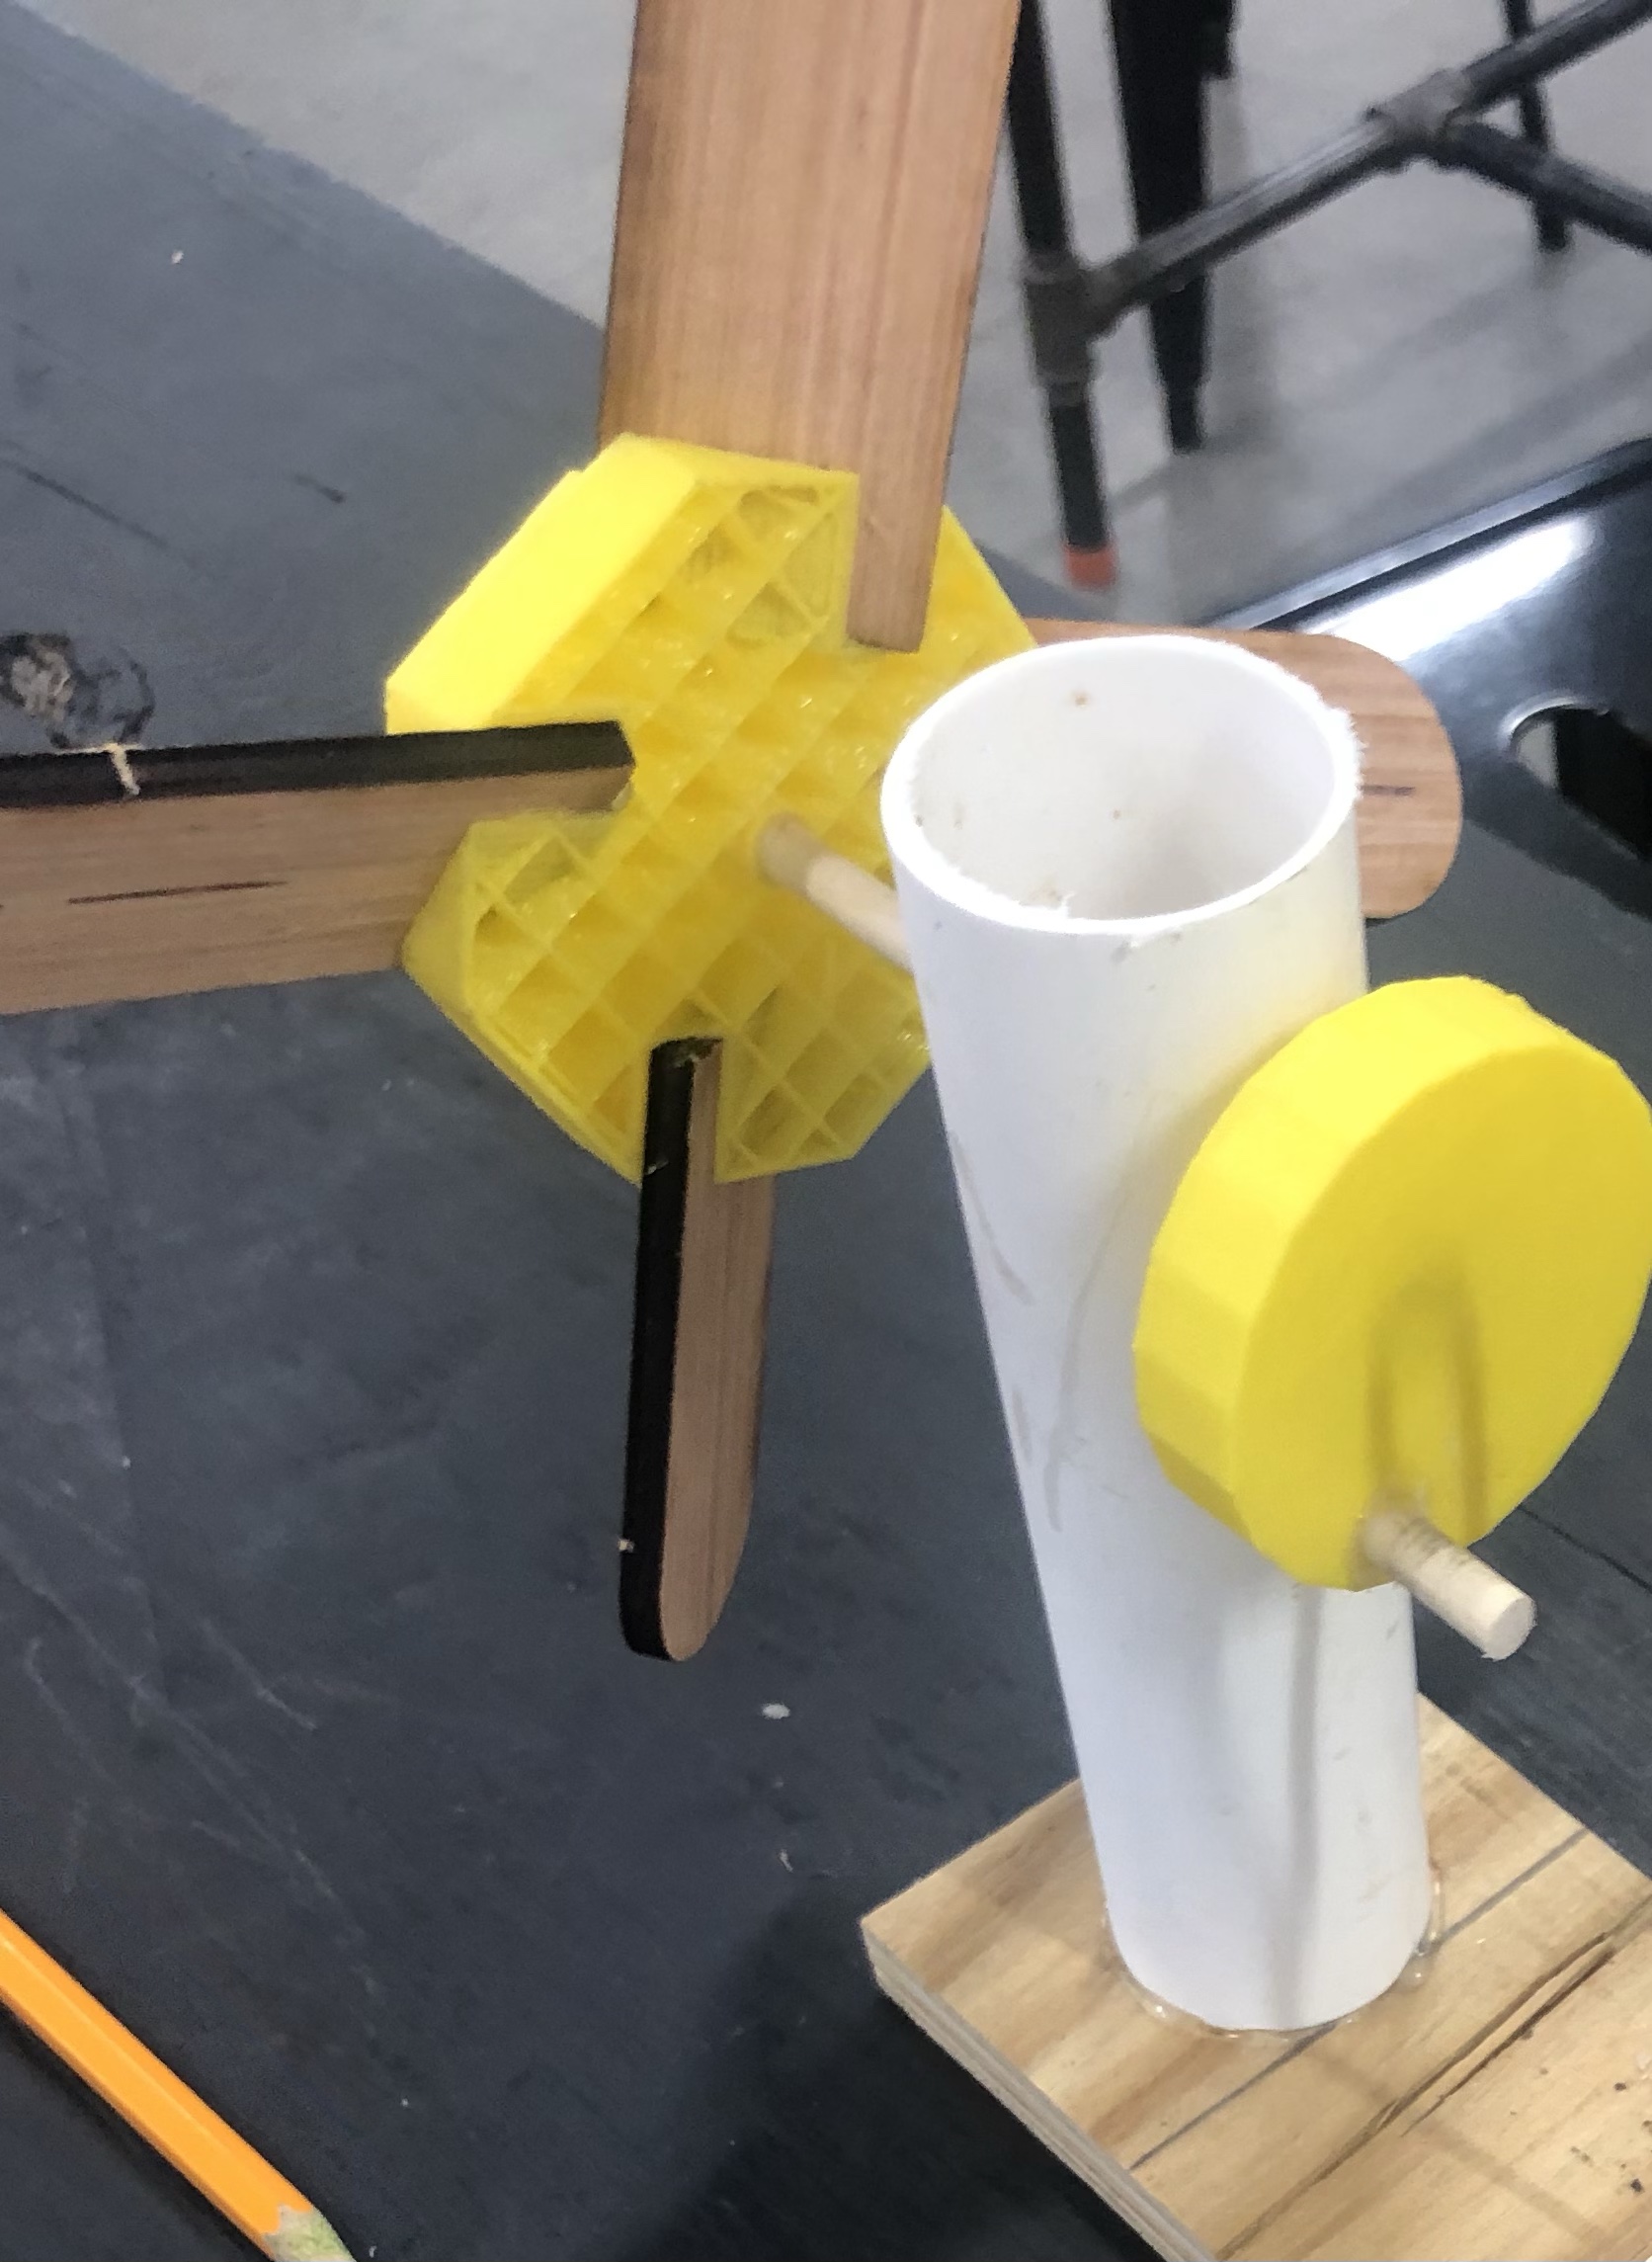
(Note: there should be about 1″ of dowel between the PVC and hub)
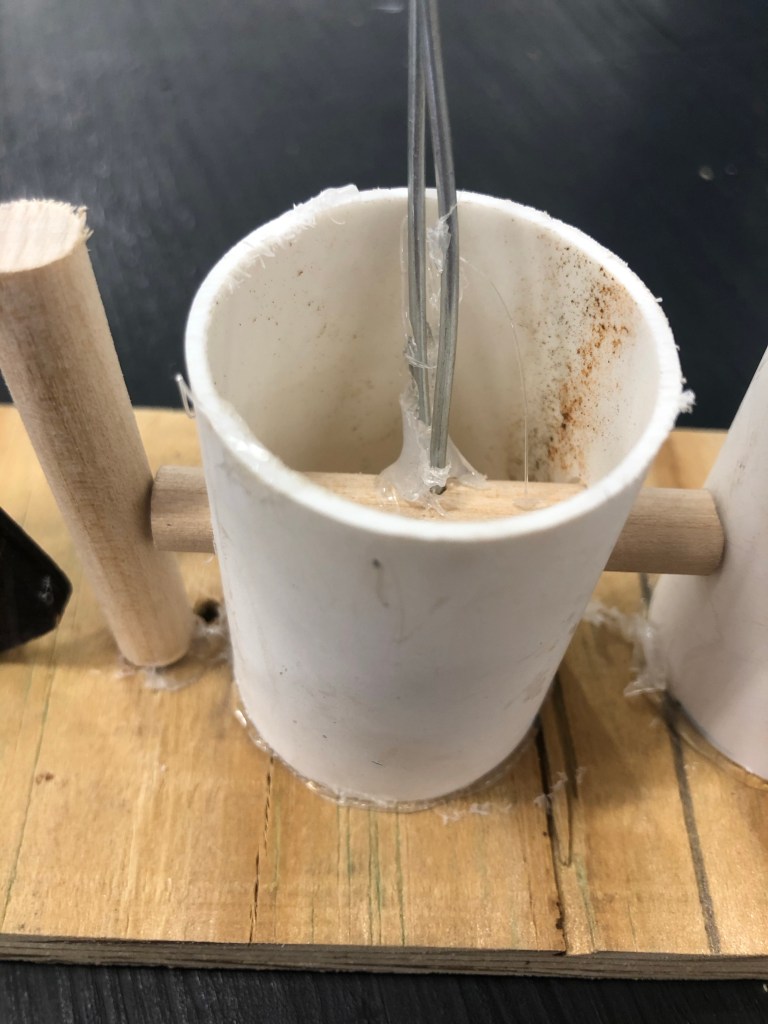
Now, use some left over PVC and cut out a 2″ piece and drill a 1/2″ hole through it. Take a 1/2″ dowel and drill 2, 1/16″ holes in the middle. The length of the dowel should be about 2.5 inches depending on the size of your PVC.
Now take the smaller piece and insert 2 ends of a 13″ wire into the two holes and glue the PVC in like this:
Step Three: Laser Printing The Hockey Player
To laser print the hockey player I had to find an image online and outline it on adobe illustrate so that it could be laser cut, but I have attached it below so that you can just use my picture.

After you laser cut this you should have 2 pieces. Take a drill with a 1/16″ drill bit and drill 2 holes between the body and stick the left over wire in, connecting the 2 pieces so that he can rotate. Now drill another hole where his elbow bends and stick a 4″ wire in there.
Step Four:
For the final step, paint the player black and then glue his feet down. Super glue or wood glue work best for this. Do not use hot glue it won’t be strong enough.